
IIS+NGINX 搭建的一個小站點
Nginx是一款輕量級的Web 伺服器/反向代理伺服器及電子郵件(IMAP/POP3)代理伺服器,並在一個BSD-like 協議下發行。其特點是佔有記憶體少,併發能力強,事實上nginx的併發能力確實在同類型的網頁伺服器中表現較好,在我國使用nginx網站使用者有:百度、新浪、網易、騰訊、京東等。
我自己搭建的nginx 版本號為1.6.3。(nginx 下載地址為:https://nginx.org/en/download.html)
下載完成後進行解壓: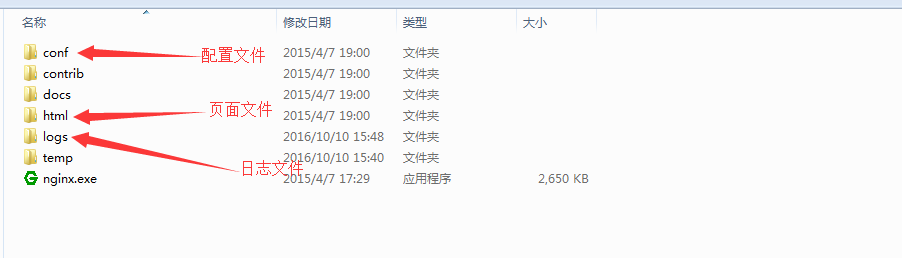
要實現負載均衡需要修改conf/nginx.conf的配置資訊,修改配置資訊之後重新啟動nginx服務,可以通過nginx -s reload指令實現。這裡我使用的是windows自帶的dos。我個人常用的命令如下:
*啟動
直接點選Nginx目錄下的nginx.exe 或者 cmd執行start nginx
關閉
nginx -s stop 或者 nginx -s quit
stop表示立即停止nginx,不儲存相關資訊
quit表示正常退出nginx,並儲存相關資訊
重啟(因為改變了配置,需要重啟)
nginx -s reload*
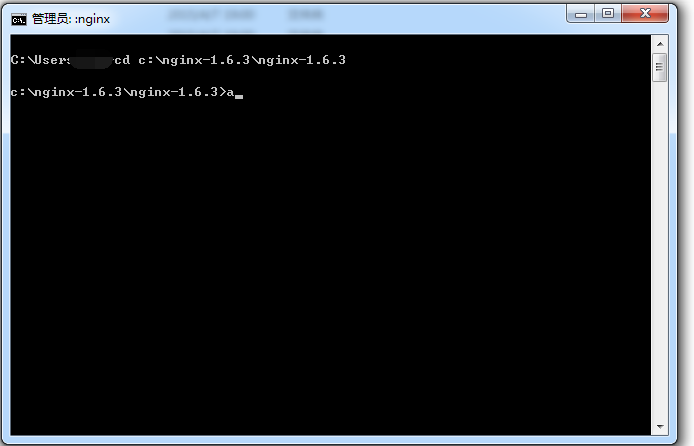
上面需要注意的是,在dos視窗使用命令時,要切換到nginx所在的檔案目錄下面。
比如我的在nginx目錄為:C:\nginx-1.6.3\nginx-1.6.3
如下圖:
站點搭建及配置
由於我只有一臺電腦,而且用來測試,我就在iis裡面建立了兩個站點,站點裡面的程式碼使用埠號來進行區分的。
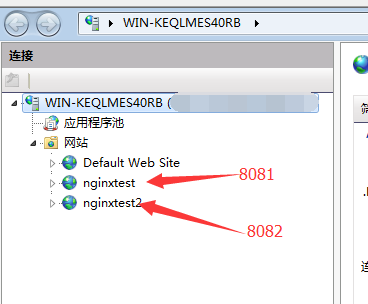
1.在iis裡面搭建兩個測試站點
站點下只有一個簡單的default.aspx頁面,用來輸出當前伺服器資訊。由於我沒有兩臺機器,所以將兩個站點都部署到本機了,分別綁定了8081和8082兩個埠。如下圖:
default.aspx頁面的程式碼如下:
protected void Page_Load(object sender, EventArgs e)
{
int port = Request.Url 2.修改nginx配置資訊
修改nginx監聽埠,在conf/nginx.conf檔案中修改http server下的listen節點值,我這裡使用的是80埠。如下修改:
server {
listen 80;
server_name localhost;
#charset koi8-r;
#access_log logs/host.access.log main;
location / {
root html;
index default.aspx;
# index index.html index.htm;
#其中ngintest.com 對應著upstream設定的叢集名稱
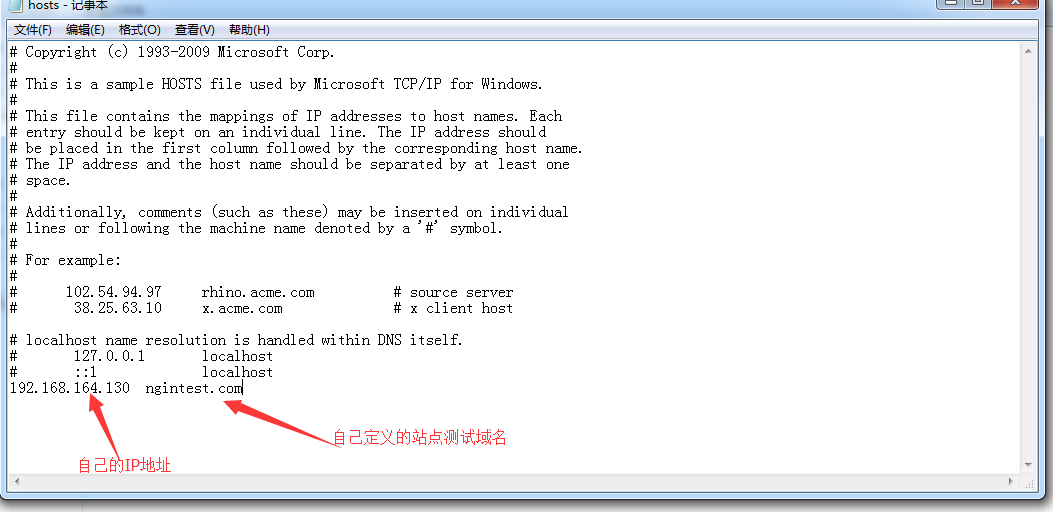
proxy_pass http://ngintest.com; (這裡需要在C:\Windows\System32\drivers\etc\hosts檔案中新增設定,否則有可能使用ngintest.com訪問時無法使用 如程式碼下面的圖。其中ngintest.com也是設定伺服器叢集的名稱)
#設定主機頭和客戶端真實地址,以便伺服器獲取客戶端真實IP
proxy_set_header X-Forwarded-Host $host;
proxy_set_header X-Forwarded-Server $host;
proxy_set_header X-Forwarded-For $proxy_add_x_forwarded_for;
proxy_set_header X-Real-IP $remote_addr;
}
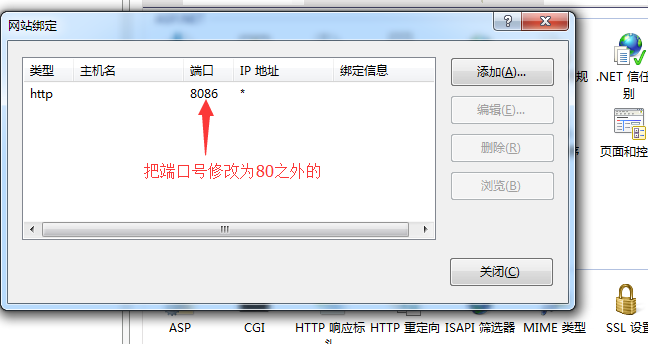
}在IIS中80埠被預設站點使用的話,建議更改預設站點的埠號,這樣便於進行測試。修改預設站點埠的操作如下圖:右鍵預設站點-》編輯繫結。
在http節點下新增upstream(伺服器叢集),server設定的是叢集伺服器的資訊,我這裡搭建了兩個站點,配置了兩條資訊。
#伺服器叢集#
upstream ngintest.com{
server 192.168.164.130:8081 weight=1;
server 192.168.164.130:8082 weight=1;
}
在http節點下找到location節點修改
location / {
root html;
index default.aspx; #修改主頁為default.aspx
 #設定主機頭和客戶端真實地址,以便伺服器獲取客戶端真實IP
 proxy_set_header   Host             $host;
 proxy_set_header   X-Real-IP        $remote_addr;
 proxy_set_header   X-Forwarded-For  $proxy_add_x_forwarded_for;
}
修改完成配置檔案以後記得重啟nginx服務,最終完整配置檔案資訊如下
server {
listen 80;
server_name localhost;
#charset koi8-r;
#access_log logs/host.access.log main;
location / {
root html;
index default.aspx;
# index index.html index.htm;
#其中ngintest.com 對應著upstream設定的叢集名稱
proxy_pass http://ngintest.com;
#設定主機頭和客戶端真實地址,以便伺服器獲取客戶端真實IP
proxy_set_header X-Forwarded-Host $host;
proxy_set_header X-Forwarded-Server $host;
proxy_set_header X-Forwarded-For $proxy_add_x_forwarded_for;
proxy_set_header X-Real-IP $remote_addr;
}
#error_page 404 /404.html;
# redirect server error pages to the static page /50x.html
#
error_page 500 502 503 504 /50x.html;
location = /50x.html {
root html;
}
# proxy the PHP scripts to Apache listening on 127.0.0.1:80
#
#location ~ \.php$ {
# proxy_pass http://127.0.0.1;
#}
# pass the PHP scripts to FastCGI server listening on 127.0.0.1:9000
#
#location ~ \.php$ {
# root html;
# fastcgi_pass 127.0.0.1:9000;
# fastcgi_index index.php;
# fastcgi_param SCRIPT_FILENAME /scripts$fastcgi_script_name;
# include fastcgi_params;
#}
# deny access to .htaccess files, if Apache's document root
# concurs with nginx's one
#
#location ~ /\.ht {
# deny all;
#}
}
#伺服器叢集#
upstream ngintest.com{
server 192.168.164.130:8081 weight=1;
server 192.168.164.130:8082 weight=1;
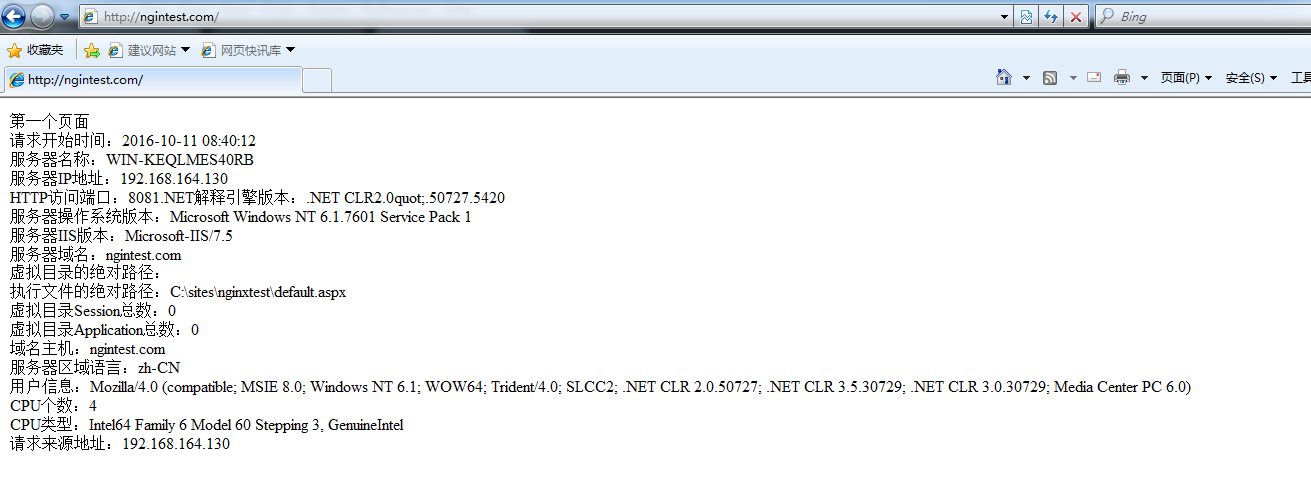
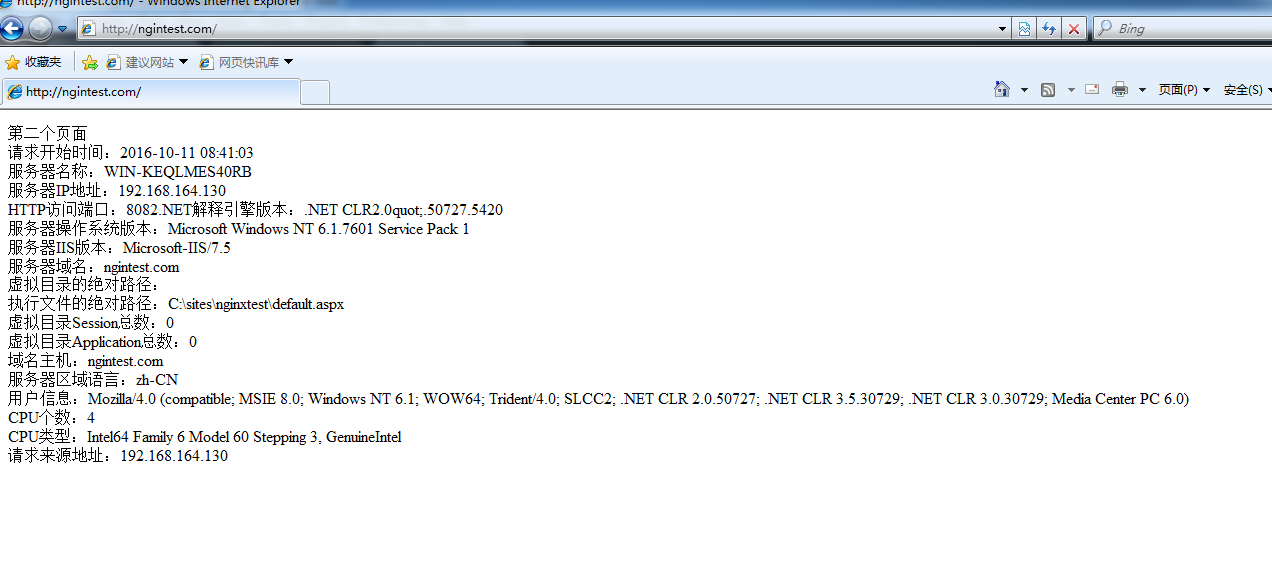
}執行結果如下圖:
在這裡我想特別強調一點是 由於設定了
proxy_pass         http://ngintest.com;
           #設定主機頭和客戶端真實地址,以便伺服器獲取客戶端真實IP
            proxy_set_header X-Forwarded-Host $host;
            proxy_set_header X-Forwarded-Server $host;
            proxy_set_header X-Forwarded-For $proxy_add_x_forwarded_for;
            proxy_set_header  X-Real-IP  $remote_addr;
所以要自定義錯誤的時候這個 proxy_intercept_errors on; 一定要設定,否則捕捉不到定義的錯誤頁。
關於nginx裡面的詳細配置,請自行百度查詢,裡面的內容太多,本文就不在闡述。