
data augmentation for object detecting目標檢測xml檔案擴增(旋轉實現)
阿新 • • 發佈:2019-01-05
1. 背景描述:
在利用CNN做目標檢測時,資料量不足時,旋轉源影象進行資料的擴充。
例:
源影象如下圖所示:

標記所得xml檔案中目標資訊如下:
<object>
<name>airplane</name>
<pose>Unspecified</pose>
<truncated>0</truncated>
<difficult>0</difficult>
<bndbox>
<xmin 想要將源影象旋轉任意角度,相對應xml檔案中的bndbox資訊則需要更新。
2. 思路:
找到原圖中標記方框的四個邊中點座標,計算其旋轉後的座標位置,然後利用cv2.boundingRect函式找到四個新座標的外接矩形作為新的xml檔案中的bndbox值寫入。
3. 程式碼實現過程:
# coding:utf-8
# Copyright@hitzym, Dec,09,2017 at HIT
# blog:http://blog.csdn.net/yinhuan1649/article/category/7330626
import cv2
import math
import numpy as np
import xml.etree.ElementTree as ET
import os

def rotate_image(src, angle, scale=1):
    w = src.shape[1]
    h = src.shape[0]
    # 角度變弧度
    rangle = np.deg2rad(angle)  # angle in radians
    # now calculate new image width and height
    nw = (abs(np.sin(rangle) * h) + abs(np.cos(rangle) * w)) * scale
    nh = (abs(np.cos(rangle) * h) + abs(np.sin(rangle) * w)) * scale
    # ask OpenCV for the rotation matrix
    rot_mat = cv2.getRotationMatrix2D((nw * 0.5, nh * 0.5), angle, scale)
    # calculate the move from the old center to the new center combined
    # with the rotation
    rot_move = np.dot(rot_mat, np.array([(nw - w) * 0.5, (nh - h) * 0.5, 0]))
    # the move only affects the translation, so update the translation
    # part of the transform
    rot_mat[0, 2] += rot_move[0]
    rot_mat[1, 2] += rot_move[1]
    dst = cv2.warpAffine(src, rot_mat, (int(math.ceil(nw)), int(math.ceil(nh))), flags=cv2.INTER_LANCZOS4)
    # 仿射變換
    return dst

# 對應修改xml檔案
def rotate_xml(src, xmin, ymin, xmax, ymax, angle, scale=1.):
    w = src.shape[1]
    h = src.shape[0]
    rangle = np.deg2rad(angle)  # angle in radians
    # now calculate new image width and height
    # 獲取旋轉後圖像的長和寬
    nw = (abs(np.sin(rangle)*h) + abs(np.cos(rangle)*w))*scale
    nh = (abs(np.cos(rangle)*h) + abs(np.sin(rangle)*w))*scale
    # ask OpenCV for the rotation matrix
    rot_mat = cv2.getRotationMatrix2D((nw*0.5, nh*0.5), angle, scale)
    # calculate the move from the old center to the new center combined
    # with the rotation
    rot_move = np.dot(rot_mat, np.array([(nw-w)*0.5, (nh-h)*0.5,0]))
    # the move only affects the translation, so update the translation
    # part of the transform
    rot_mat[0, 2] += rot_move[0]
    rot_mat[1, 2] += rot_move[1]                                   # rot_mat是最終的旋轉矩陣
    # point1 = np.dot(rot_mat, np.array([xmin, ymin, 1]))          #這種新畫出的框大一圈
    # point2 = np.dot(rot_mat, np.array([xmax, ymin, 1]))
    # point3 = np.dot(rot_mat, np.array([xmax, ymax, 1]))
    # point4 = np.dot(rot_mat, np.array([xmin, ymax, 1]))
    point1 = np.dot(rot_mat, np.array([(xmin+xmax)/2, ymin, 1]))   # 獲取原始矩形的四個中點,然後將這四個點轉換到旋轉後的座標系下
    point2 = np.dot(rot_mat, np.array([xmax, (ymin+ymax)/2, 1]))
    point3 = np.dot(rot_mat, np.array([(xmin+xmax)/2, ymax, 1]))
    point4 = np.dot(rot_mat, np.array([xmin, (ymin+ymax)/2, 1]))
    concat = np.vstack((point1, point2, point3, point4))            # 合併np.array
    # 改變array型別
    concat = concat.astype(np.int32)
    rx, ry, rw, rh = cv2.boundingRect(concat)                        #rx,ry,為新的外接框左上角座標,rw為框寬度,rh為高度,新的xmax=rx+rw,新的ymax=ry+rh
    return rx, ry, rw, rh

# 使影象旋轉60,90,120,150,210,240,300度
xmlpath = './xml/'          #源影象路徑
imgpath = './imgs/'         #源影象所對應的xml檔案路徑
rotated_imgpath = './rotatedimg/'
rotated_xmlpath = './rotatedxml/'
for angle in (60, 90, 120, 150, 180, 210, 240, 300):
    for i in os.listdir(imgpath):
        a, b = os.path.splitext(i)                            #分離出檔名a
        img = cv2.imread(imgpath + a + '.jpg')
        rotated_img = rotate_image(img,angle)
        cv2.imwrite(rotated_imgpath + a + '_'+ str(angle) +'d.jpg',rotated_img)
        print str(i) + ' has been rotated for '+ str(angle)+'°'
        tree = ET.parse(xmlpath + a + '.xml')
        root = tree.getroot()
        for box in root.iter('bndbox'):
            xmin = float(box.find('xmin').text)
            ymin = float(box.find('ymin').text)
            xmax = float(box.find('xmax').text)
            ymax = float(box.find('ymax').text)
            x, y, w, h = rotate_xml(img, xmin, ymin, xmax, ymax, angle)
            # cv2.rectangle(rotated_img, (x, y), (x+w, y+h), [0, 0, 255], 2)   #可在該步驟測試新畫的框位置是否正確
            # cv2.imshow('xmlbnd',rotated_img)
            # cv2.waitKey(200)
            box.find('xmin').text = str(x)
            box.find('ymin').text = str(y)
            box.find('xmax').text = str(x+w)
            box.find('ymax').text = str(y+h)
        tree.write(rotated_xmlpath + a + '_'+ str(angle) +'d.xml')
        print str(a) + '.xml has been rotated for '+ str(angle)+'°'
4. 測試旋轉結果
將xml中的bounding box 顯示在圖片上用來測試旋轉後結果是否正確
注:
- xml檔案需要和其對應的jpg檔案檔名一樣
- e.g. monkey001.jpg 對應 monkey001.xml
- 上程式碼
# coding:utf-8
# Copyright@hitzym, Dec,09,2017 at HIT
# blog:http://blog.csdn.net/yinhuan1649/article/category/7330626
import cv2
import xml.etree.ElementTree as ET
import os

imgpath = './testimgs/'          #旋轉後的影象路徑
xmlpath = './testxml/'           #旋轉後的xml檔案路徑
for img in os.listdir(imgpath):
    a, b = os.path.splitext(img)
    img = cv2.imread(imgpath + a +'.jpg')
    tree = ET.parse(xmlpath + a + '.xml')
    root = tree.getroot()
    for box in root.iter('bndbox'):
        x1 = int(box.find('xmin').text)
        y1 = int(box.find('ymin').text)
        x2 = int(box.find('xmax').text)
        y2 = int(box.find('ymax').text)
        cv2.rectangle(img,(x1,y1),(x2, y2), [0,255,0], 2)
    cv2.imshow("test", img)
    # cv2.waitKey(1000)
    if 1 == cv2.waitKey(0):
        pass
原圖: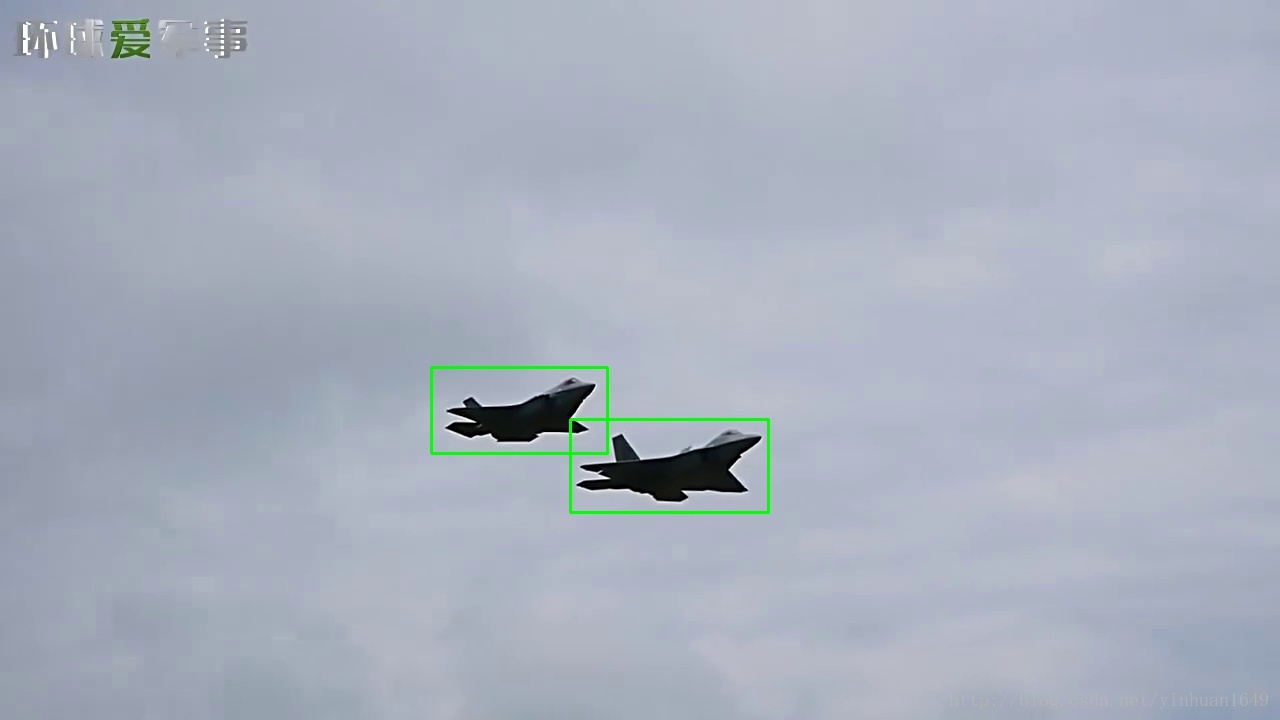
結果圖: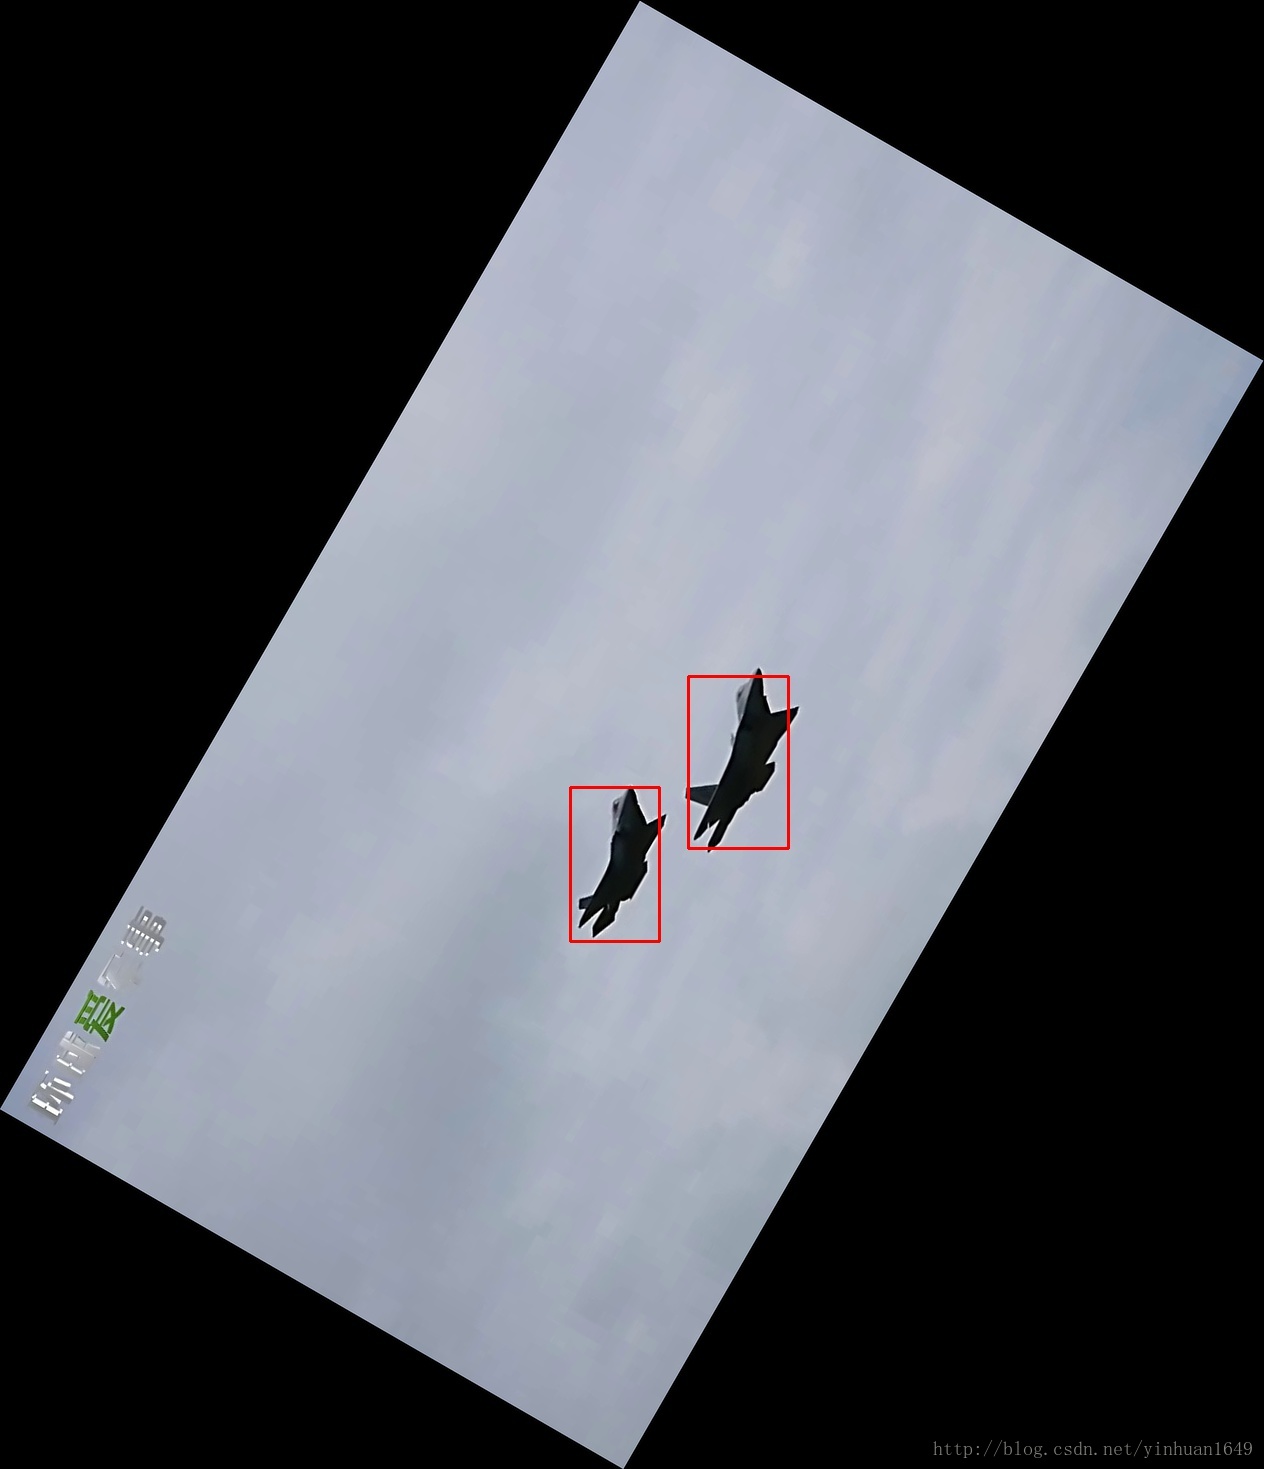
這是旋轉60°的結果圖
稍有改動
感謝!