
Android 上使用 Google 登入服務進行身份驗證
阿新 • • 發佈:2019-01-06
新增Firebase
-
建立Firebase專案
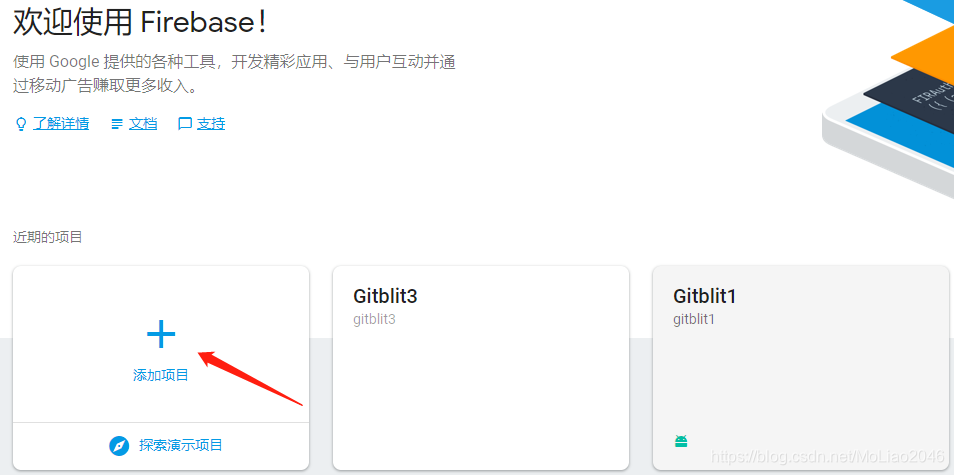
- 新增專案
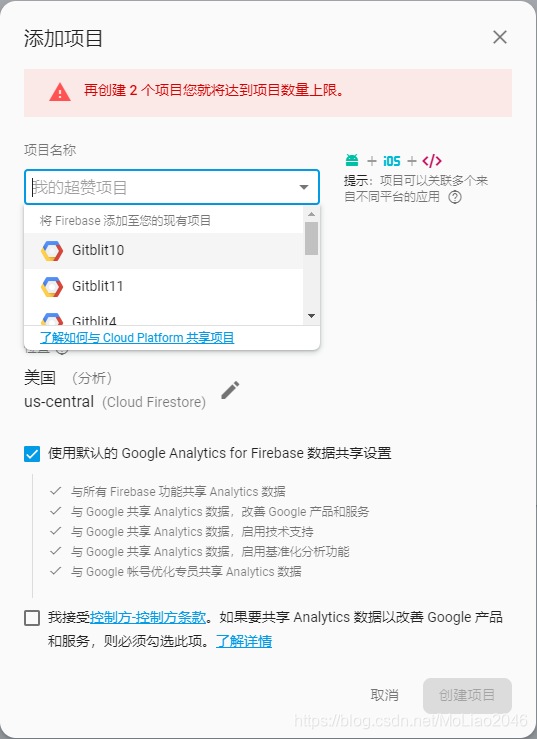
- 將Firebase新增到應用,按照提示一步一步的進行。

-
新增SDK
- 專案級gradle下新增
buildscript { dependencies { classpath 'com.google.gms:google-services:4.1.0' } } allprojects { repositories { google() } }- 模組級gradle下新增
apply plugin: 'com.android.application'
android {
}
dependencies {
  implementation 'com.google.firebase:firebase-core:16.0.4'
}
apply plugin: 'com.google.gms.google-services'
新增Firebase身份驗證和Google登入服務
- 模組級gradle新增依賴
implementation 'com.google.firebase:firebase-auth:16.0.3'
implementation 'com.google.android.gms:play-services-auth:16.0.0'
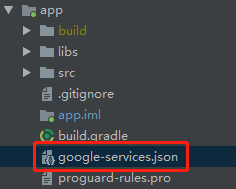
- 將在Firebase控制檯下載的google-services.json檔案放在主module目錄下。
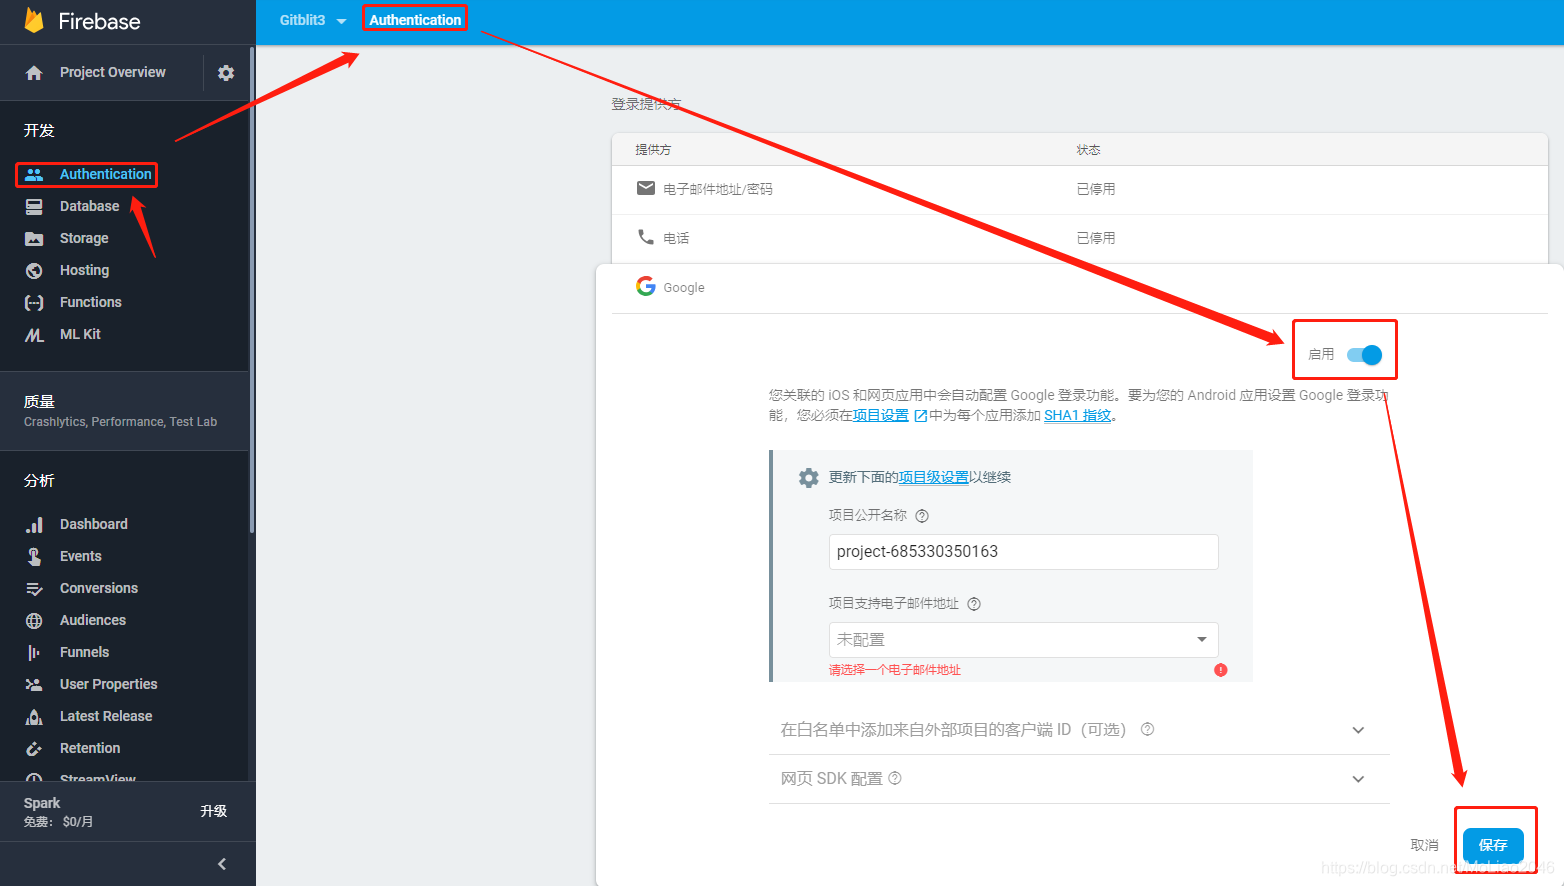
- 在Firebase控制檯中啟用Google登入服務
程式碼
- 開啟介面,該介面會提示選擇那些郵箱進行登入。
R.string.client_id得去 API 控制檯中的”憑據“頁面,建立憑據.OAuth 2.0 客戶端 ID會在你為專案新增Firebase時候自動建立好,選擇Web client.
GoogleSignInOptions gso = new GoogleSignInOptions.Builder(GoogleSignInOptions. 
- 選擇郵箱登入之後接受到的回撥程式碼
@Override
public void onActivityResult(int requestCode, int resultCode, Intent data) {
    super.onActivityResult(requestCode, resultCode, data);
    if (requestCode == RC_SIGN_IN) {
        Task<GoogleSignInAccount> task = GoogleSignIn.getSignedInAccountFromIntent(data);
        try {
            GoogleSignInAccount result = task.getResult(ApiException.class);
            String email = result.getEmail();
        } catch (ApiException e) {
            ToastUtils.showLong(e.getMessage());
        }
    }
}