kubernetes 1.9.2 安裝步驟
阿新 • • 發佈:2019-01-06
系統資訊
[[email protected] ~]# cat /etc/redhat-release
CentOS Linux release 7.4.1708 (Core)
10.10.9.11 master
10.10.9.12 node1
10.10.9.13 node2
第一部分:安裝前環境設定,所有節點執行
設定主機名,三臺裝置分別為
hostnamectl set-hostname master設定 net.bridge
[[email protected] ~]# cat /etc/sysctl.conf
net.bridge.bridge-nf-call-ip6tables = 1
net.bridge.bridge-nf-call-iptables = 1
[[email protected] ~]# sysctl -p
net.bridge.bridge-nf-call-ip6tables = 1
net.bridge.bridge-nf-call-iptables = 1[[email protected] network]# sed -i 's/SELINUX=enforcing/SELINUX=disabled/g' /etc/selinux/config
[[email protected] network]# setenforce 0
setenforce: SELinux is disabled禁用firewalld
systemctl disable firewalld && systemctl stop firewalld禁用swapoff
swapoff -a
sed -i -e /swap/d /etc/fstab
yum 源設定,由於1.92 版本,國內無法直接yum 安裝,這裡下載到本地
第二部分:安裝軟體
docker 安裝
下面是已經下載好的軟體包百度雲盤上下載後,解壓直接安裝
[[email protected] rpms]# ls
  docker-compose.tar.gz  docker.tar.gz   k8s.tar.gz
[[email protected] rpms]#
tar -zxvf docker-compose.tar.gz
tar -zxvf docker.tar.gz
tar -zxvf k8s.tar.gz
chmod a+x docker-compose
cp docker-compose /usr/local/bin/
yum localinstall docker/* -y
yum localinstall k8s/* -y
設定儲存方式
echo DOCKER_STORAGE_OPTIONS=\" -s overlay --selinux-enabled=false\" > /etc/sysconfig/docker-storagedocker 服務啟動
systemctl enable docker && systemctl start docker && docker info kubelet 服務啟動
systemctl enable kubelet.service && systemctl start kubelet.service在master 節點上操作:
[[email protected] images]# ls *
etcd-amd64.tar  k8s-dns-dnsmasq-nanny-amd64.tar  k8s-dns-sidecar-amd64.tar  kube-controller-manager-amd64.tar  kubernetes-dashboard.tar  pause-amd64.tar
flannel.tar     k8s-dns-kube-dns-amd64.tar       kube-apiserver-amd64.tar   kube-proxy-amd64.tar               kube-scheduler-amd64.tar
[[email protected] images]# for i in `ls *`;do docker load --input $i;done
[[email protected] images]# docker images
REPOSITORY                                               TAG                 IMAGE ID            CREATED             SIZE
gcr.io/google_containers/kube-controller-manager-amd64   v1.9.2              769d889083b6        2 weeks ago         137.8 MB
gcr.io/google_containers/kube-proxy-amd64                v1.9.2              e6754bb0a529        2 weeks ago         109.1 MB
gcr.io/google_containers/kube-apiserver-amd64            v1.9.2              7109112be2c7        2 weeks ago         210.4 MB
gcr.io/google_containers/kube-scheduler-amd64            v1.9.2              2bf081517538        2 weeks ago         62.71 MB
k8s.gcr.io/kubernetes-dashboard-amd64                    v1.8.2              c87ea0497294        3 weeks ago         102.3 MB
gcr.io/google_containers/etcd-amd64                      3.1.11              59d36f27cceb        9 weeks ago         193.9 MB
quay.io/coreos/flannel                                   v0.9.1-amd64        2b736d06ca4c        11 weeks ago        51.31 MB
gcr.io/google_containers/k8s-dns-sidecar-amd64           1.14.7              db76ee297b85        3 months ago        42.03 MB
gcr.io/google_containers/k8s-dns-kube-dns-amd64          1.14.7              5d049a8c4eec        3 months ago        50.27 MB
gcr.io/google_containers/k8s-dns-dnsmasq-nanny-amd64     1.14.7              5feec37454f4        3 months ago        40.95 MB
gcr.io/google_containers/pause-amd64                     3.0                 99e59f495ffa        21 months ago       746.9 kB
[[email protected] images]#
用kubeadm 初始化叢集
[[email protected] ~]# kubeadm init --kubernetes-version=v1.9.2 --pod-network-cidr=10.96.0.0/12
[init] Using Kubernetes version: v1.9.2
[init] Using Authorization modes: [Node RBAC]
[preflight] Running pre-flight checks.
	[WARNING Hostname]: hostname "master" could not be reached
	[WARNING Hostname]: hostname "master" lookup master on 114.114.114.114:53: no such host
	[WARNING FileExisting-crictl]: crictl not found in system path
[certificates] Generated ca certificate and key.
[certificates] Generated apiserver certificate and key.
[certificates] apiserver serving cert is signed for DNS names [master kubernetes kubernetes.default kubernetes.default.svc kubernetes.default.svc.cluster.local] and IPs [10.96.0.1 10.10.9.11]
[certificates] Generated apiserver-kubelet-client certificate and key.
[certificates] Generated sa key and public key.
[certificates] Generated front-proxy-ca certificate and key.
[certificates] Generated front-proxy-client certificate and key.
[certificates] Valid certificates and keys now exist in "/etc/kubernetes/pki"
[kubeconfig] Wrote KubeConfig file to disk: "admin.conf"
[kubeconfig] Wrote KubeConfig file to disk: "kubelet.conf"
[kubeconfig] Wrote KubeConfig file to disk: "controller-manager.conf"
[kubeconfig] Wrote KubeConfig file to disk: "scheduler.conf"
[controlplane] Wrote Static Pod manifest for component kube-apiserver to "/etc/kubernetes/manifests/kube-apiserver.yaml"
[controlplane] Wrote Static Pod manifest for component kube-controller-manager to "/etc/kubernetes/manifests/kube-controller-manager.yaml"
[controlplane] Wrote Static Pod manifest for component kube-scheduler to "/etc/kubernetes/manifests/kube-scheduler.yaml"
[etcd] Wrote Static Pod manifest for a local etcd instance to "/etc/kubernetes/manifests/etcd.yaml"
[init] Waiting for the kubelet to boot up the control plane as Static Pods from directory "/etc/kubernetes/manifests".
[init] This might take a minute or longer if the control plane images have to be pulled.
[apiclient] All control plane components are healthy after 28.003003 seconds
[uploadconfig] Storing the configuration used in ConfigMap "kubeadm-config" in the "kube-system" Namespace
[markmaster] Will mark node master as master by adding a label and a taint
[markmaster] Master master tainted and labelled with key/value: node-role.kubernetes.io/master=""
[bootstraptoken] Using token: db182b.a8ffd6b5a96be72c
[bootstraptoken] Configured RBAC rules to allow Node Bootstrap tokens to post CSRs in order for nodes to get long term certificate credentials
[bootstraptoken] Configured RBAC rules to allow the csrapprover controller automatically approve CSRs from a Node Bootstrap Token
[bootstraptoken] Configured RBAC rules to allow certificate rotation for all node client certificates in the cluster
[bootstraptoken] Creating the "cluster-info" ConfigMap in the "kube-public" namespace
[addons] Applied essential addon: kube-dns
[addons] Applied essential addon: kube-proxy
Your Kubernetes master has initialized successfully!
To start using your cluster, you need to run the following as a regular user:
  mkdir -p $HOME/.kube
  sudo cp -i /etc/kubernetes/admin.conf $HOME/.kube/config
  sudo chown $(id -u):$(id -g) $HOME/.kube/config
You should now deploy a pod network to the cluster.
Run "kubectl apply -f [podnetwork].yaml" with one of the options listed at:
  https://kubernetes.io/docs/concepts/cluster-administration/addons/
You can now join any number of machines by running the following on each node
as root:
  kubeadm join --token db182b.a8ffd6b5a96be72c 10.10.9.11:6443 --discovery-token-ca-cert-hash sha256:9bbe0d28f25df136bab65ee0fbf98d538cb61d64582460f9c539e1e96106ddba
設定環境變數
[[email protected] ~]# echo "export KUBECONFIG=/etc/kubernetes/admin.conf" >> /etc/profile
[[email protected] ~]# source /etc/profile
檢視
kubectl get pods --all-namespaces[[email protected] ~]# kubectl get pods --all-namespaces
NAMESPACE NAME READY STATUS RESTARTS AGE
kube-system etcd-master 1/1 Running 0 2m
kube-system kube-apiserver-master 1/1 Running 0 2m
kube-system kube-controller-manager-master 1/1 Running 0 2m
kube-system kube-dns-6f4fd4bdf-57dbk 0/3 Pending 0 3m
kube-system kube-proxy-sx6wc 1/1 Running 0 3m
kube-system kube-scheduler-master 1/1 Running 0 2m
[[email protected] ~]#安裝網路
kube-flannel-rbac.yml  kube-flannel.yml  kubernetes-dashboard.yml
[[email protected] network]# kubectl apply -f kube-flannel-rbac.yml
clusterrole "flannel" created
clusterrolebinding "flannel" created
[[email protected] network]# kubectl apply -f kube-flannel.yml
serviceaccount "flannel" created
configmap "kube-flannel-cfg" created
daemonset "kube-flannel-ds" created
安裝dashboard
[[email protected] network]# kubectl create -f kubernetes-dashboard.yml
serviceaccount "kubernetes-dashboard" created
clusterrolebinding "kubernetes-dashboard" created
deployment "kubernetes-dashboard" created
service "kubernetes-dashboard" created
在兩個節點上執行
匯入映象
[[email protected] images]# docker load --input pause-amd64.tar
[[email protected] images]# docker load --input kube-proxy-amd64.tar
Loaded image: gcr.io/google_containers/kube-proxy-amd64:v1.9.2
[[email protected] images]# docker load --input flannel.tar
[[email protected] images]# docker load --input kubernetes-dashboard.tar
加入叢集
[[email protected] images]# kubeadm join --token db182b.a8ffd6b5a96be72c 10.10.9.11:6443 --discovery-token-ca-cert-hash sha256:9bbe0d28f25df136bab65ee0fbf98d538cb61d64582460f9c539e1e96106ddba
[preflight] Running pre-flight checks.
	[WARNING Hostname]: hostname "node1" could not be reached
	[WARNING Hostname]: hostname "node1" lookup node1 on 114.114.114.114:53: no such host
	[WARNING FileExisting-crictl]: crictl not found in system path
[discovery] Trying to connect to API Server "10.10.9.11:6443"
[discovery] Created cluster-info discovery client, requesting info from "https://10.10.9.11:6443"
[discovery] Requesting info from "https://10.10.9.11:6443" again to validate TLS against the pinned public key
[discovery] Cluster info signature and contents are valid and TLS certificate validates against pinned roots, will use API Server "10.10.9.11:6443"
[discovery] Successfully established connection with API Server "10.10.9.11:6443"
This node has joined the cluster:
* Certificate signing request was sent to master and a response
  was received.
* The Kubelet was informed of the new secure connection details.
Run 'kubectl get nodes' on the master to see this node join the cluster.
[[email protected] images]# 在master 上檢查服務
[[email protected] network]# kubectl get pods --all-namespaces
NAMESPACE     NAME                                    READY     STATUS    RESTARTS   AGE
kube-system   etcd-master                             1/1       Running   0          6m
kube-system   kube-apiserver-master                   1/1       Running   0          6m
kube-system   kube-controller-manager-master          1/1       Running   0          6m
kube-system   kube-dns-6f4fd4bdf-57dbk                3/3       Running   0          7m
kube-system   kube-flannel-ds-gw8d4                   2/2       Running   0          2m
kube-system   kube-flannel-ds-qqr2x                   2/2       Running   1          1m
kube-system   kube-flannel-ds-rjgq8                   2/2       Running   1          1m
kube-system   kube-proxy-4jxlk                        1/1       Running   0          1m
kube-system   kube-proxy-k98g5                        1/1       Running   0          1m
kube-system   kube-proxy-sx6wc                        1/1       Running   0          7m
kube-system   kube-scheduler-master                   1/1       Running   0          6m
kube-system   kubernetes-dashboard-554b4c5c69-frbgs   1/1       Running   0          2m
檢視節點狀態
[[email protected] network]# kubectl get nodes
NAME      STATUS    ROLES     AGE       VERSION
master    Ready     master    7m        v1.9.2
node1     Ready     <none>    1m        v1.9.2
node2     Ready     <none>    1m        v1.9.2
檢視埠服務
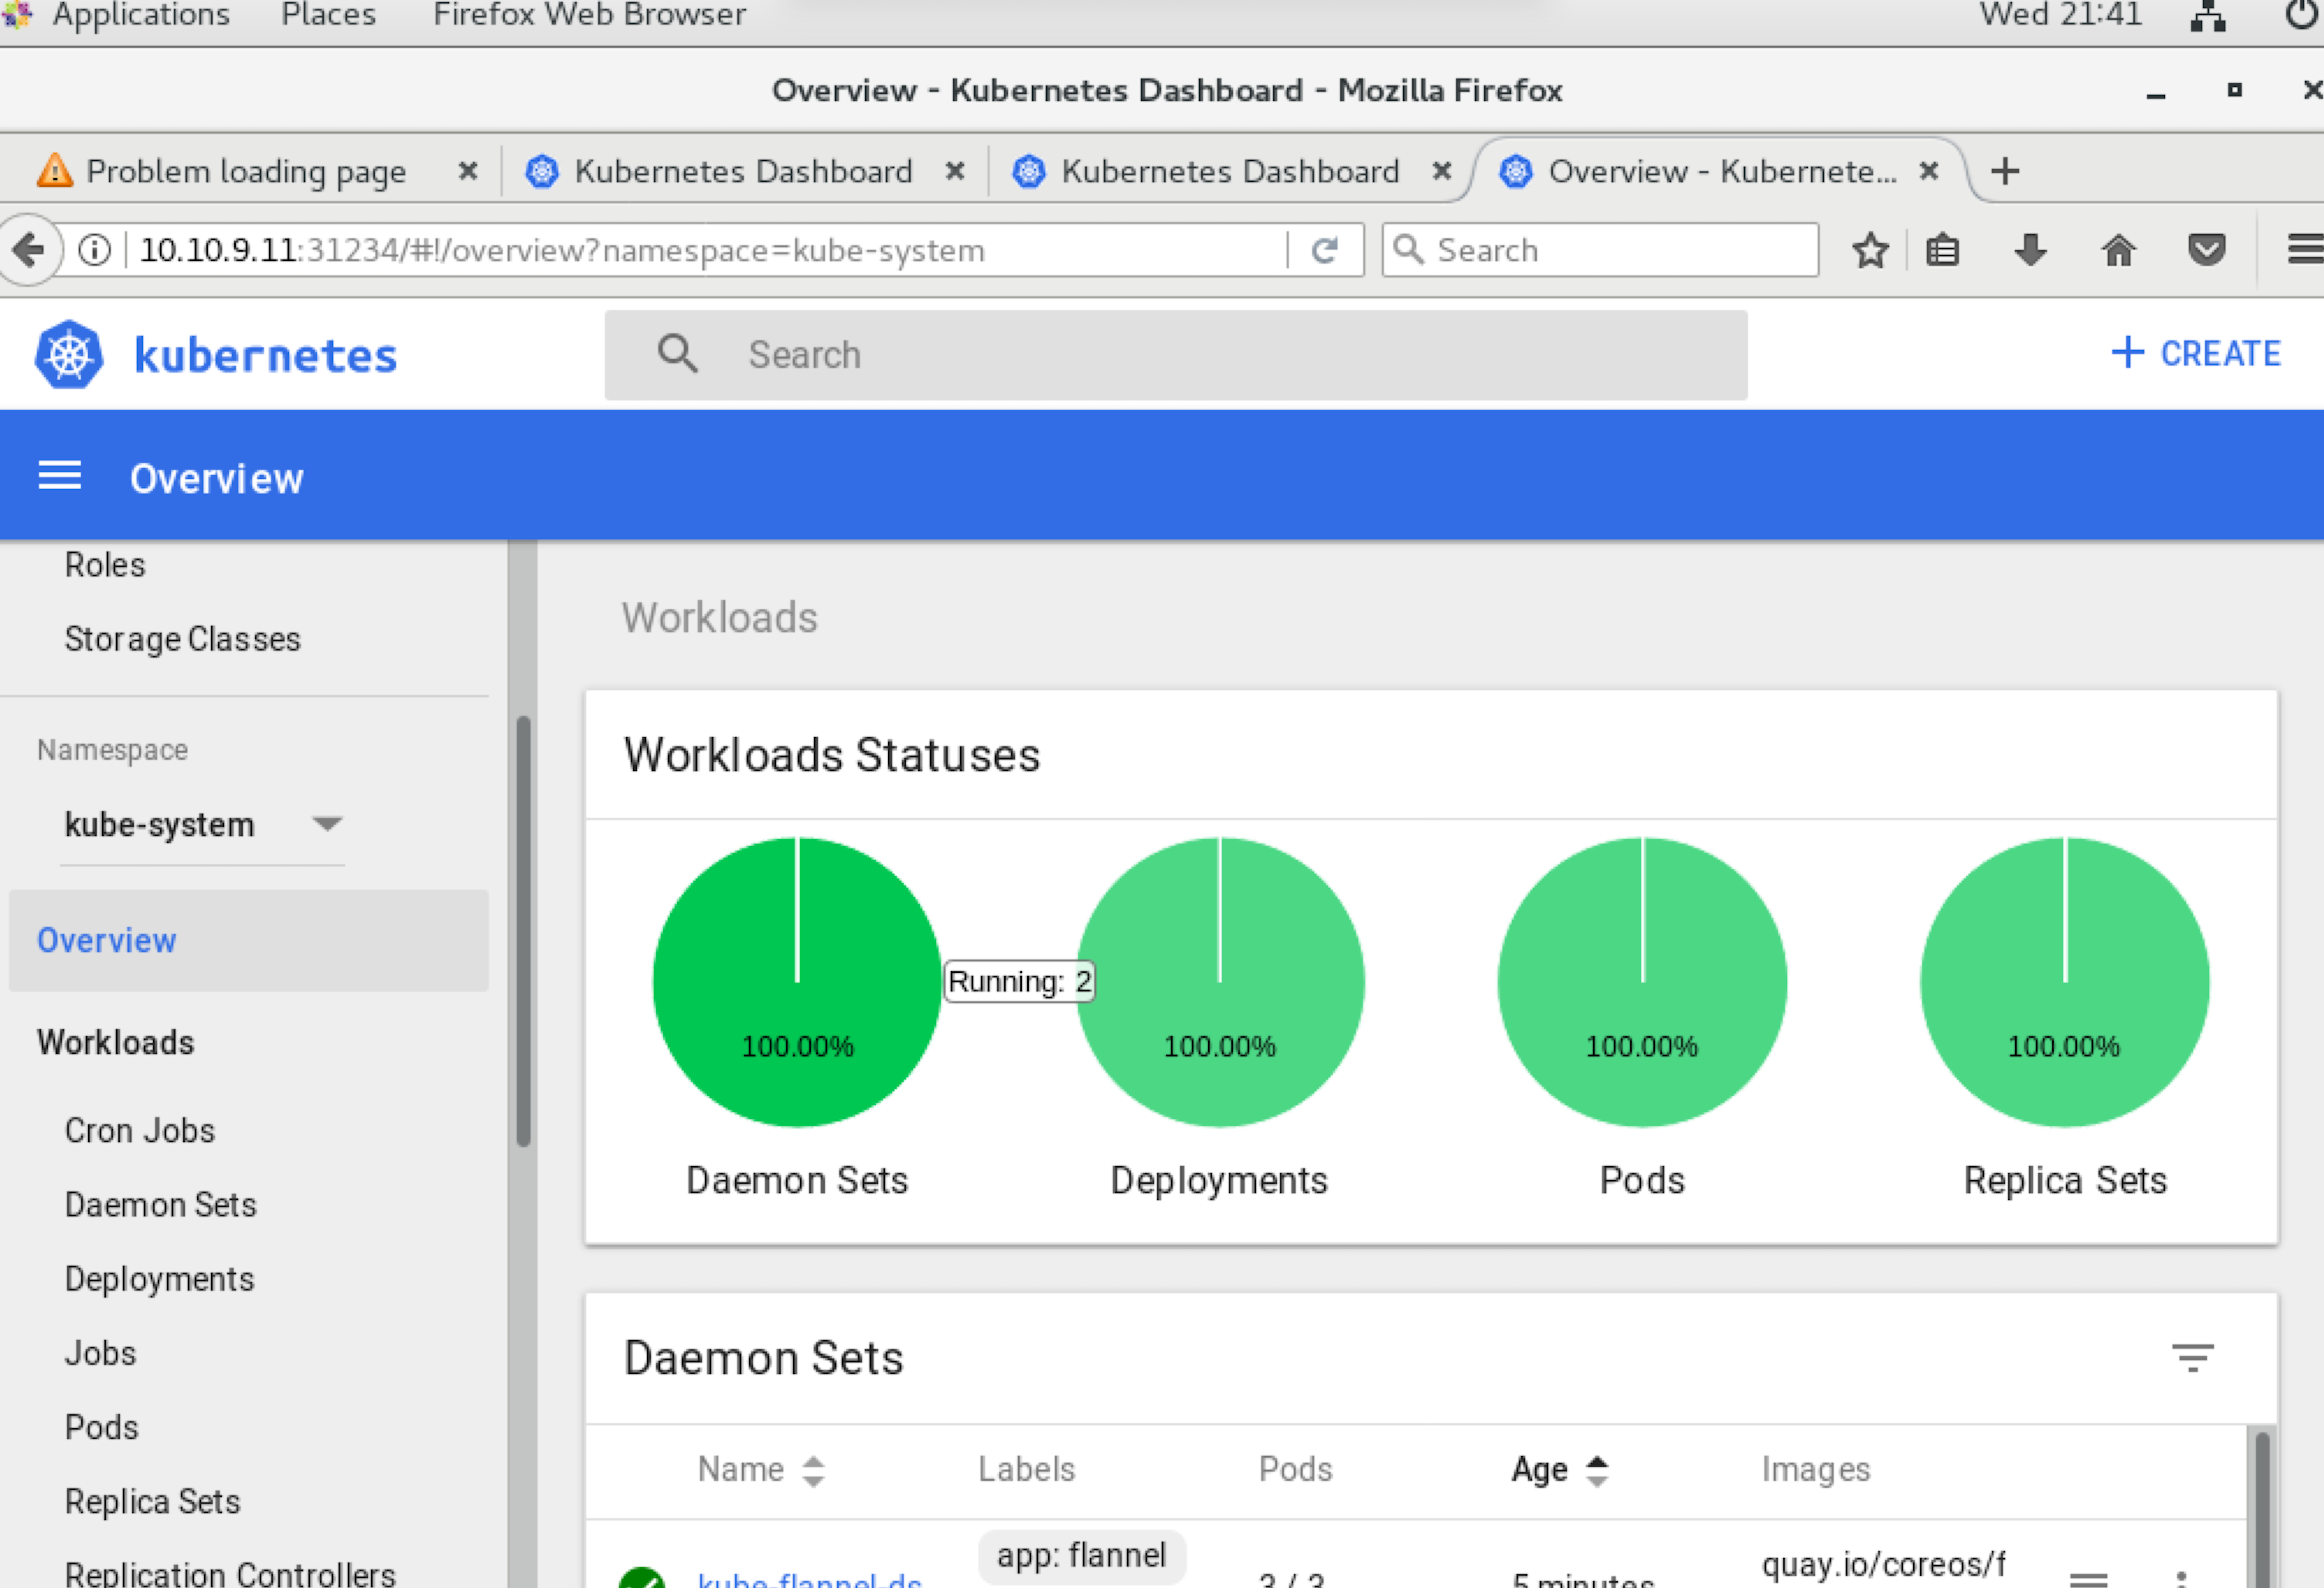
[email protected] network]# kubectl get svc
NAME         TYPE        CLUSTER-IP   EXTERNAL-IP   PORT(S)   AGE
kubernetes   ClusterIP   10.96.0.1    <none>        443/TCP   9m
[[email protected] network]# kubectl get svc --all-namespaces
NAMESPACE     NAME                   TYPE        CLUSTER-IP     EXTERNAL-IP   PORT(S)         AGE
default       kubernetes             ClusterIP   10.96.0.1      <none>        443/TCP         9m
kube-system   kube-dns               ClusterIP   10.96.0.10     <none>        53/UDP,53/TCP   9m
kube-system   kubernetes-dashboard   NodePort    10.106.134.6   <none>        80:31234/TCP    3m
登入dashaboard