H5之12__觸控與單擊:基本的事件處理
阿新 • • 發佈:2019-01-06
在HTML5中, 如果基於滑鼠的介面互動是單擊, 觸控介面的基本互動方式就是 輕觸.
一. 輕觸與單擊有相似之處, 但是也有不同.
即使觸控裝置(例如: 手機) 沒有滑鼠,它們的瀏覽器仍然會觸發滑鼠事件, click, mouseover, mousedown 和 mouseup 都還會被觸發。
二. 移動瀏覽器有四種類型的觸控事件
| 事件名稱 | 描述 | 包含touches 陣列 |
| touchstart | 觸控開始 | 是 |
| touchmove | 接觸點改變 | 是 |
| touchend | 觸控結束 | 是 |
| touchcancel | 觸控被取消 | 否 |
touches 陣列 是一組觸控事件所產生的觸控物件, 觸控物件代表著觸控式螢幕幕的手指。
三. 處理觸控事件
第一種方式,使用瀏覽器支援的標準觸控事件, 看一個示例 index.html :
<!DOCTYPE html> <html> <head> <meta charset="utf-8"> <meta http-equiv="X-UA-Compatible" content="IE=edge,chrome=1"> <meta name="viewport" content="width=device-width"> <title>Touch</title> <style type="text/css" media="screen"> body { margin: 0; padding: 0; font-family: sans-serif; text-align: center; } .button { font-size: 16px; padding: 10px; font-weight: bold; border: 0; color: #fff; border-radius: 10px; box-shadow: inset 0px 1px 3px #fff, 0px 1px 2px #000; background: #ff3019; opacity: 1; } .active, .button:active { box-shadow: inset 0px 1px 3px #000, 0px 1px 2px #fff; } .hidden { display: none; } </style> </head> <body> <div id="touchme"> <button class="button" id="toggle">切換圖片</button> <div class="hidden" style="display: none"> <p>Goldfinch by ibm4381 on Flickr</p> <a href="http://www.flickr.com/photos/j_benson/3504443844/" title="Goldfinch by ibm4381, on Flickr"> <img src="http://img1.2345.com/duoteimg/qqTxImg/2012/04/09/13339510584349.jpg" width="320" height="256" alt="Goldfinch"> </a> </div> </div> </body> <script type="text/javascript" charset="utf-8"> var node = document.getElementById('toggle'); function togglePicture(){ var h = document.querySelector(".hidden"); if(h.style.display == "none") { h.style.display = "block"; } else { h.style.display = "none"; } } node.addEventListener('touchstart', function(e){ alert("touchstart"); //阻止事件的預設行為導致按鈕不會出現活躍狀態(active) // e.preventDefault(); e.target.className = "active button"; togglePicture(); }); node.addEventListener('touchend', function(e){ //e.preventDefault(); e.target.className = "button"; }); node.addEventListener("click", function(e){ alert("click"); }); </script> </html>
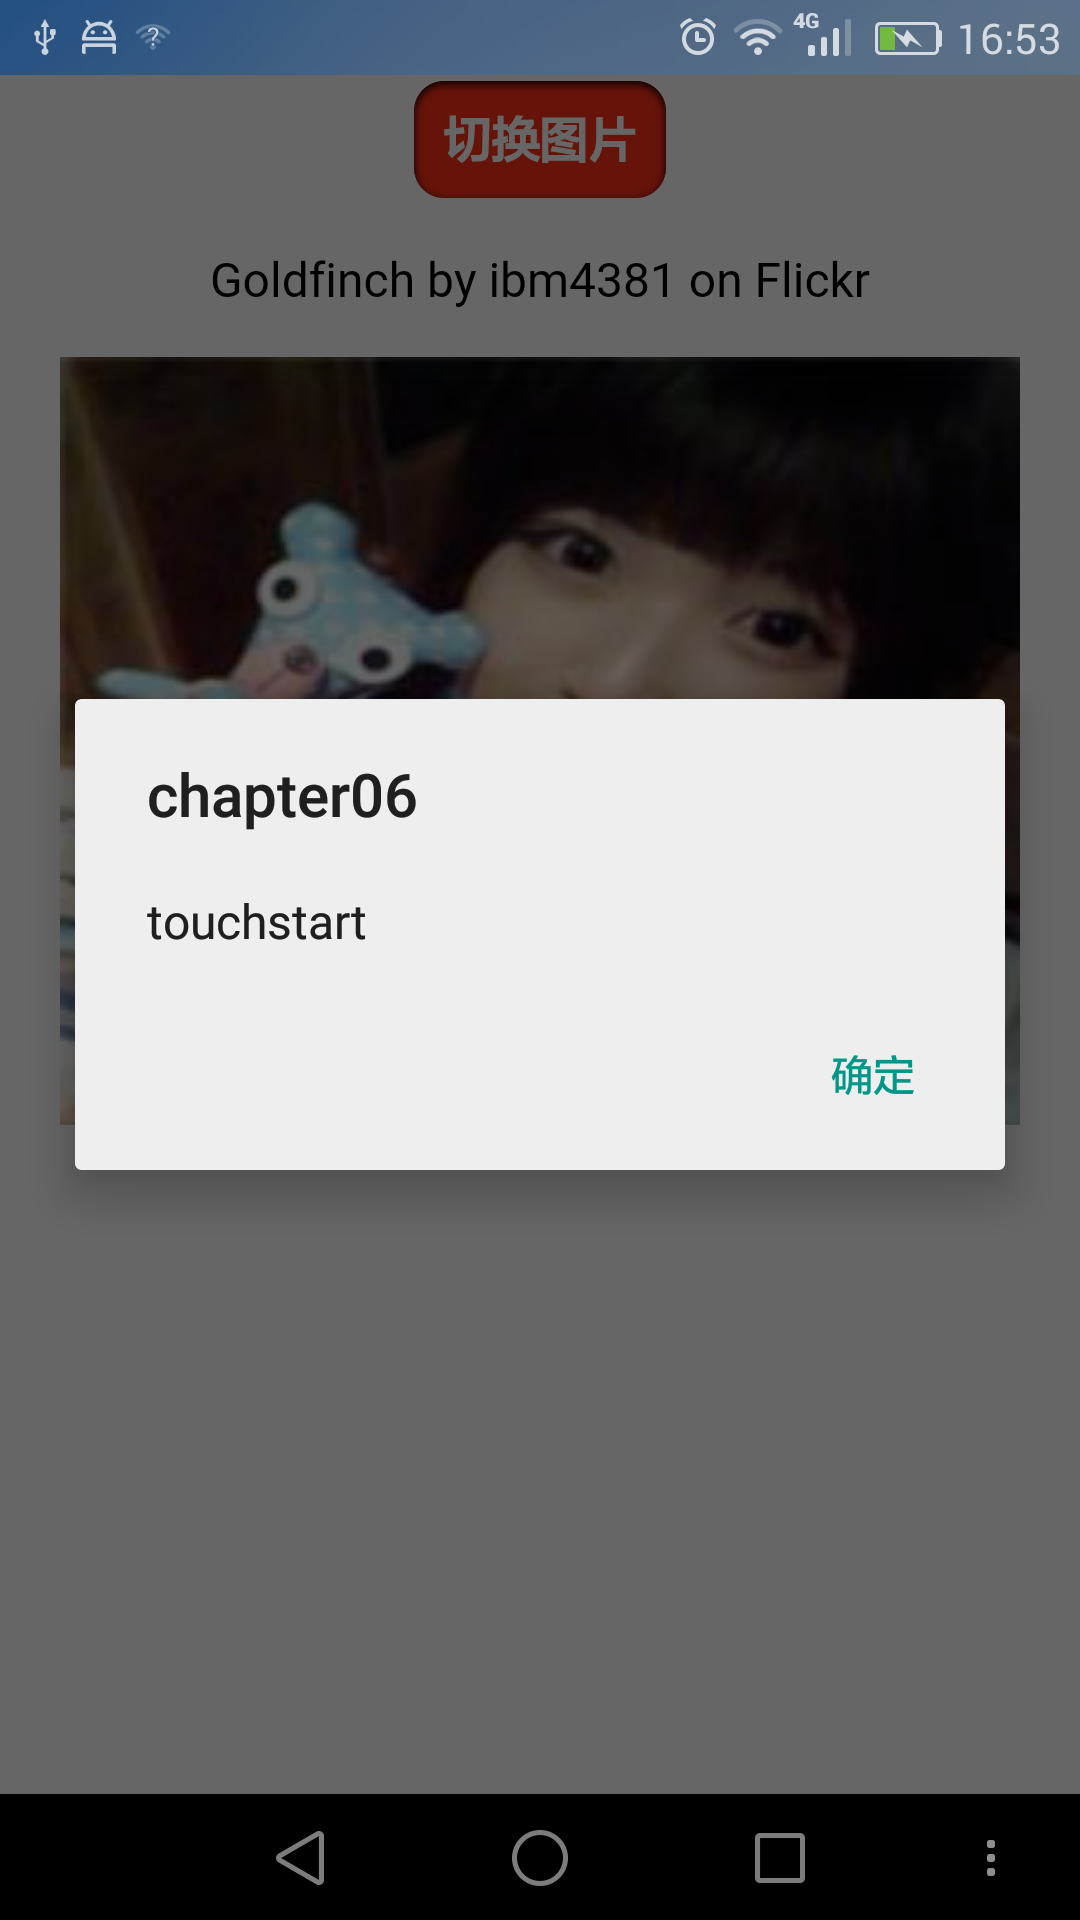
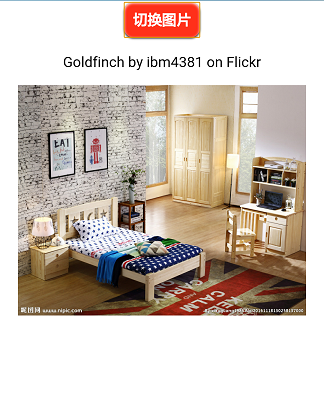
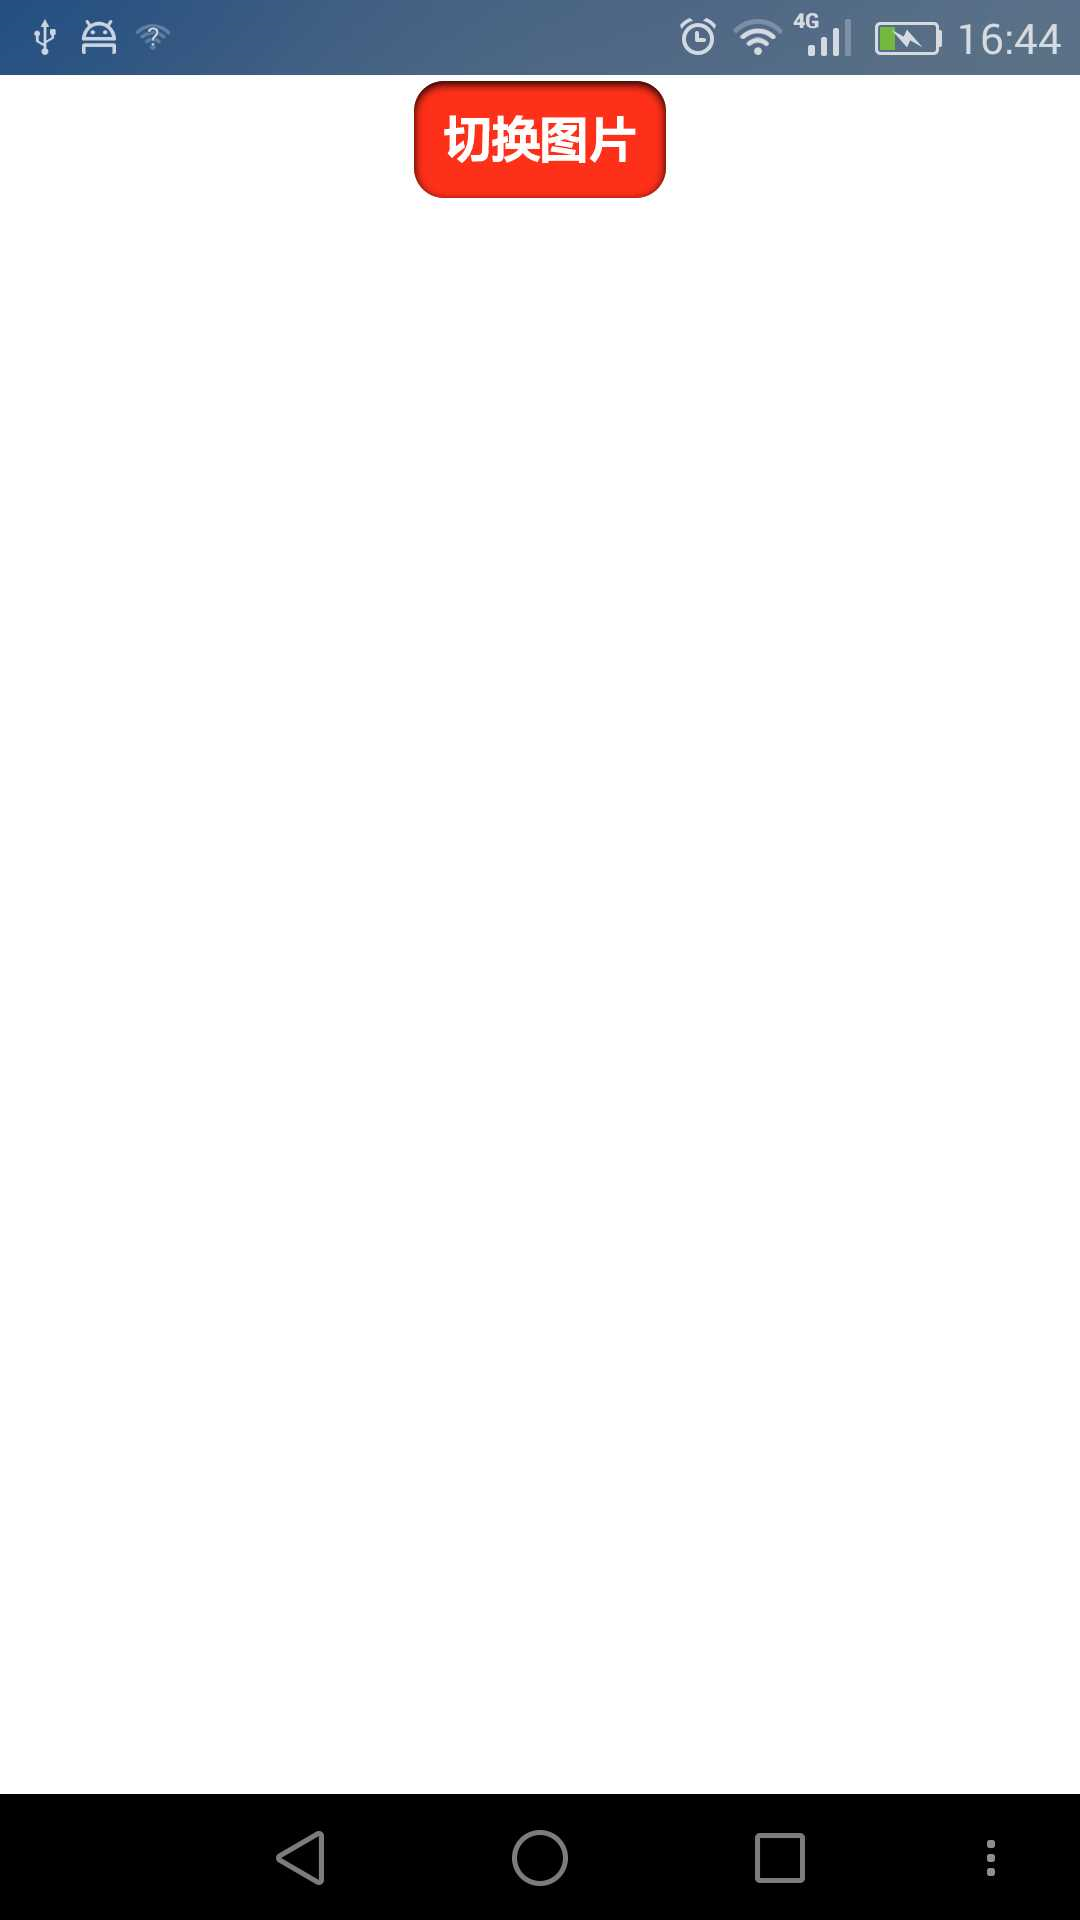
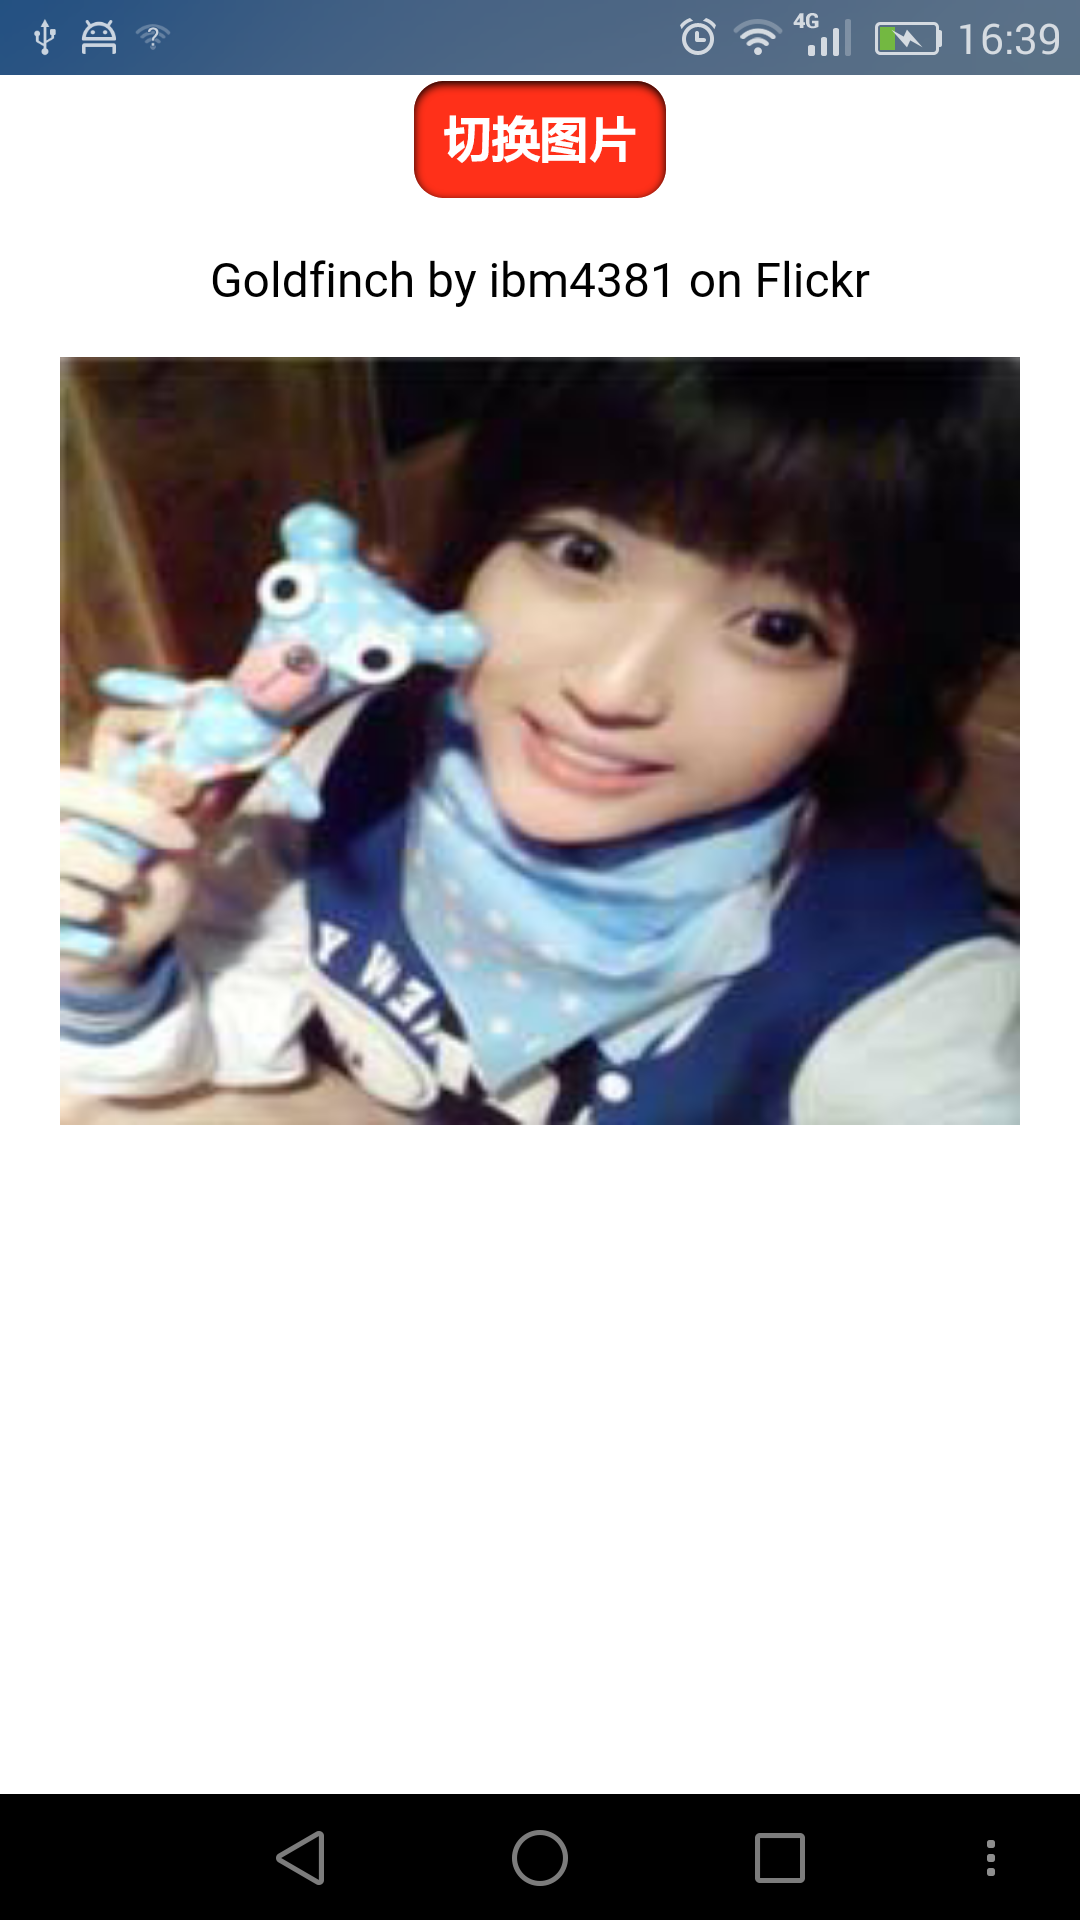
效果圖如下所示, 注意: 在手機上 會響應觸控事件,不響應單擊事件, 在PC 瀏覽器上 則相反
第二種方式, 自定義事件
使用 addEventListener來 訂閱事件. 使用它可以定義何時觸發事件以及事件的行為.
還是 仿照上個示例, 作些修改, 步驟如下:
1. 使用 自定義事件
node.addEventListener("tap",  function(e){
    togglePictrue();
});
node.addEventListener("touchstart",  function(e){
     var tap = document.createEvent("CustomEvent");
    tap.initCustomEvent("tap",  true,  true,  null);
    node.dispatchEvent(tap);
});
在這裡 initCustomEvent 方法需要四個引數,
● 該事件的名稱
● 該事件是否冒泡
● 該事件是否可以取消
● 詳細資料, 一個任意的資料,會在初始化事件時傳遞過去
2. 需要新增一個touchstart 監聽器,並且 單擊(click) 仍然不可用。 因此要檢測是否支援觸控事件, 否則降為相容到使用滑鼠事件。
function addTapListener(node, callback) {

		node.addEventListener('tap', callback);

		//一開始 定義為滑鼠 按下,擡起事件,這是為PC瀏覽器考慮的
		var startEvent = 'mousedown', endEvent = 'mouseup';

		//if touch events are available use them instead
		if (typeof(window.ontouchstart) != 'undefined') {

			//如果判斷為觸控裝置,改變為觸控開始、觸控結束事件
			startEvent = 'touchstart';
			endEvent   = 'touchend';
		}

		//開始事件
		node.addEventListener(startEvent, function(e) {
			var tap = document.createEvent('CustomEvent');
			tap.initCustomEvent('tap', true, true, null);
			node.dispatchEvent(tap);
		});

		//結束事件
		node.addEventListener(endEvent, function(e) {
			var tapend = document.createEvent('CustomEvent');
			tapend.initCustomEvent('tapend', true, true, null);
			node.dispatchEvent(tapend);
		});
	}
呼叫 上述方法的程式碼是這樣的:
addTapListener(node, function(e){
		e.preventDefault();
		e.target.className = 'active button';
		togglePicture();
});
通過這兩步,基本完成了需求。
完整程式碼如下, tap.html:
<!DOCTYPE html>
<html>
<head>
	<meta charset="utf-8">
	<meta http-equiv="X-UA-Compatible" content="IE=edge,chrome=1">
	<meta name="viewport" content="width=device-width">
	<title>Touch</title>
	<style type="text/css" media="screen">

		body {
			margin: 0;
			padding: 0;
			font-family: sans-serif;
			text-align: center;
		}

		.button {
			font-size: 16px;
			padding: 10px;
			font-weight: bold;
			border: 0;
			color: #fff;
			border-radius: 10px;
			box-shadow: inset 0px 1px 3px #fff, 0px 1px 2px #000;
			background: #ff3019;
			opacity: 1;
		}

		.active, .button:active {
			box-shadow: inset 0px 1px 3px #000, 0px 1px 2px #fff;
		}

		.hidden {
			display: none;
		}
	</style>
</head>
<body>
	<div id="touchme">
		<button class="button" id="toggle">切換圖片</button>
		<div class="hidden" style="display: none">
			<p>Goldfinch by ibm4381 on Flickr</p>
			<a href="http://www.flickr.com/photos/j_benson/3504443844/" title="Goldfinch by ibm4381, on Flickr">
				<img src="http://pic116.nipic.com/file/20161118/11902156_130258137000_2.jpg"
					width="320" height="256" alt="Goldfinch">
			</a>
		</div>
	</div>
</body>
<script type="text/javascript" charset="utf-8">
	var node = document.getElementById('toggle');
	function togglePicture(){
		var h = document.querySelector(".hidden");
		if(h.style.display == "none") {
			h.style.display = "block";
		} else {
			h.style.display = "none";
		}
	}

	addTapListener(node, function(e){
		e.preventDefault();
		e.target.className = 'active button';
		togglePicture();
	});

	function addTapListener(node, callback) {

		node.addEventListener('tap', callback);

		//一開始 定義為滑鼠 按下,擡起事件,這是為PC瀏覽器考慮的
		var startEvent = 'mousedown', endEvent = 'mouseup';

		//if touch events are available use them instead
		if (typeof(window.ontouchstart) != 'undefined') {

			//如果判斷為觸控裝置,改變為觸控開始、觸控結束事件
			startEvent = 'touchstart';
			endEvent   = 'touchend';
		}

		//開始事件
		node.addEventListener(startEvent, function(e) {
			var tap = document.createEvent('CustomEvent');
			tap.initCustomEvent('tap', true, true, null);
			node.dispatchEvent(tap);
		});

		//結束事件
		node.addEventListener(endEvent, function(e) {
			var tapend = document.createEvent('CustomEvent');
			tapend.initCustomEvent('tapend', true, true, null);
			node.dispatchEvent(tapend);
		})
	}

	node.addEventListener('tapend', function(e){
		e.preventDefault();
		e.target.className = "button";
	});

</script>
</html>
效果圖如下:
可以看到 第二種方式: 自定義事件 不比第一種方式的程式碼少, 但它更清晰地介紹了發生了什麼, 重要的是在桌面電腦上無需改動即可使用。

