
在Visual Studio 2017中編譯安裝boost_1_68_0
小編電腦為win7,V,2017,下載的boost版本為1.68.0.下面介紹配置安裝的步驟:
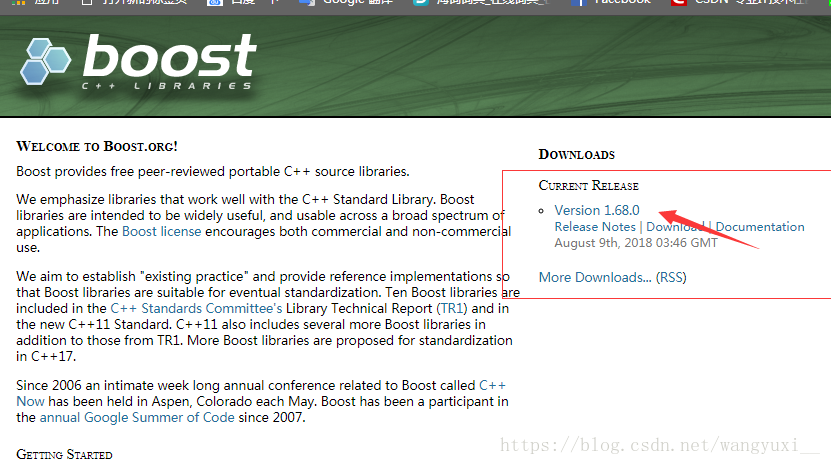
(一)在官網http://www.boost.org/下載所需版本的boost庫,最新版本為1.68.0。
(二)下載好後解壓至自己指定的位置
小編解壓到的位置為E:\boost_1_68_0

(三)配置環境
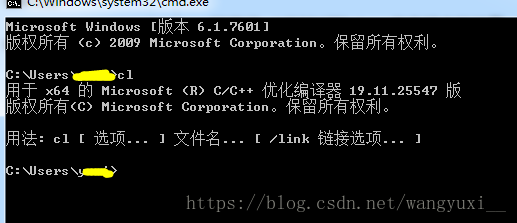
快捷鍵win徽標+R,在視窗中輸入cmd,輸入cl,若如下左圖所示,則沒有配置好環境變數。
配置環境變數:
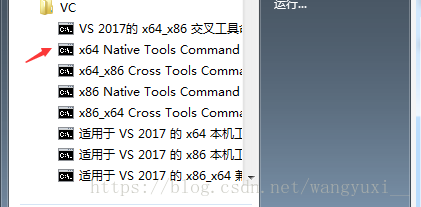
小編電腦中有兩個VC版本,Hostx64、Hostx86,我配置的是前者。
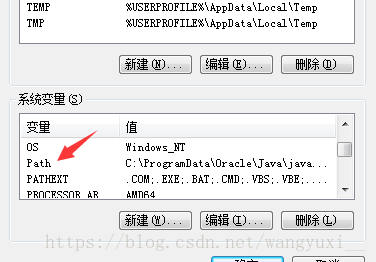
開啟控制面板,高階系統設定——環境變數——在系統環境變數中找到path編輯,新增cl的路徑。
cl的路徑:VS2017種cl.exe在電腦中的位置,如下右圖所示:

配置完成後,在命令列中輸入cl,如下圖所示,即環境配置成功。
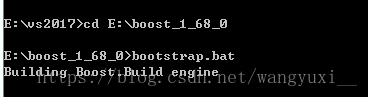
(四)開始編譯,開啟開始選單,以管理員身份進入x64 Native Tools Command Prompt for VS 2017
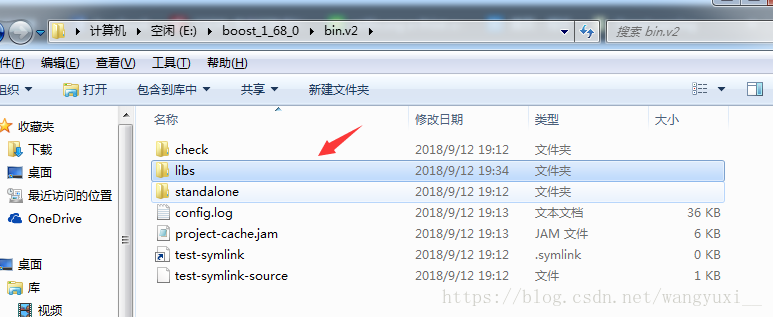
進入boot庫所在的目錄,執行bootstrap.bat檔案,如下左圖所示,執行完後會多出三個檔案,即b2.exe,bjam.exe和project-config.jam,如下右圖所示

(五)在命令列中輸入 b2.exe install --toolset=msvc-14.1 --prefix="E:\boost_1_68_0\lib" --without-python threading=multi --build- type=complete address-model=64
大概編譯50分鐘左右
(六)在VS2017中配置
1、新建一個windows控制檯程式,命名為boosttest,其它預設確定。
2、輸入程式碼:
#include "stdafx.h"


#include <boost/lexical_cast.hpp>
#include <iostream>

using namespace std;
int main()
{
	using boost::lexical_cast;
	int a = lexical_cast<int>("123");
	double b = lexical_cast<double>("123.0123456789");
	string s0 = lexical_cast<string>(a);
	string s1 = lexical_cast<string>(b);
	cout << "number: " << a << "  " << b << endl;
	cout << "string: " << s0 << "  " << s1 << endl;
	int c = 0;
	try {
		c = lexical_cast<int>("abcd");
	}
	catch (boost::bad_lexical_cast& e) {
		cout << e.what() << endl;

	}
	return 0;
}
3、修改除錯平臺

4、設定編譯環境和連結
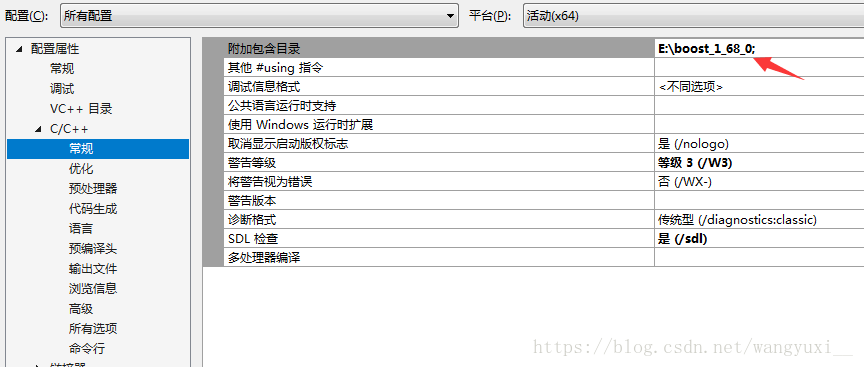
(1)設定標頭檔案目錄:專案->屬性->C/C++->常規->附加包含目錄,新增下載庫安置的路徑。
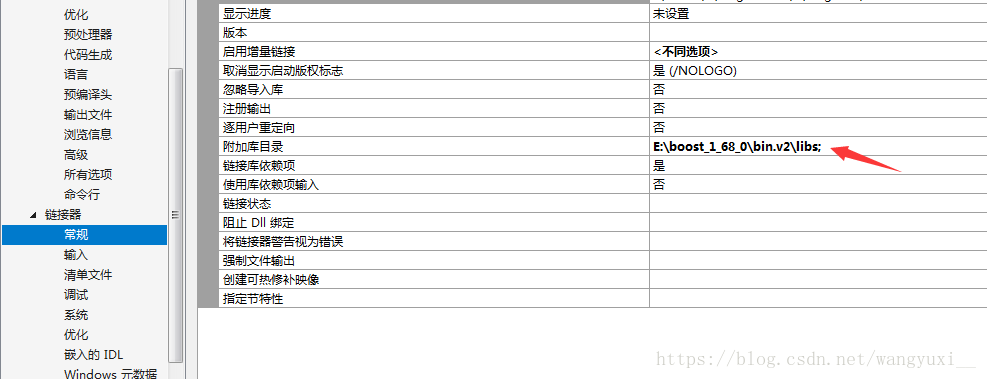
(2)設定庫檔案目錄:專案->屬性->連結器->常規->附加庫目錄,新增:E:\mylib\boost\bin1.64.0\VC14.1\lib路徑
5、執行測試
ctrl+F5,如下圖所示,即代表成功
