
OpenJDK 1.8的安裝,build Android N
以ubuntu14.04LTS 64位為例:
sudo add-apt-repository ppa:openjdk-r/ppa
sudo apt-get update
sudo apt-get install openjdk-8-jdk
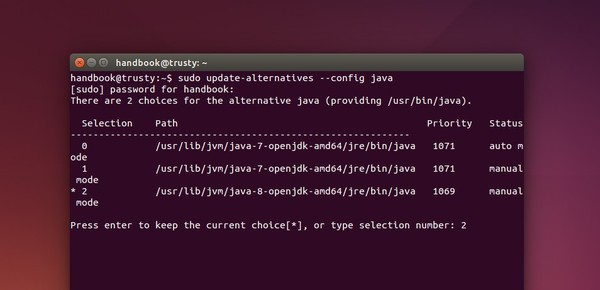
sudo update-alternatives --config java
sudo update-alternatives --config javac
想了解更多內容的盆友可以點我^_^,下面我順便也附上原網站的內容,其實總結起來就是以上的五條命令
OpenJDK Java 8 has been made into official Ubuntu repositories for 14.10 Utopic and higher. For Ubuntu 14.04, Ubuntu 12.04, and Linux Mint 17 users here’s how to install it from PPA.
OpenJDK 8 was released in March 2014. It’s available in Ubuntu Software Center for Ubuntu 14.10 and Ubuntu 15.04. Someone has reported in launchpad asking for packaging openjdk-8 in Ubuntu 14.04, but no luck so far.
As a workaround, you can install OpenJDK 8 from a PPA repository:
1. Open terminal from the Dash or by pressing Ctrl+Alt+T. When it opens, run the command below to add PPA:
sudo add-apt-repository ppa:openjdk-r/ppa
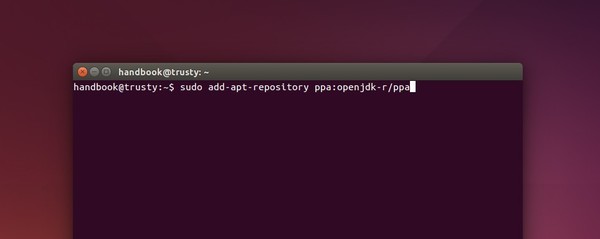
Type in user password when it asks and hit Enter to continue.
2. After that, update system package cache and install OpenJDK 8:
sudo apt-get update

sudo apt-get install openjdk-8-jdk
3. If you have more than one Java versions installed on your system. Run below command set the default Java:
sudo update-alternatives --config java
Type in a number to select a Java version.
And set default Java Compiler by running:
sudo update-alternatives --config javac
4. Finally check out current Java version by running:
java -version
It outputs something like this:
openjdk version "1.8.0_01-internal"
OpenJDK Runtime Environment (build 1.8.0_01-internal-b04)
OpenJDK 64-Bit Server VM (build 25.40-b08, mixed mode)