
(四)CentOS 7安裝Nginx(編譯安裝)
阿新 • • 發佈:2019-01-08
CentOS 7安裝Nginx(編譯安裝)
1、下載
wget http://219.238.7.69/files/1010000009FBF5E7/nginx.org/download/nginx-1.11.13.tar.gz2、解壓
tar -zxvf nginx-1.11.13.tar.gz
cd nginx-1.11.13
3、
在安裝之前首先檢查一下是否已安裝nginx的一些模組依賴的lib庫,諸如g++、gcc、pcre-devel、openssl-devel和zlib-devel。所以下面這些命令最好挨個跑一遍,已安裝的會提示不用安裝,未安裝或需要更新的則會執行安裝及更新:
yum -y install gcc-c++ pcre pcre-devel zlib zlib-devel openssl openssl-devel --setopt=protected_multilib=false 4、
安裝完依賴後下面就可以放心開始安裝nginx了,輸入安裝命令並指定安裝路徑:
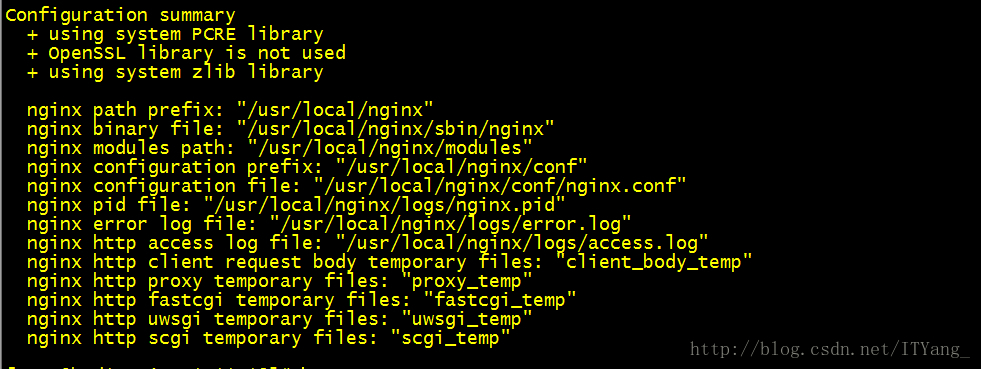
./configure --prefix=/usr/local/nginx看到如下提示資訊就說明沒有問題:
5、
最後通過make以及make install進行編譯安裝:
make && make install6、
安裝完成後啟動一下,輸入啟動命令
/usr/local/nginx/sbin/nginx之後訪問80埠看看是否安裝成功
7、設定為系統服務
vim /lib/systemd/system/nginx.service 建立檔案[Unit]
Description=The nginx HTTP and reverse proxy server
After=syslog.target network.target remote-fs.target nss-lookup.target
[Service]
Type=forking
PIDFile=/usr/local/nginx/logs/nginx.pid
ExecStartPre=/usr/local/nginx/sbin/nginx -t chmod 745 nginx.service【 chmod 745 /lib/systemd/system/nginx.service】
systemctl enable nginx.service 完後就可以使用以下命令管理tengine伺服器了:
service nginx start
service nginx stop
service nginx restart
systemctl enable nginx.service【開機自啟動】
8、讓Tengine可以處理PHP:nginx.conf
#隱藏伺服器版本號
server_tokens off;
server {
        listen       80;
        server_name  localhost;
        root   /var/www;
        location / {
            index  index.html index.htm index.php;

             if (!-e $request_filename) {
             rewrite  ^(.*)$  /index.php?s=$1  last;
             break;
            }
        }
        location ~ \.php(.*)$ {
            fastcgi_pass   127.0.0.1:9000;
            fastcgi_index  index.php;
            fastcgi_split_path_info  ^((?U).+\.php)(/?.+)$;
            fastcgi_param  SCRIPT_FILENAME  $document_root$fastcgi_script_name;
            fastcgi_param  PATH_INFO  $fastcgi_path_info;
            fastcgi_param  PATH_TRANSLATED  $document_root$fastcgi_path_info;
            include        fastcgi_params;
        }
}
9、開啟80埠(其他埠類似,只針對firewall防火牆)
service firewalld start(啟動防火牆)
firewall-cmd --zone=public --add-port=80/tcp --permanent(開放埠)
命令含義:
–zone #作用域
–add-port=80/tcp #新增埠,格式為:埠/通訊協議
–permanent #永久生效,沒有此引數重啟後失效
重啟防火牆
firewall-cmd --reload【service firewalld restart(重新啟動防火牆)】