使用websocket實現手機掃描PC端二維碼,移動端canvas手繪簽名確定後將圖片同步到PC端 掃碼及時更新圖片
這個Demo我放到線上啦,大家可以試一下(前端是用vue寫的,後臺是用springboot寫的 還處於學習階段 幫不到各位大神也請各位輕點噴
我們首先看下效果,我把圖截下來來:
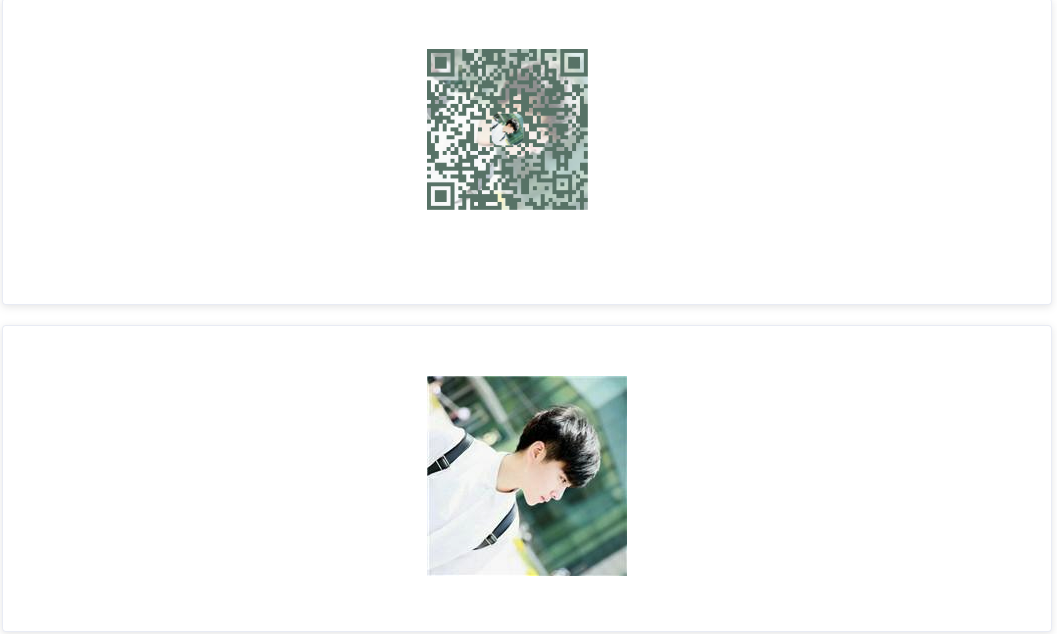
1.這個是線上地址開啟的頁面
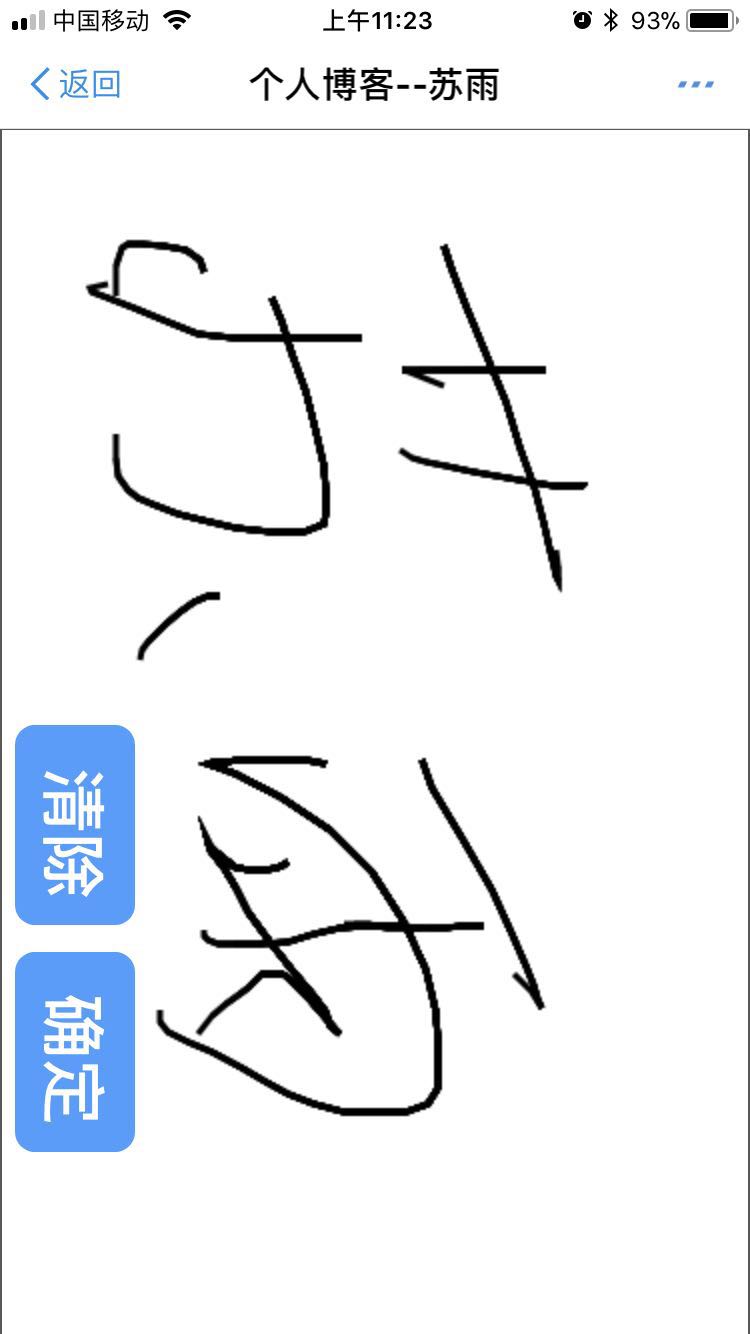
2.這是掃描二維碼後手機開啟的介面(不要用微信去掃,微信顯示不安全 用支付寶或其他的可以出來頁面)
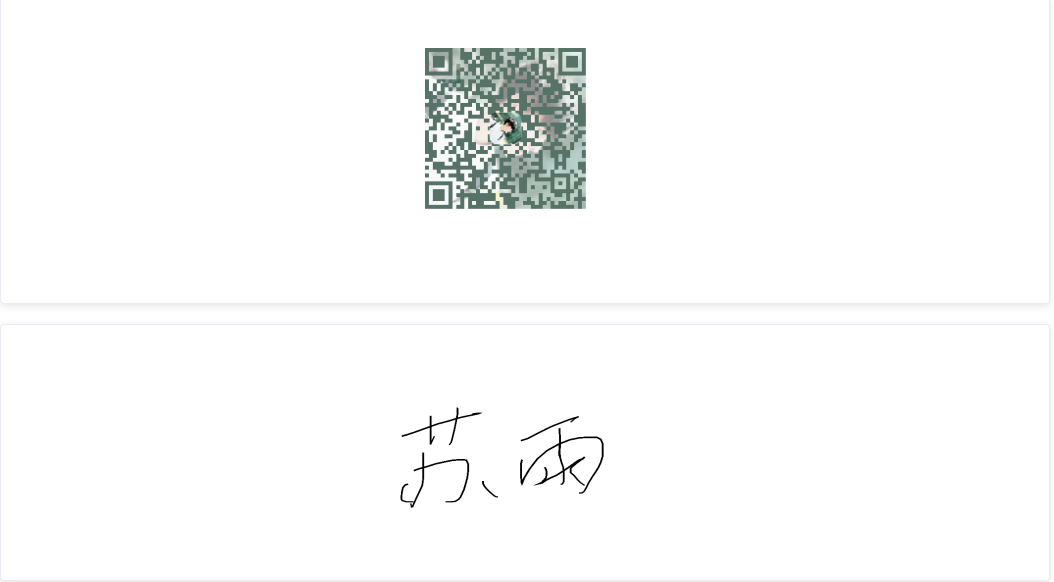
3.當手機頁面繪製忘了你想要繪製的東西,點選提交 PC端頁面就會變成這個樣子啦 (達到了及時更新的效果)
4.寫了一個小時的部落格 ,釋出上去就成了五十個字啦 我特麼也不知道咋回事 這就跟你寫一篇作文,你認真去寫 但是意外跑題啦, 再寫一遍再也沒那個心情啦 我把線上地址放出來 自己測試 可以問我要程式碼(到時候找個時間整理出來)
開始講一下實現原理:
1.分為三部分 1.就是上面的線上連結頁面 2.手機掃碼出現的頁面3.後臺程式碼
使用的東西(前端vue 二維碼外掛是vue-qr 後臺是springboot)
首先就是生產一張二維碼,然後在頁面載入的時候跟後臺進行websocket的連線,連線的時候必須傳一個userid,目的就是為了讓後臺知道是誰在跟我進行連線,然後二維碼地址也必須帶一個引數引數名無所謂 但是值必須是userid。為的就是讓後臺收到手機端的canvas的base64 轉換成圖片後 上傳到oss的地址推送給線上的連結頁面,PC端頁面接受到來自後臺推送的圖片地址 然後將圖片的地址換了 就達到了及時更新的效果。
生成二維碼程式碼: text屬性就是我們要的網址(這句程式碼只能使用vue框架和vue-qr元件才能實現二維碼)
<vue-qr :bgSrc='config.imagePath' :logoSrc="config.imagePath" :text="config.url" height="300" width="300"></vue-qr>2.進行websocket連線的程式碼
      init : function() {
        if (vc.get('token-qrcode')) {
          this.identity  = vc.get('token-qrcode')
        } else {
          this.identity = 'qrcode'+this.initidentity(10);
          vc.set('token-qrcode', this.identity, 1);
        }//這個就是連線後臺的地址   一定要給後面這個引數
        let url = "ws://www.niezhiliang.com:8080/socketServer/"+this.identity
        if ('WebSocket' in window){
          this.ws = new WebSocket(url);
        }
        else if ('MozWebSocket' in window){
          this.ws = new MozWebSocket(url);
        }
        //普通的js寫法不支援賦值操作
        this.ws.onmessage = (evt) => {
          this.config.imgpath = evt.data
        }
      }
vc.get() 和vc.set() 是對cookie進行操作 其實這個你們不必這麼做,給個固定的userid就夠了 我是通過這個做了當前線上的操作,所以才把userid儲存到了cookie 然後用的時候從cookie裡面拿出來。
這個頁面就說完了。
3.我們說下手機瀏覽器的頁面
<template>
  <div class="inner draw" @mousemove="beginPath($event)">
    <div class="wrap" style="position: relative;">
      <canvas
        id="canvas"
        class="fl"
        :width="screenWidth"
        :height="screenHeight"
        @mousedown="canvasDown($event)"
        @mouseup="canvasUp($event)"
        @mousemove="canvasMove($event)"
        @touchstart="canvasDown($event)"
        @touchend="canvasUp($event)"
        @touchmove="canvasMove($event)"
      >
      </canvas>
      <div id="control" style="float: left">
        <div id="canvas-control">
          <button class="el-button btn-orange el-button--primary"
                  @click="controlCanvas('clear')">
            清除
          </button>
          <button @click="getImage" class="el-button btn-orange el-button--primary">
            確定
          </button>
        </div>
      </div>
    </div>
  </div>
</template>
手機端主要就是一個canvas,兩個按鈕 ,一個清空畫板,一個儲存資料提交到後臺 。
我們通過記錄手機觸控點的各個位置 然後給它的移動留下軌跡 就形成了我們要的圖片內容
canvas裡面全是一些事件 記錄運動軌跡的,繪製完了我們通過點選 確定按鈕 然後通過canvas提供的方法得到圖片 但是得到的是base64所以我們在後臺還進行了一次轉圖片的操作 然後再儲存的oss。
 // 生成圖片的方法
      getImage () {
        const canvas = document.querySelector('#canvas')
        const src = canvas.toDataURL('image/png')
        let pic = src.replace(/^data:image\/(png|jpg);base64,/, '')
        let id = null
        let url = window.location.href;
        id = url.substring(url.lastIndexOf('=')+1)
        //後臺的請求地址 id是二維碼地址穿過來的  我們擷取一下就得到了
        request.post('qrcode/base64upload', { base64code: pic,userid: id }).then(res => {
          if (res.data.status === 20) {
          alert('繪製成功,請到pc端檢視')
          window.opener = null
          window.close()
        }
      }).catch(function (err) {
          alert(err)
        })
      },
後臺程式碼:
後臺主要就是websocket啦 如果你不是很懂得話 可以去看看我的另一篇部落格 其實原理就是通過那篇部落格的內容來實現的。
我們來看程式碼:
定義的websocket的入口(注意有個userid)
@ServerEndpoint(value = "/socketServer/{userid}")
@Component
public class SocketServer {

	private Session session;
	private static Map<String,Session> sessionPool = new HashMap<String,Session>();
	private static Map<String,String> sessionIds = new HashMap<String,String>();
	private static Map<String,String> onlinesize = new HashMap<String, String>();
	Set<String> online = new HashSet<String>();


	@OnOpen
	public void open(Session session,@PathParam(value="userid")String userid){
		this.session = session;
		sessionPool.put(userid, session);
		sessionIds.put(session.getId(), userid);
	}


	public static void sendMessage(String message,String userId){
		Session s = sessionPool.get(userId);
		if(s!=null){
			try {
				s.getBasicRemote().sendText(message);
			} catch (IOException e) {
				e.printStackTrace();
			}
		}
	}
手機頁面點確定跳轉的controller(主要就是把前端傳的base64轉成流 然後儲存到oss 然後返回檔案地址 呼叫socket的發現資訊方法,將地址推送到前端頁面)
 /**上傳base64到oss**/
    @RequestMapping(value = "base64upload")
    public String qrcodesign(@RequestBody QrcodePo qrcodePo) {
        RestInfo restInfo = new RestInfo();
        if(qrcodePo.getUserid() == null || qrcodePo.getBase64code() == null) {
            restInfo.setCode(InfoCode.ERROR);
            restInfo.setMessage("使用者名稱和base64都必傳");
        } else {
            //這裡主要是為了url轉碼用
            String code = qrcodePo.getBase64code().replace(' ','+');
            restInfo = fileupload(code);
        }
        SocketServer.sendMessage(restInfo.getContent().toString(),qrcodePo.getUserid());
        return JSON.toJSONString(restInfo);
    }

    /**
     * 檔案上傳
     * @param
     * @return
     */
    public RestInfo fileupload (String code) {
        OssUtil ossUtil = new OssUtil();
        FileOpea fileOpea = new FileOpea();
        RestInfo respInfo = new RestInfo();
        String oss_file_path ="person/sign/" ;
        String fileType = ".png";
        byte [] bytes = Base64toImg.GenerateByte(code);
        BufferedImage bufferedImage = null;
        try {
            bufferedImage =  ImgUtil.spin(270,bytes);
            bufferedImage = ThumbnailatorUtils.ImgBufferedImage(bufferedImage,"D:/sign",300,150,"test.png");
        } catch (Exception e) {
            e.printStackTrace();
        }
        try {
            ByteArrayOutputStream os = new ByteArrayOutputStream();
            ImageIO.write(bufferedImage, "png", os);
            InputStream inputStream = new ByteArrayInputStream(os.toByteArray());
            fileOpea.setSuffix(fileType);
            String fileName = System.currentTimeMillis()+new Random().nextInt(123456)+fileType;
            fileOpea.setOssname(fileName);
            oss_file_path += fileName;
            ossUtil.upload(oss_file_path,inputStream);
            fileOpea.setOss_path(osspath+"/"+oss_file_path);
            respInfo.setContent(fileOpea.getOss_path());
            respInfo.setCode(InfoCode.SUCCESS);
        } catch (IOException e) {
            respInfo.setCode(InfoCode.ERROR);
        }
        return respInfo;
    }


