用python處理圖片---通道轉換、裁剪與幾何變換
用python處理圖片---通道轉換、裁剪與幾何變換
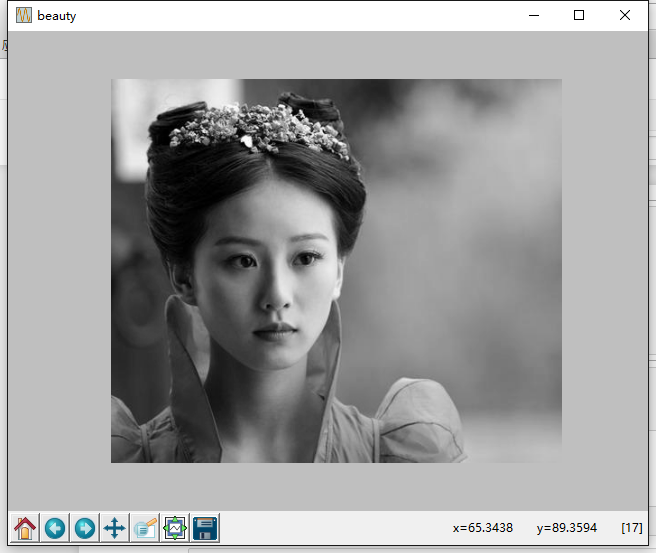
1、彩色影象轉灰度圖
轉載:https://www.cnblogs.com/denny402/p/5096330.html
from PIL import Image
import matplotlib.pyplot as plt
img=Image.open('d:/ex.jpg')
gray=img.convert('L')
plt.figure("beauty")
plt.imshow(gray,cmap='gray')
plt.axis('off')
plt.show()


######################Method2
import cv2
from matplotlib import pyplot as plt

img = cv2.imread("128.jpg")
gray_image = cv2.cvtColor(img, cv2.COLOR_BGR2GRAY)
#gray_image = img[:,:,0]
print(gray_image)
plt.imshow(gray_image,cmap='Greys')
plt.show()
cv2.imwrite('res2.jpg',gray_image)

使用函式convert()來進行轉換,它是影象例項物件的一個方法,接受一個 mode 引數,用以指定一種色彩模式,mode 的取值可以是如下幾種:
· 1 (1-bit pixels, black and white, stored with one pixel per byte)
· L (8-bit pixels, black and white)
· P (8-bit pixels, mapped to any other mode using a colour palette)
· RGB (3x8-bit pixels, true colour)
· RGBA (4x8-bit pixels, true colour with transparency mask)
· CMYK (4x8-bit pixels, colour separation)
· YCbCr (3x8-bit pixels, colour video format)
· I (32-bit signed integer pixels)
· F (32-bit floating point pixels)
2、通道分離與合併
from PIL import Image
import matplotlib.pyplot as plt
img=Image.open('d:/ex.jpg')  #開啟影象
gray=img.convert('L')   #轉換成灰度
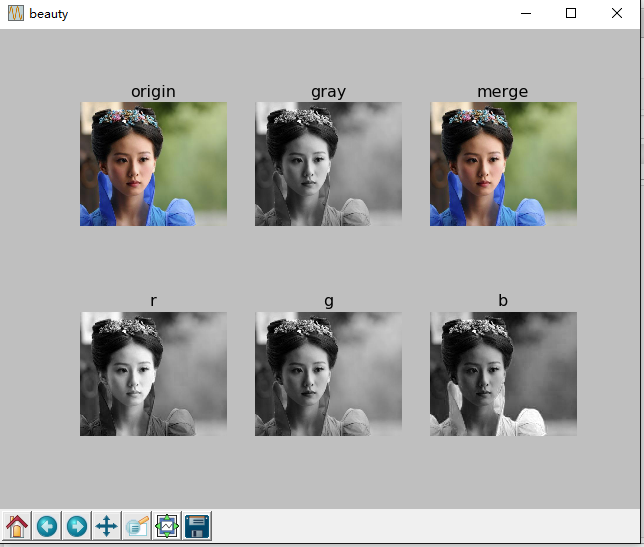
r,g,b=img.split()   #分離三通道
pic=Image.merge('RGB',(r,g,b)) #合併三通道
plt.figure("beauty")
plt.subplot(2,3,1), plt.title('origin')
plt.imshow(img),plt.axis('off')
plt.subplot(2,3,2), plt.title('gray')
plt.imshow(gray,cmap='gray'),plt.axis('off')
plt.subplot(2,3,3), plt.title('merge')
plt.imshow(pic),plt.axis('off')
plt.subplot(2,3,4), plt.title('r')
plt.imshow(r,cmap='gray'),plt.axis('off')
plt.subplot(2,3,5), plt.title('g')
plt.imshow(g,cmap='gray'),plt.axis('off')
plt.subplot(2,3,6), plt.title('b')
plt.imshow(b,cmap='gray'),plt.axis('off')
plt.show() 
3、裁剪圖片
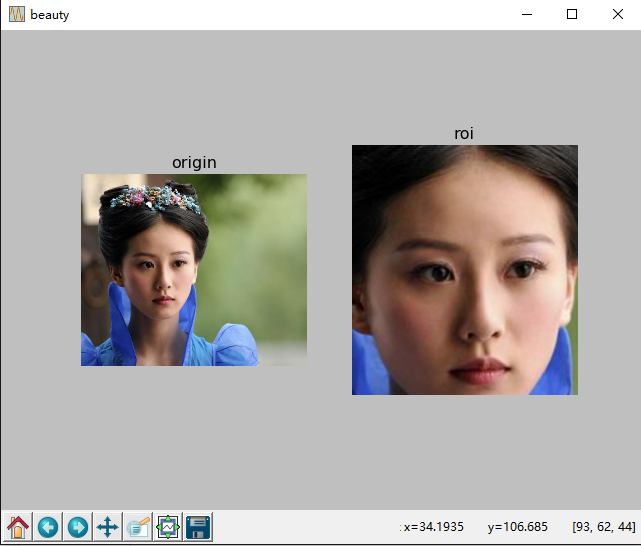
從原圖片中裁剪感興趣區域(roi),裁剪區域由4-tuple決定,該tuple中資訊為(left, upper, right, lower)。 Pillow左邊系統的原點(0,0)為圖片的左上角。座標中的數字單位為畫素點。
from PIL import Image
import matplotlib.pyplot as plt
img=Image.open('d:/ex.jpg')  #開啟影象
plt.figure("beauty")
plt.subplot(1,2,1), plt.title('origin')
plt.imshow(img),plt.axis('off')

box=(80,100,260,300)
roi=img.crop(box)
plt.subplot(1,2,2), plt.title('roi')
plt.imshow(roi),plt.axis('off')
plt.show() 
用plot繪製顯示出圖片後,將滑鼠移動到圖片上,會在右下角出現當前點的座標,以及畫素值。
4、幾何變換
Image類有resize()、rotate()和transpose()方法進行幾何變換。
1、影象的縮放和旋轉
dst = img.resize((128, 128))
dst = img.rotate(45) # 順時針角度表示2、轉換影象dst = im.transpose(Image.FLIP_LEFT_RIGHT) #左右互換
dst = im.transpose(Image.FLIP_TOP_BOTTOM) #上下互換
dst = im.transpose(Image.ROTATE_90) #順時針旋轉
dst = im.transpose(Image.ROTATE_180)
dst = im.transpose(Image.ROTATE_270)transpose()和rotate()沒有效能差別。