Eclipse使用(十二)—— 建立Maven多模組(父子)專案演示Maven的聚合和繼承以及模組之間的依賴關係
阿新 • • 發佈:2019-01-09
在子模組中宣告該模組所屬的父專案,如下:
<packaging>jar</packaging><!-- 打包方式jar包或者war包,如果不宣告預設為jar包,當然也可以為pom,這意味著此模組下面還有子模組 -->
<parent>
  <groupId>com.mengfei</groupId><!-- 命名規範:com後面公司名或縮寫 -->
  <artifactId>demo-parent</artifactId><!-- 命名規範:專案名-模組名 -->
  <version>0.0.1-SNAPSHOT</version>
</parent>
2、什麼是模組繼承?
當系統越來越大,模組越來越多時,配置檔案也越來越多,分佈在各個模組的配置檔案內容如果要修改時就很麻煩,不利於維護,這個時候就需要用到模組的繼承功能,統一在父模組中進行通用配置,然後在子模組中繼承父模組的配置。繼承的主要作用就是方便維護配置檔案,同時實現程式碼重用。在父專案中統一定義依賴的jar包,如下:
在子模組中繼承父模組的配置,如下:<properties> <project.build.sourceEncoding>UTF-8</project.build.sourceEncoding> <junit.version>4.12</junit.version><!-- 在屬性設定中統一定義依賴jar包版本號 --> </properties> <dependencyManagement><!-- 在此標籤管理下的依賴配置可以由子模組繼承 --> <dependencies> <dependency> <groupId>junit</groupId> <artifactId>junit</artifactId> <version>${junit.version}</version> </dependency> </dependencies> </dependencyManagement>
<dependencies>
    <dependency>
      <groupId>junit</groupId>
      <artifactId>junit</artifactId>
    </dependency>
    <!-- 繼承依賴配置時就不需要再新增版本號,實現父專案的統一管理 -->
</dependencies>
3、什麼是依賴傳遞?
當我們專案中的某個模組需要用到另外一個模組時,我們稱之為該模組依賴另一個模組,比如dao層訪問資料庫時需要用到model層,那就是dao層依賴model層。然後如果service層同時需要用到dao層和model層時,service層只需要依賴dao層即可,因為dao層已經依賴了model層,依賴從dao層傳遞到了service層,所以service層也依賴了model層,這就是依賴傳遞的特性。如下圖:
二、專案演示
1、建立父模組
① 選擇maven專案原型(File → New → Project → Next)
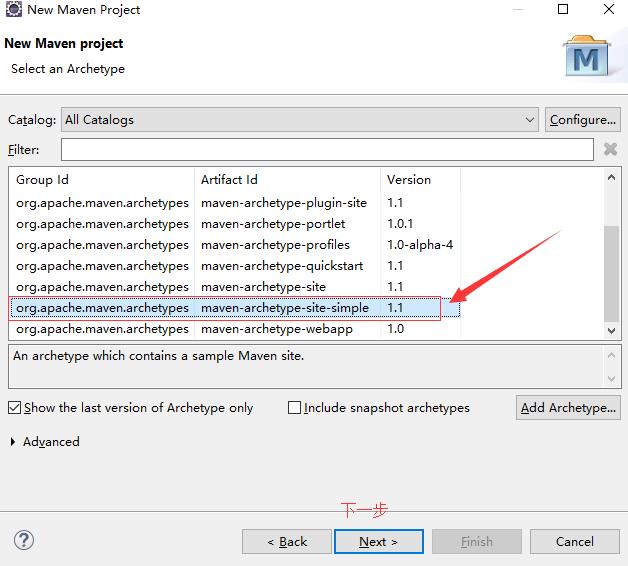
② 填寫父模組資訊
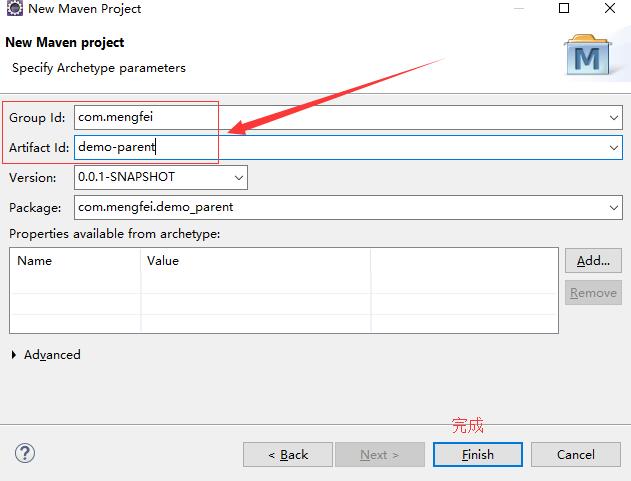
③ 檢視建立的專案
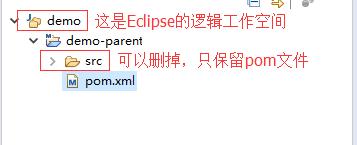
2、建立子模組demo-common
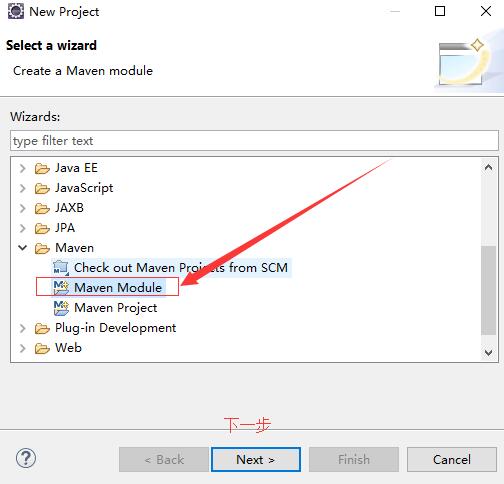
① 開始建立子模組(左鍵點選父模組,右鍵點選選擇New → Project)
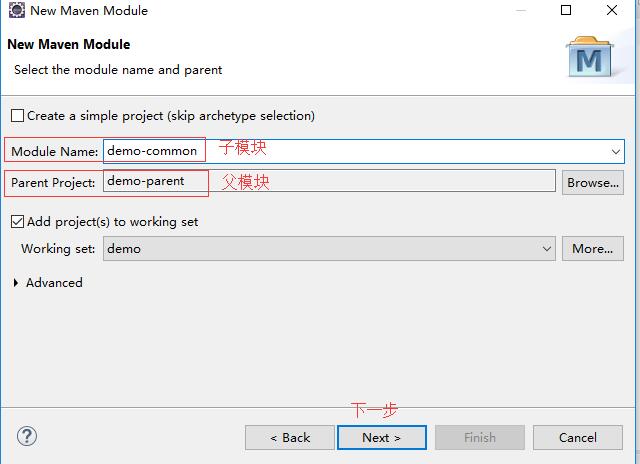
② 填寫父子模組名稱
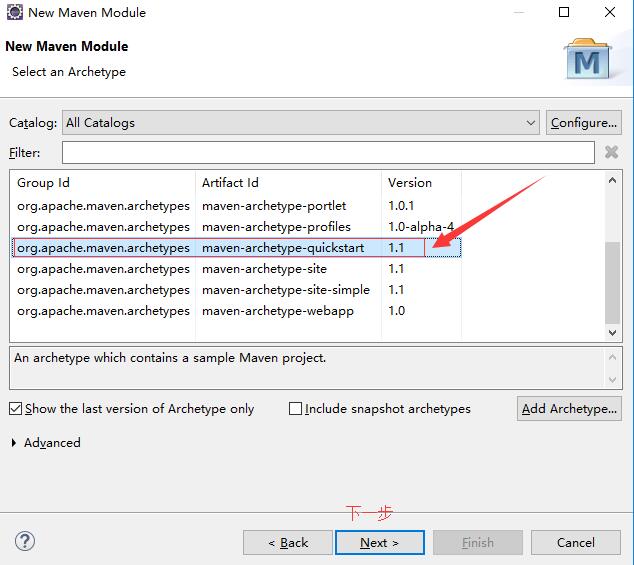
③ 選擇maven專案原型
④ 專案建立完成

3、同樣的步驟選擇webapp原型建立子模組demo-sso
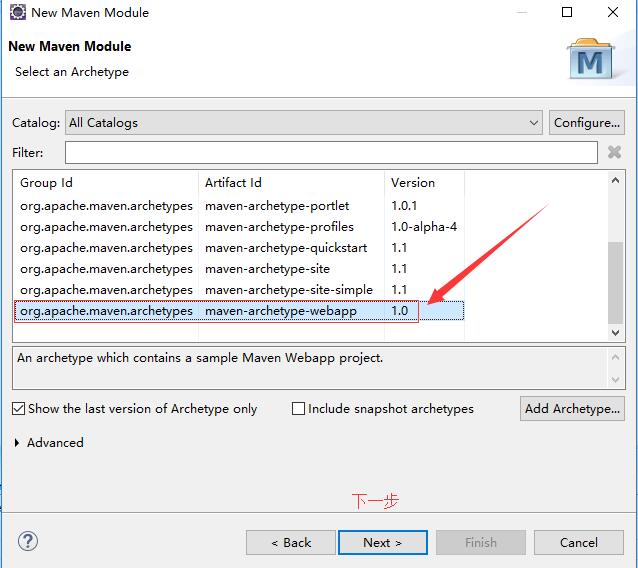
4、同樣的步驟選擇site-simple原型再建立一個子模組demo-cms

5、檢視父專案的pom檔案,聚合了三個模組
<modules>
    <module>demo-common</module>
    <module>demo-sso</module>
    <module>demo-cms</module>
  </modules>
6、向父專案的pom中新增依賴管理
<properties>
    <project.build.sourceEncoding>UTF-8</project.build.sourceEncoding>
    <junit.version>4.12</junit.version>
    <servlet-api.version>4.0.0</servlet-api.version>
  </properties>
  <dependencyManagement>
  	<dependencies>
  		<dependency>
		    <groupId>junit</groupId>
		    <artifactId>junit</artifactId>
		    <version>${junit.version}</version>
    	</dependency>
	    <dependency>
	  		<groupId>javax.servlet</groupId>
	  		<artifactId>javax.servlet-api</artifactId>
	  		<version>${servlet-api.version}</version>
	  	</dependency>
  	</dependencies>
  </dependencyManagement>
7、修改demo-sso中的pom檔案內容,繼承父專案的pom依賴
demo-sso因為缺少servlet容器應該一直報錯,修改完之後更新一下demo-sso應該就不會報錯了,不報錯了說明繼承依賴成功。<dependencies>
<dependency>
<groupId>javax.servlet</groupId>
<artifactId>javax.servlet-api</artifactId>
</dependency>
</dependencies>8、修改demo-common中的pom檔案內容,繼承父專案的pom依賴
<dependencies>
    <dependency>
      <groupId>junit</groupId>
      <artifactId>junit</artifactId>
      <!-- <scope>test</scope> -->
    </dependency>
</dependencies>
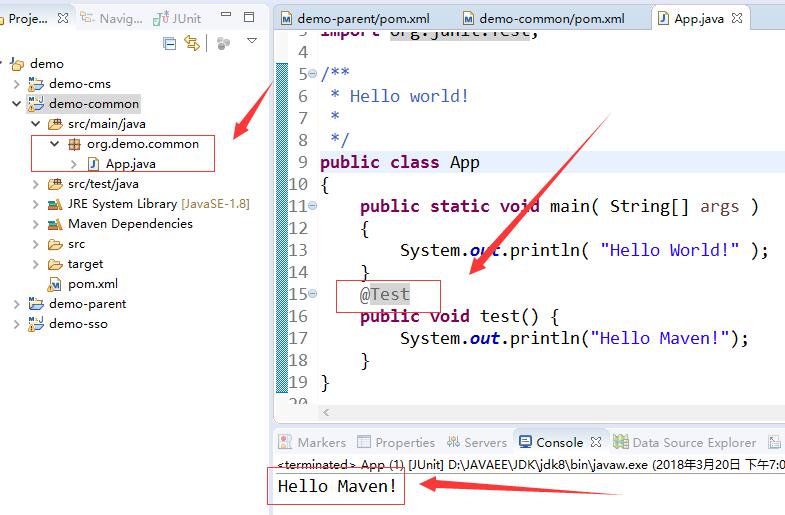
9、在demo-common專案的App類中編寫一個測試方式,呼叫Test註解
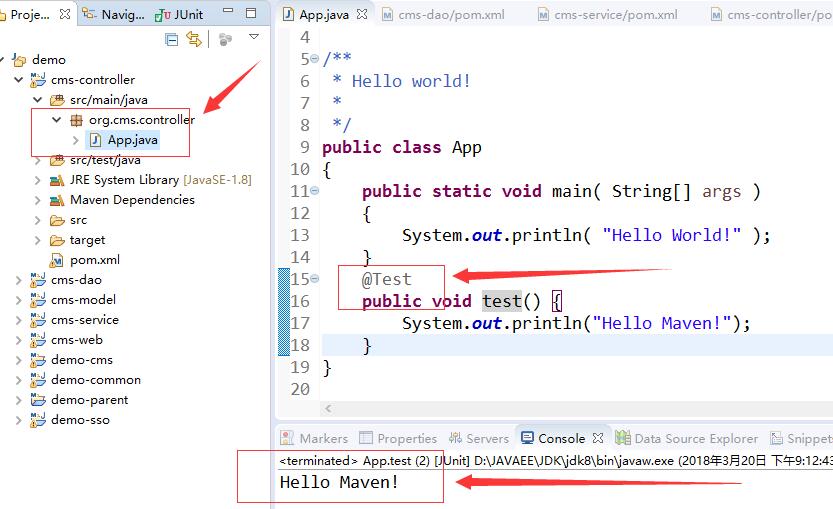
測試方法成功執行,說明繼承依賴成功
10、按照上面的步驟在demo-cms下面建立五個子模組
cms-model:cms系統用到的實體模型模組
cms-dao:cms系統的資料訪問模組
cms-service:cms系統的業務服務模組
cms-controller:cms系統的控制轉發模組
cms-web:cms系統的靜態資源和檢視模組
下面是它們的依賴關係圖:
11、進行依賴傳遞測試
① 修改cms-dao的pom檔案如下內容(新增junit依賴,僅僅為了測試,開發中不會這麼做)
<dependencies>
    <dependency>
      <groupId>junit</groupId>
      <artifactId>junit</artifactId>
      <!-- <scope>test</scope> -->
    </dependency>
  </dependencies>
② 修改cms-service的pom檔案如下內容(新增cms-dao的依賴)
<dependencies>
    <dependency>
      <groupId>com.mengfei</groupId>
  	  <artifactId>cms-dao</artifactId>
      <version>${project.version}</version>
    </dependency>
  </dependencies>
③ 修改cms-controller的pom檔案如下內容(新增cms-service的依賴)
<dependencies>
    <dependency>
      <groupId>com.mengfei</groupId>
  	  <artifactId>cms-service</artifactId>
      <version>${project.version}</version>
    </dependency>
  </dependencies>
④ 在cms-controller中的App類中寫一個測試方法,呼叫junit的註解實現,如果方法正常執行,說明依賴傳遞成功
