
springcloud學習筆記(五)SpringCloud整合Feign(1)
阿新 • • 發佈:2019-01-09
宣告性REST客戶端:Feign
對於feign,springCloud官方如是說:
Feign是一個宣告式的Web服務客戶端。這使得Web服務客戶端的寫入更加方便 要使用Feign建立一個介面並對其進行註釋。它具有可插入註釋支援,包括Feign註釋和JAX-RS註釋。Feign還支援可插拔編碼器和解碼器。Spring
Cloud增加了對Spring MVC註釋的支援,並使用Spring Web中預設使用的HttpMessageConverters。Spring
Cloud整合Ribbon和Eureka以在使用Feign時提供負載均衡的http客戶端。
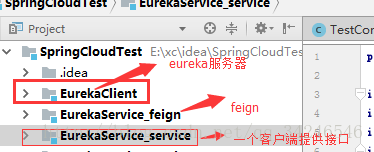
使用三個測試專案:
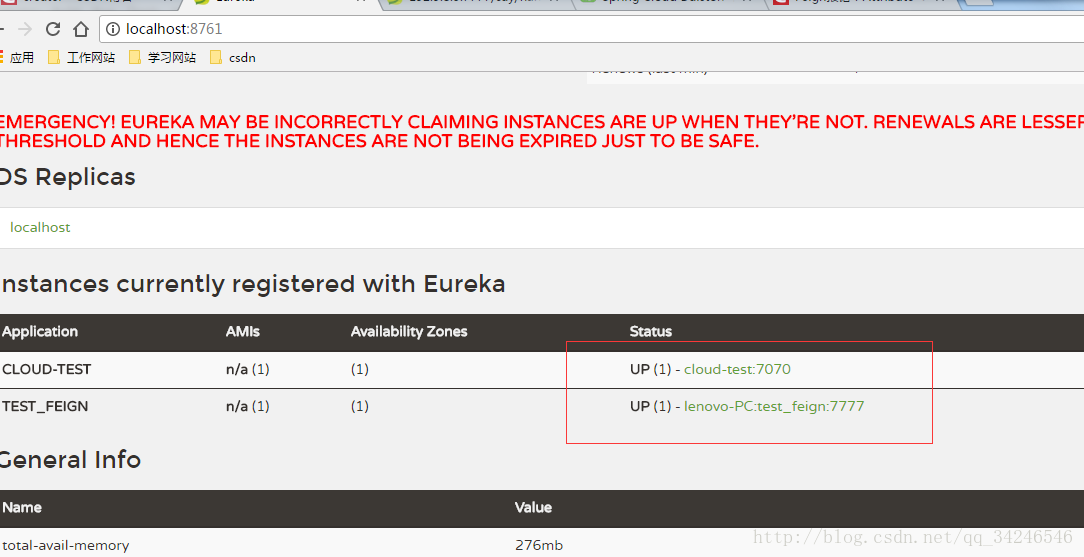
先啟動伺服器和提供介面的客戶端:
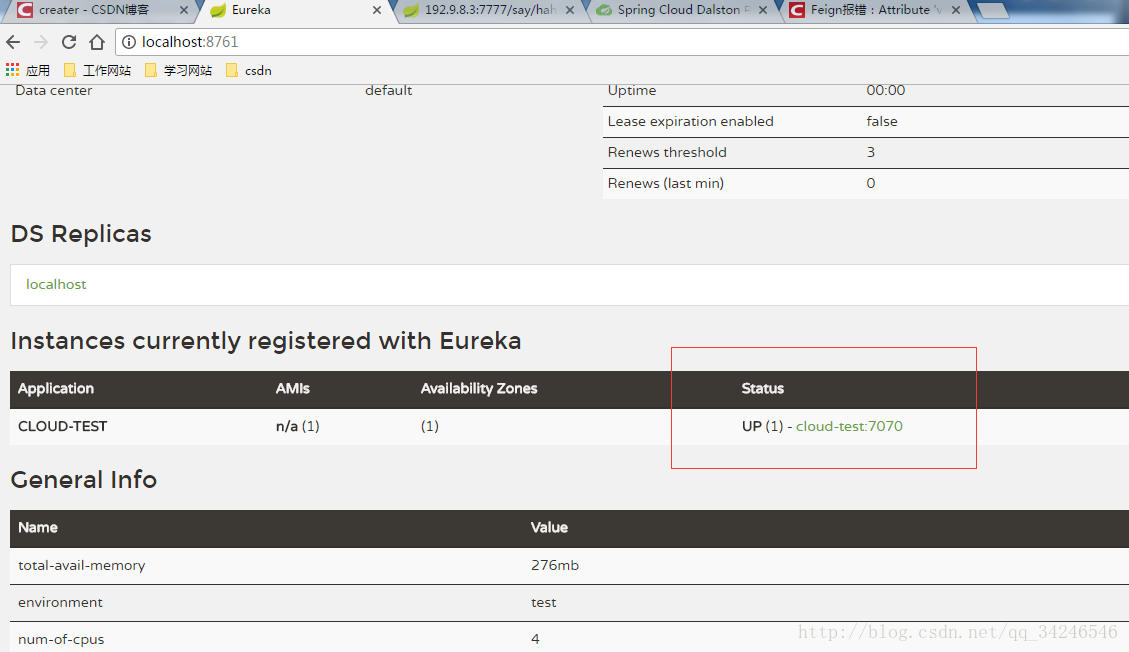
在eureka可以看到發現了一個微服務,在這個客戶端有一個介面:

好,準備工作做完,開始寫feign:
首先加入依賴
 <dependency>
            <groupId>org.springframework.cloud</groupId>
            <artifactId>spring-cloud-starter-feign</artifactId>
</dependency>啟動類加入註解@EnableFeignClients<?xml version="1.0" encoding="UTF-8"?> <project xmlns="http://maven.apache.org/POM/4.0.0" xmlns:xsi="http://www.w3.org/2001/XMLSchema-instance" xsi:schemaLocation="http://maven.apache.org/POM/4.0.0 http://maven.apache.org/xsd/maven-4.0.0.xsd"> <parent> <artifactId>SpringCloudTest</artifactId> <groupId>com.xc.springcloud</groupId> <version>1.0-SNAPSHOT</version> </parent> <modelVersion>4.0.0</modelVersion> <artifactId>EurekaService_feign</artifactId> <dependencies> <dependency> <groupId>org.springframework.boot</groupId> <artifactId>spring-boot-starter-web</artifactId> </dependency> <dependency> <groupId>org.springframework.cloud</groupId> <artifactId>spring-cloud-starter-eureka</artifactId> </dependency> <dependency> <groupId>org.springframework.boot</groupId> <artifactId>spring-boot-starter-actuator</artifactId> </dependency> <dependency> <groupId>org.springframework.cloud</groupId> <artifactId>spring-cloud-starter-feign</artifactId> </dependency> </dependencies> </project>
完整如下:
package com.xc;

import org.springframework.boot.SpringApplication;
import org.springframework.boot.autoconfigure.SpringBootApplication;
import org.springframework.cloud.netflix.eureka.EnableEurekaClient;
import org.springframework.cloud.netflix.feign.EnableFeignClients;

@SpringBootApplication
@EnableEurekaClient
@EnableFeignClients
public class App_feign {
    public static void main(String args[]){
        SpringApplication.run(App_feign.class);
    }
}
配置檔案 改動埠以及微服務名稱:
完整如下:
spring:
  application:
    name: test_feign
server:
  port: 7777
eureka:
  client:
    healthcheck:
      enabled: true
    serviceUrl:
      defaultZone: http://xc:[email protected]:8761/eureka
  instance:
prefer-ip-address: truepackage com.xc.feign;
import org.springframework.cloud.netflix.feign.FeignClient;
import org.springframework.web.bind.annotation.PathVariable;
import org.springframework.web.bind.annotation.RequestMapping;
import org.springframework.web.bind.annotation.RequestMethod;
@FeignClient("cloud-test")
public interface TestFeign {
@RequestMapping(value = "/say/{words}",method = RequestMethod.GET)
public String sayHello(@PathVariable("words") String words);
}此處介面應與cloud-test當中 要訪問的介面一致。
然後寫一個rest介面:
package com.xc.controller;

import com.xc.feign.TestFeign;
import org.springframework.beans.factory.annotation.Autowired;
import org.springframework.web.bind.annotation.PathVariable;
import org.springframework.web.bind.annotation.RequestMapping;
import org.springframework.web.bind.annotation.RequestMethod;
import org.springframework.web.bind.annotation.RestController;

@RestController
public class TestController {

         @Autowired
        private TestFeign testFeign;

        @RequestMapping(value="/say/{word}",method = RequestMethod.GET)
        public String say(@PathVariable String word){
            return testFeign.sayHello(word);
        }

}
ok,開始測試:
訪問http://192.9.8.3:7777/say/haha
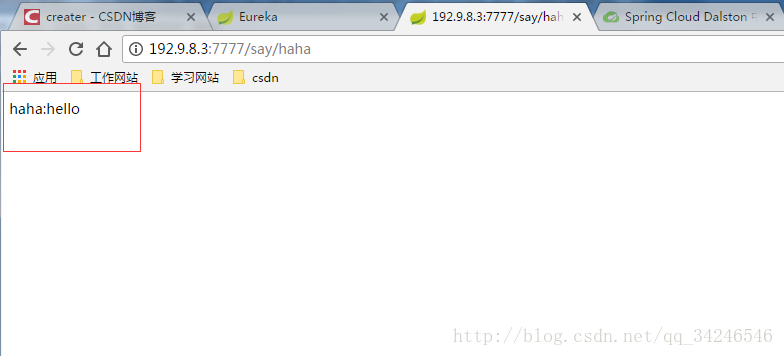
成功獲取到資料。