Ambari安裝之安裝並配置Ambari-server(三)
不多說,直接上乾貨!
前期部落格
安裝並配置Ambari-server
(1)檢查倉庫是否可用

[[email protected] yum.repos.d]$ pwd /etc/yum.repos.d [[email protected] yum.repos.d]$ yum repolist Loaded plugins: fastestmirror, refresh-packagekit, security Loading mirror speeds from cached hostfile * base: centos.ustc.edu.cn * extras: centos.ustc.edu.cn * updates: mirrors.zju.edu.cn Updates-ambari-2.2.1.0 | 2.9 kB 00:00 Updates-ambari-2.2.1.0/primary_db | 89kB 00:00 repo id repo name status Updates-ambari-2.2.1.0 ambari-2.2.1.0 - Updates 229 base CentOS-6 - Base 6,696 extras CentOS-6 - Extras 64 updates CentOS-6 - Updates 974 repolist: 7,963 [[email protected] yum.repos.d]$
(2)安裝Ambari-server


[[email protected] yum.repos.d]$ pwd
/etc/yum.repos.d
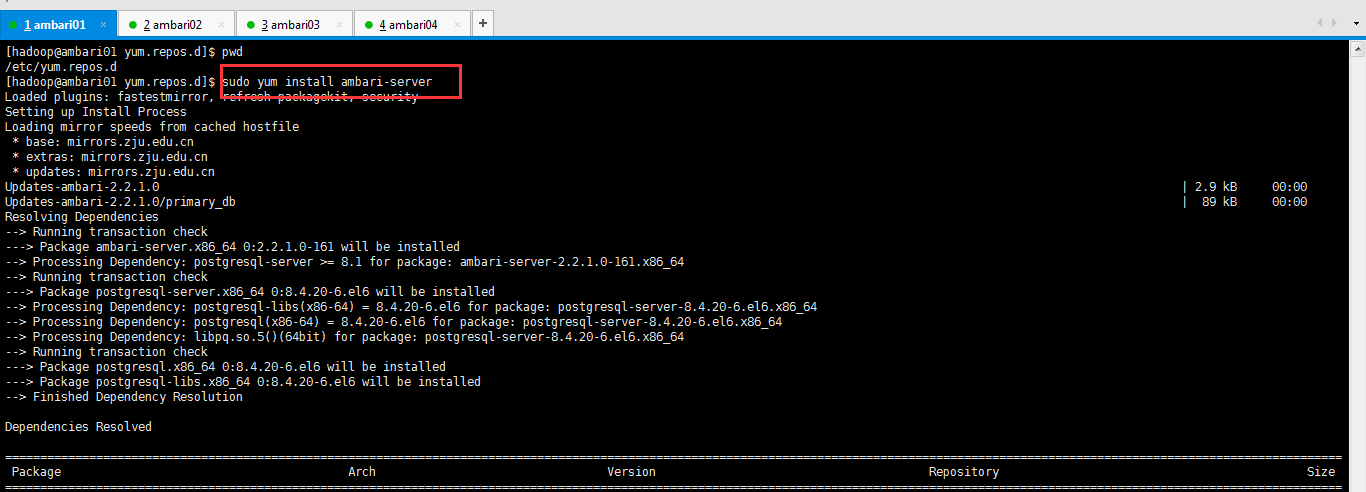
[[email protected] yum.repos.d]$ sudo yum install ambari-server
Loaded plugins: fastestmirror, refresh-packagekit, security
Setting up Install Process
Loading mirror speeds from cached hostfile
 * base: mirrors.zju.edu.cn
 * extras: mirrors.zju.edu.cn
 * updates: mirrors.zju.edu.cn
Updates-ambari-2.2.1.0                                                                                                                                                  | 2.9 kB     00:00
Updates-ambari-2.2.1.0/primary_db                                                                                                                                       |  89 kB     00:00
Resolving Dependencies
--> Running transaction check
---> Package ambari-server.x86_64 0:2.2.1.0-161 will be installed
--> Processing Dependency: postgresql-server >= 8.1 for package: ambari-server-2.2.1.0-161.x86_64
--> Running transaction check
---> Package postgresql-server.x86_64 0:8.4.20-6.el6 will be installed
--> Processing Dependency: postgresql-libs(x86-64) = 8.4.20-6.el6 for package: postgresql-server-8.4.20-6.el6.x86_64
--> Processing Dependency: postgresql(x86-64) = 8.4.20-6.el6 for package: postgresql-server-8.4.20-6.el6.x86_64
--> Processing Dependency: libpq.so.5()(64bit) for package: postgresql-server-8.4.20-6.el6.x86_64
--> Running transaction check
---> Package postgresql.x86_64 0:8.4.20-6.el6 will be installed
---> Package postgresql-libs.x86_64 0:8.4.20-6.el6 will be installed
--> Finished Dependency Resolution

Dependencies Resolved

===============================================================================================================================================================================================
 Package                                         Arch                                 Version                                       Repository                                            Size
===============================================================================================================================================================================================
Installing:
 ambari-server                                   x86_64                               2.2.1.0-161                                   Updates-ambari-2.2.1.0                               409 M
Installing for dependencies:
 postgresql                                      x86_64                               8.4.20-6.el6                                  base                                                 2.6 M
 postgresql-libs                                 x86_64                               8.4.20-6.el6                                  base                                                 202 k
 postgresql-server                               x86_64                               8.4.20-6.el6                                  base                                                 3.4 M

Transaction Summary
===============================================================================================================================================================================================
Install       4 Package(s)

Total download size: 415 M
Installed size: 464 M
Is this ok [y/N]: y
Downloading Packages:
(1/4): ambari-server-2.2.1.0-161.x86_64.rpm                                                                                                                             | 409 MB     00:22
(2/4): postgresql-8.4.20-6.el6.x86_64.rpm                                                                                                                               | 2.6 MB     00:02
(3/4): postgresql-libs-8.4.20-6.el6.x86_64.rpm                                                                                                                          | 202 kB     00:00
(4/4): postgresql-server-8.4.20-6.el6.x86_64.rpm                                                                                                                        | 3.4 MB     00:03
-----------------------------------------------------------------------------------------------------------------------------------------------------------------------------------------------
Total                                                                                                                                                           14 MB/s | 415 MB     00:29
Running rpm_check_debug
Running Transaction Test
Transaction Test Succeeded
Running Transaction
  Installing : postgresql-libs-8.4.20-6.el6.x86_64                                                                                                                                         1/4
  Installing : postgresql-8.4.20-6.el6.x86_64                                                                                                                                              2/4
  Installing : postgresql-server-8.4.20-6.el6.x86_64                                                                                                                                       3/4
  Installing : ambari-server-2.2.1.0-161.x86_64                                                                                                                                            4/4
  Verifying  : postgresql-server-8.4.20-6.el6.x86_64                                                                                                                                       1/4
  Verifying  : postgresql-8.4.20-6.el6.x86_64                                                                                                                                              2/4
  Verifying  : postgresql-libs-8.4.20-6.el6.x86_64                                                                                                                                         3/4
  Verifying  : ambari-server-2.2.1.0-161.x86_64                                                                                                                                            4/4

Installed:
  ambari-server.x86_64 0:2.2.1.0-161

Dependency Installed:
  postgresql.x86_64 0:8.4.20-6.el6                           postgresql-libs.x86_64 0:8.4.20-6.el6                           postgresql-server.x86_64 0:8.4.20-6.el6

Complete!
[[email protected] yum.repos.d]$
(3)配置Ambari-server


[[email protected] yum.repos.d]$ pwd
/etc/yum.repos.d
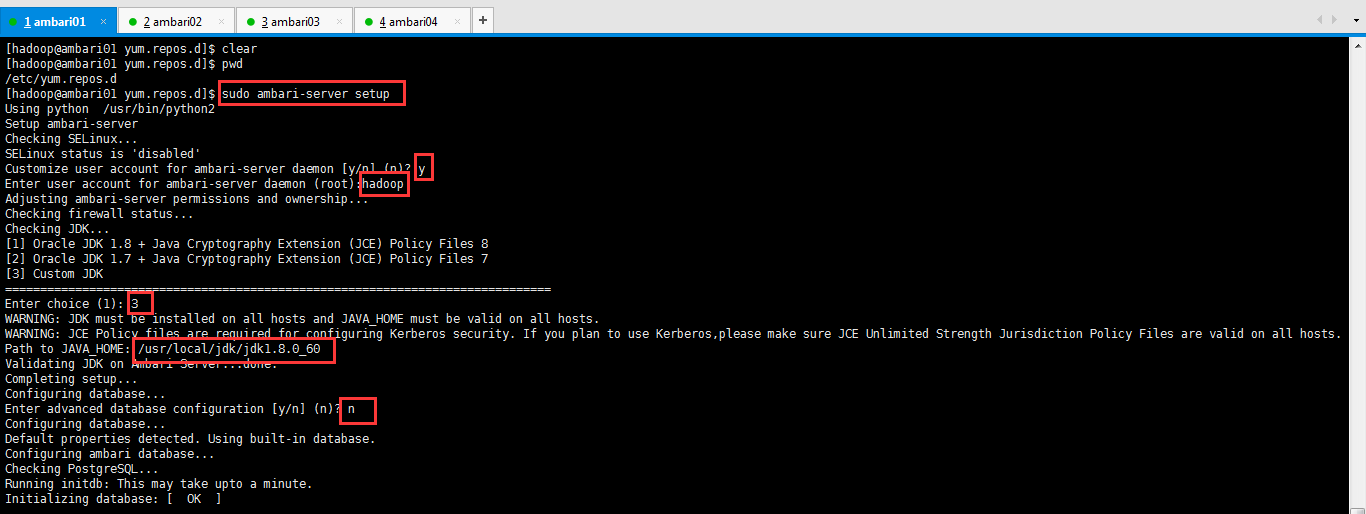
[[email protected] yum.repos.d]$ sudo ambari-server setup
Using python  /usr/bin/python2
Setup ambari-server
Checking SELinux...
SELinux status is 'disabled'
Customize user account for ambari-server daemon [y/n] (n)? y
Enter user account for ambari-server daemon (root):hadoop
Adjusting ambari-server permissions and ownership...
Checking firewall status...
Checking JDK...
[1] Oracle JDK 1.8 + Java Cryptography Extension (JCE) Policy Files 8
[2] Oracle JDK 1.7 + Java Cryptography Extension (JCE) Policy Files 7
[3] Custom JDK
==============================================================================
Enter choice (1): 3
WARNING: JDK must be installed on all hosts and JAVA_HOME must be valid on all hosts.
WARNING: JCE Policy files are required for configuring Kerberos security. If you plan to use Kerberos,please make sure JCE Unlimited Strength Jurisdiction Policy Files are valid on all hosts.
Path to JAVA_HOME: /usr/local/jdk/jdk1.8.0_60
Validating JDK on Ambari Server...done.
Completing setup...
Configuring database...
Enter advanced database configuration [y/n] (n)? n
Configuring database...
Default properties detected. Using built-in database.
Configuring ambari database...
Checking PostgreSQL...
Running initdb: This may take upto a minute.
Initializing database: [  OK  ]

About to start PostgreSQL
Configuring local database...
Connecting to local database...done.
Configuring PostgreSQL...
Restarting PostgreSQL
Extracting system views...
.ambari-admin-2.2.1.0.161.jar
.....
Adjusting ambari-server permissions and ownership...
Ambari Server 'setup' completed successfully.
[[email protected] yum.repos.d]$
注意:
如果你是root使用者,則這裡就寫root (推薦)
好比我這裡是hadoop使用者,則這裡就寫hadoop(不建議)
(4)檢視並啟動Ambari-server

[[email protected] yum.repos.d]$ sudo service ambari-server status
Using python  /usr/bin/python2
Ambari-server status
Ambari Server not running. Stale PID File at: /var/run/ambari-server/ambari-server.pid
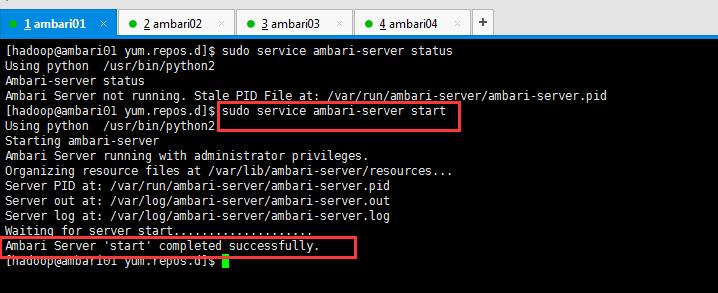
[[email protected] yum.repos.d]$ sudo service ambari-server start
Using python  /usr/bin/python2
Starting ambari-server
Ambari Server running with administrator privileges.
Organizing resource files at /var/lib/ambari-server/resources...
Server PID at: /var/run/ambari-server/ambari-server.pid
Server out at: /var/log/ambari-server/ambari-server.out
Server log at: /var/log/ambari-server/ambari-server.log
Waiting for server start....................
Ambari Server 'start' completed successfully.
[[email protected] yum.repos.d]$
(5)在C:\Windows\System32\drivers\etc目錄下配置hosts檔案

(6)輸入地址登入ambari

預設的使用者名稱和密碼都為admin

登入之後的介面如下

那麼到此為止,我們叢集部署前的所有準備工作就做好了,接下來我們就可以部署hadoop叢集了。
歡迎大家,加入我的微信公眾號:大資料躺過的坑 人工智慧躺過的坑同時,大家可以關注我的個人部落格:
http://www.cnblogs.com/zlslch/ 和 http://www.cnblogs.com/lchzls/ http://www.cnblogs.com/sunnyDream/
詳情請見:http://www.cnblogs.com/zlslch/p/7473861.html
人生苦短,我願分享。本公眾號將秉持活到老學到老學習無休止的交流分享開源精神,匯聚於網際網路和個人學習工作的精華乾貨知識,一切來於網際網路,反饋回網際網路。
目前研究領域:大資料、機器學習、深度學習、人工智慧、資料探勘、資料分析。 語言涉及:Java、Scala、Python、Shell、Linux等 。同時還涉及平常所使用的手機、電腦和網際網路上的使用技巧、問題和實用軟體。 只要你一直關注和呆在群裡,每天必須有收穫
對應本平臺的討論和答疑QQ群:大資料和人工智慧躺過的坑(總群)(161156071)


相關推薦
Ambari安裝之安裝並配置Ambari-server(三)
不多說,直接上乾貨! 前期部落格 安裝並配置Ambari-server (1)檢查倉庫是否可用 [[email protected] yum.repos.d]$ pwd /etc/yum.repos.d [[email
CentOS 7.4 Tengine安裝配置詳解(三)
location、echo、fancy九、根據HTTP響應狀態碼自定義錯誤頁:1、未配置前訪問一個不存在的頁面:http://192.168.1.222/abc/def.html,按F12後刷新頁面2、在server{}配置段中新增如下location:server {listen 80;server_nam
FastDFS安裝、配置、部署(三)-Storage配置詳解
1、基本配置# is this config file disabled # false for enabled # true for disabled disabled=false# the name of the group this storage server bel
Linux下MongoDB安裝和配置詳解(三)
一、將mongod服務新增為系統服務 MongoDB安裝之後,每次都需要執行命令加引數來啟動,不便於管理,這裡可以將其新增到系統服務,方法如下: 1、建立檔案 linux系統服務啟動檔案都存放
linux菜鳥安裝Ubuntu14.04系統配置php環境(二)
Ubuntu 14.04下配置 LAMP+phpMyAdmin PHP開發環境詳細圖解教程。 先安裝 Apache Web伺服器,終端:sudo apt-get install apache2 apache2-doc,然後測試是否安裝成功。瀏覽器位址列輸入:http
樹莓派配置完全手冊(三)開發環境的安裝及配置
3.1和OpenCV環境的構建 在嵌入式開發過程中,由於樹莓派的機能限制,以及操作習慣的差異,我們首先需要在PC端進行初步的編寫及測試,待編譯通過後再將程式碼移植到樹莓派端進行適配,所以PC端開發環
mybatis源碼-解析配置文件(三)之配置文件Configuration解析(超詳細, 值得收藏)
類型 version 創建對象 越來越大 ... 所有 類名 對象 and 1. 簡介 1.1 系列內容 本系列文章講解的是mybatis解析配置文件內部的邏輯, 即 Reader reader = Resources.getResourceAsReader("mybat
安裝Git和建立一個倉庫repository (三)
這裡講的是windows 安裝Git: 要使用Git,第一步當然是安裝Git了。根據你當前使用的平臺來閱讀下面的文字: 在Windows上使用Git,可以從Git官網直接下載安裝程式,然後按預設選項安裝即可。 安裝完成後,在開始選單裡找到“Git”->“Git Bash”,蹦出一個類似
Mac 生成SSH Key並配置到GitLab(單個)
git是分散式的程式碼管理工具,遠端的程式碼管理是基於ssh的,所以要使用遠端的git則需要ssh的配置。簡單的說,Git - 版本控制工具;Github是一個網站,提供給使用者空間建立git倉儲,儲存使用者的一些資料文件或者程式碼等;GitLab是基於Git的專案管
JDK5新特性之線程同步工具類(三)
string 兩個人 exec random 主線程 一個人 exce print exchange 一. Semaphore Semaphore能夠控制同一時候訪問資源的線程個數, 比如: 實現一個文件同意的並發訪問數. Semaphore實現的功能就類似廁全部5個坑
並發編程(三):從AQS到CountDownLatch與ReentrantLock
splay public 繼續 for admin font 通信 html integer 一、目錄 1、AQS簡要分析 2、談CountDownLatch 3、談ReentrantLock 4、談消費者與生產者模式(not
oracle入門之對表數據查詢(三)
取值 無法 排除 avg 臨時表 多表 單行 pan 相同 oracle表復雜查詢--子查詢 什麽是子查詢? 子查詢是指嵌入在其它sql語句中的select語句,也叫嵌套查詢。 單行子查詢 單行子查詢是指只返回一行數據的子查詢語句。 請思考:如果顯示與smith同一部門
Java並發程序設計(三) Java內存模型和線程安全
-h static tar -a 順序 語義 ret public font Java內存模型和線程安全 一 、原子性 原子性是指一個操作是不可中斷的。即使是在多個線程一起執行的時候,一個操作一旦開始,就不會被其它線程幹擾。 思考:i++是原子操作嗎? 二、有序性
Java並發編程(三)概念介紹
ava cnblogs 內置 並且 變化 red sha 周期 圖片 在構建穩健的並發程序時,必須正確使用線程和鎖。但是這終歸只是一些機制。要編寫線程安全的代碼,其核心在於要對狀態訪問操作進行管理,特別是對共享的(Shared)和可變的(Mutable)狀態的訪問。 對象的
不一樣的Office 365之 —— Mini Hybrid了解一下(三)遷移郵箱
Office 365 O365 Hybrid 遷移 混合 下邊來看下如何遷移用戶的郵箱,mini hybrid遷移用戶郵箱時,用戶體驗和混合部署基本是完全一致的,用戶無感知,無需重建profile 在Exchange Online管理中心裏找到遷移 選擇遠程移動
測試開發系列之Python開發mock接口(三)
有一個 cep 內置 stat 遊標 tab lB 端口號 HERE 於進入主題了,前面的準備工作都已經做好了,下面就開始寫邏輯的代碼了,代碼我已經寫好了,每行都加了註釋,不明白的可以留言。 1 2 3 4 5 6 7 8 9 10 11 12 13
racadm環境之服務器BIOS設置(三)
setting dell服務器 語法 local 狀態 sort命令 pty while testin 此篇文章主要針對於DELL服務器racadm環境的BIOS配置,以F1/F2 Error提示和硬盤啟動順序更改為例。racadm基礎用法可以參考前面文章。 #!/bin/
spring-boot-2.0.3不一樣系列之源碼篇 - run方法(三)之createApplicationContext,絕對有值得你看的地方
處理 gen 利用反射 mva 默認 .get war close -s 前言 此系列是針對springboot的啟動,旨在於和大家一起來看看springboot啟動的過程中到底做了一些什麽事。如果大家對springboot的源碼有所研究,可以挑些自己感興趣或者對自己有
Android 基於Netty的訊息推送方案之字串的接收和傳送(三)
在上一篇文章中《Android 基於Netty的訊息推送方案之概念和工作原理(二)》 ,我們介紹過一些關於Netty的概念和工作原理的內容,今天我們先來介紹一個叫做ChannelBuffer的東東。 ChannelBuffer Netty中的訊息傳遞,都必須以位元
大資料之電話日誌分析callLog案例(三)
一、查詢使用者最近的通話資訊 -------------------------------------------- 1.實現分析 使用ssm可視介面提供查詢串 -- controller連線 hiveserver2 -- 將命令轉化成hsql語句 -- hive繫結hba
