利用jQuery框架設定頁面彈出層
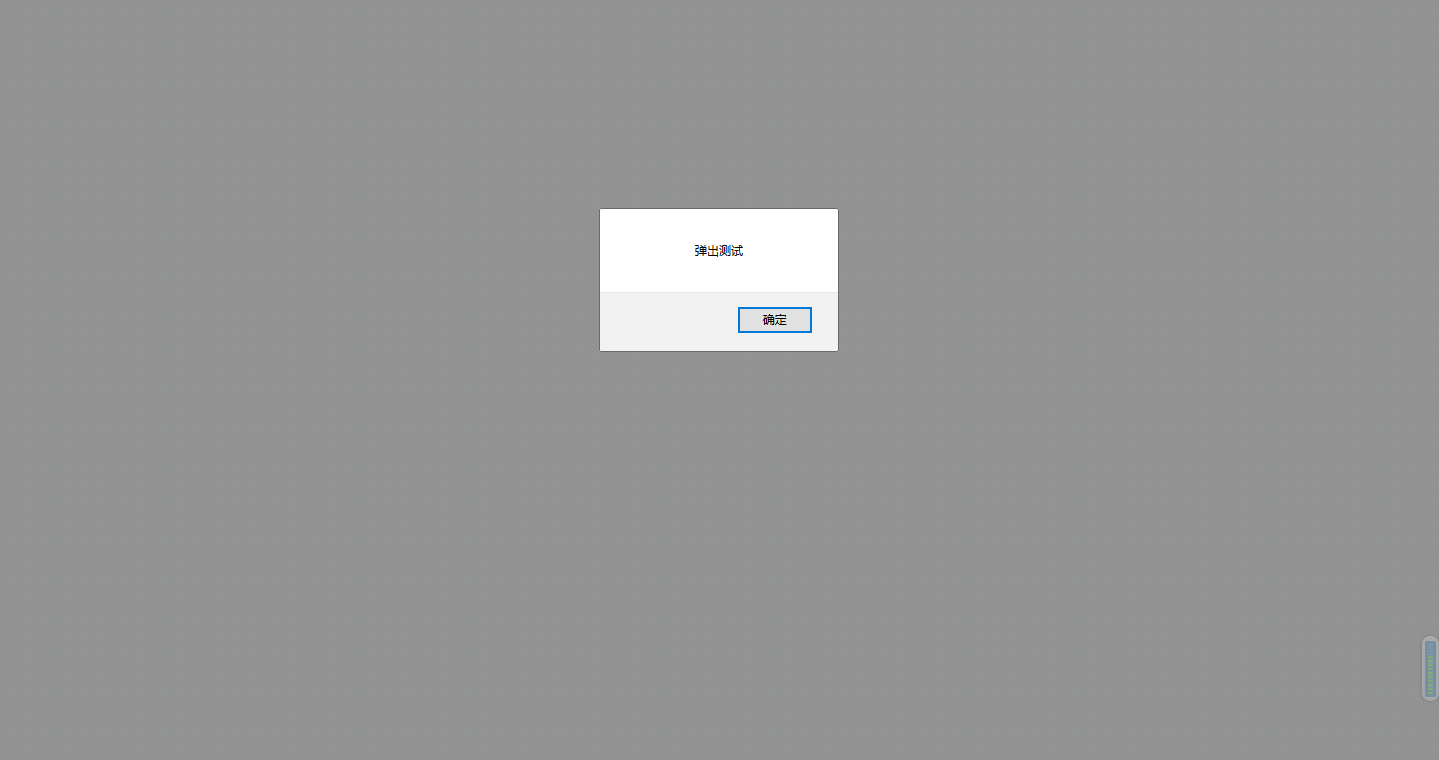
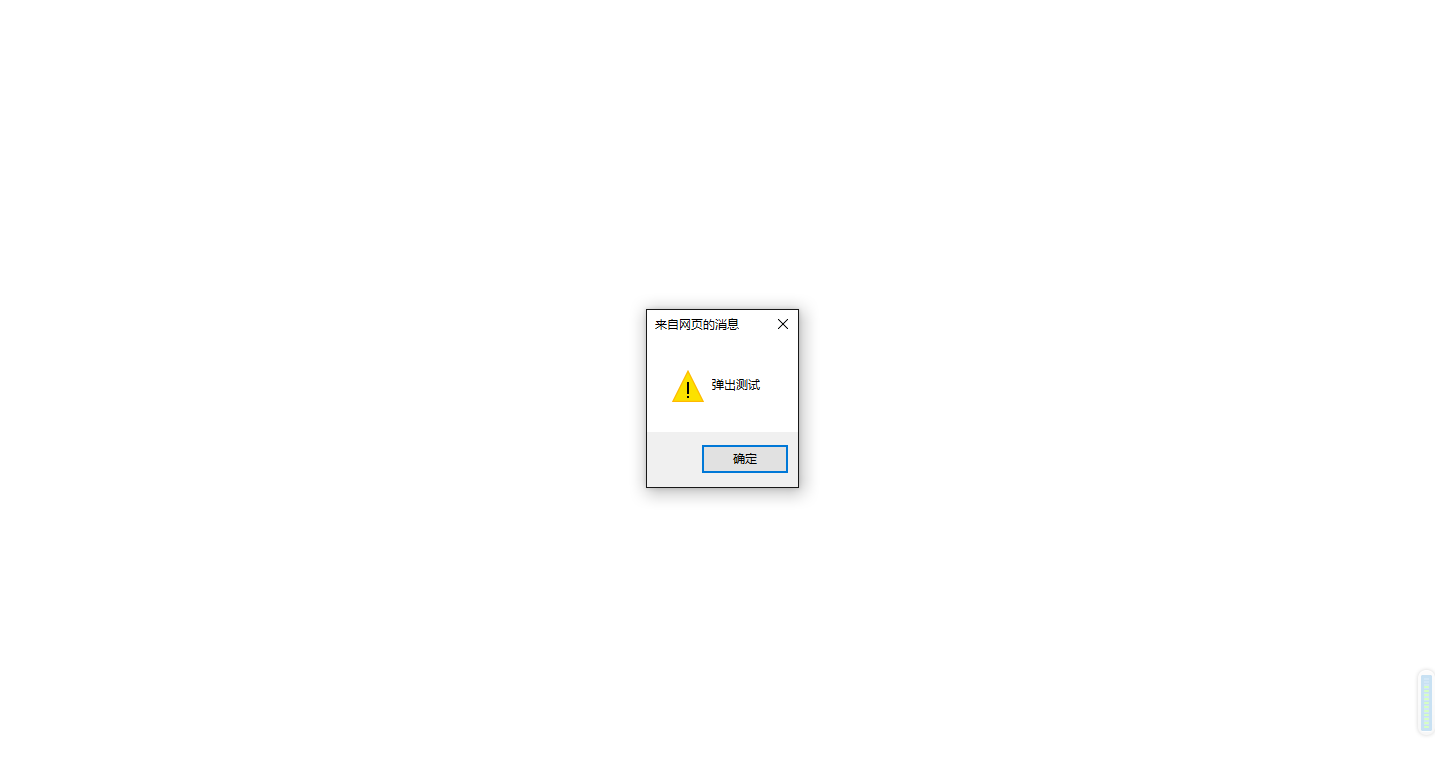
在一些網頁中,我們經常需要用到一些彈出層給使用者做提示,我們一般的做法都是使用瀏覽器自帶的alert來進行處理,但是對於不同的瀏覽器解析出來的樣式都是不一樣的。我們可以先寫個小demo檢視下各個瀏覽器的彈出樣式:

測試程式碼如下:
<html>
<header>
<script type="text/javascript" src="js/jquery-1.8.3.js"></script>
<link href="jquery-ui/bootstrap/jquery-ui-1.10.3.custom.css" rel 使用各個瀏覽器開啟test.html,看看各個瀏覽器的效果:


可以看出來每個瀏覽器解析都是不一樣的,這樣給使用者的體驗度不好。所以針對網站,我們可能需要統一的提示框和提示樣式。那麼怎麼做才能以最小的代價完成這樣一個功能呢,這裡提供了一種根據jQuery實現的提示:
第一步:我們先做出一個完善的提示框,在jQuery裡面正好內建了一段彈出層程式碼。
<html>
<header>
<script type="text/javascript" src="js/jquery-1.8.3.js"></script>
<link href="jquery-ui/bootstrap/jquery-ui-1.10.3.custom.css" rel="stylesheet" type="text/css" />
<script type="text/javascript">
$(function() {
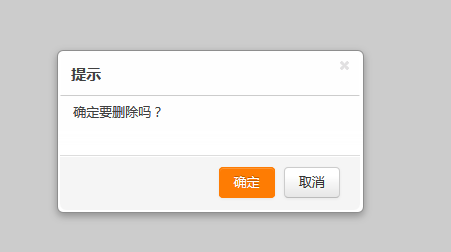
//alert("彈出測試"); 此時這裡我們給出的是個確認框:

那對於我們來說,這樣寫的話,程式碼的複用率太低,而且如果一旦需求變更,我們都得去改變彈出層的程式碼。給開發帶來了很大的重複工作,這裡我們可以利用js來實現大量的複用工作:
第二步:建立JS物件
/**
 * 自定義彈出層物件
 */
function Message(){
    this.MBID = "clark_zhezhao";//蒙板ID
    this.DID ="clark_message_main";//提示框的ID
    this.TSID = "clark_tishi_message";//提示資訊的ID
    this.MAINID = "clark_dialogconfirm";  //內容資訊的ID
    this.CLOSEID = "clark_close_meesage" ;//關閉按鈕的ID
    this.SUREID = "clark_sure_message_button" ;//確定按鈕的ID
    this.EXITID = "clark_exit_message_button" ;//取消按鈕的ID
    this.tishiMssage = "";         //提示資訊
    this.showtishiMessage = true;  //是否顯示提示資訊
    this.mainMessage = "";         //內容資訊
    this.showMainMessage = true;   //是否顯示內容資訊
    this.showCloseButton = true;   //是否顯示關閉按鈕
    this.showSureButton = true;     //是否顯示確認按鈕
    this.showSureButtonText = "確定";
    this.showExitButton = true;    //是否顯示退出按鈕
    this.showExitButtonText = "取消";
    this.height = "auto";          //提示框的高度
    this.width = "300px";          //提示框的寬度
    this.top = "308.5px";          //提示框的位置控制元件--距離頂部的距離
    this.left = "566.5px";         //提示框的位置控制元件--距離左邊距的距離
    /**
     * 關閉提示框
     */
    this.close = function(){
        $("#"+this.MBID).hide();
        $("#"+this.DID).hide();
    }
    /**
     * 顯示
     */
    this.show = function(){
        $("#"+this.MBID).show();
        $("#"+this.DID).show();
        //是否顯示提示資訊
        if(this.showtishiMessage){
            $("#"+this.TSID).show();
            $("#"+this.TSID).html(this.tishiMssage);
        }else{
            $("#"+this.TSID).hide();
        }
        //是否顯示主要內容
        if(this.showMainMessage){
            $("#"+this.MAINID).show();
            $("#"+this.MAINID).html(this.mainMessage);
        }else{
            $("#"+this.MAINID).hide();
        }
        //是否顯示關閉按鈕
        if(!this.showCloseButton){
            $("#"+this.CLOSEID).hide();
        }else{
            $("#"+this.CLOSEID).show();
            var MBID = this.MBID;
            var DID = this.DID
            $("#"+this.CLOSEID).click(function(){
                $("#"+MBID).hide();
                $("#"+DID).hide();
            });
        }
        //是否顯示確認按鈕
        if(!this.showSureButton){
            $("#"+this.SUREID).hide();
        }else{
            $("#"+this.SUREID).show();
            $("#"+this.SUREID).text(this.showSureButtonText);
        }
        //是否顯示退出按鈕
        if(!this.showExitButton){
            $("#"+this.EXITID).hide();
        }else{
            $("#"+this.EXITID).show();
            $("#"+this.EXITID).text(this.showExitButtonText);
            var MBID = this.MBID;
            var DID = this.DID
            $("#"+this.EXITID).click(function(){
                $("#"+MBID).hide();
                $("#"+DID).hide();
            })
        }
        $("#"+this.DID).css("top",this.top);
        $("#"+this.DID).css("height",this.height);
        $("#"+this.DID).css("width",this.width);
        $("#"+this.DID).css("left",this.left);
    }
}
第三步:隱藏彈出層,用message物件來控制顯示
給div增加display:none;屬性,隱藏div
<div class="ui-widget-overlay ui-front" id="clark_zhezhao" style="display:none;"></div>
<div aria-labelledby="ui-id-2" aria-describedby="dialogconfirm"
    role="dialog" tabindex="-1"
    style="display: none; height: auto; width: 300px; top: 308.5px; left: 566.5px;"
    class="ui-dialog ui-widget ui-widget-content ui-corner-all ui-front ui-dialog-buttons ui-draggable" id="clark_message_main">
建立message物件,呼叫message的show()方法顯示彈出層
    <script type="text/javascript" src="js/jquery-1.8.3.js"></script>
    <script type="text/javascript" src="js/Message.js"></script>
    <link href="jquery-ui/bootstrap/jquery-ui-1.10.3.custom.css" rel="stylesheet" type="text/css" />
    <script type="text/javascript">
        $(function() {
            var message = new Message();
            message.show();
        })
    </script>
設定彈出層內容
<script type="text/javascript" src="js/jquery-1.8.3.js"></script>
    <script type="text/javascript" src="js/Message.js"></script>
    <link href="jquery-ui/bootstrap/jquery-ui-1.10.3.custom.css" rel="stylesheet" type="text/css" />
    <script type="text/javascript">
        $(function() {
            var message = new Message();
            message.tishiMssage = "刪除提示";
            message.mainMessage = "確認要刪除資料嗎?";
            message.showSureButton = true;
            message.showExitButton = true;
            message.show();
        })
    </script>
這樣我們還可以通過設定message的其他屬性來控制message的提示。到此我們可以通過message物件來控制彈出層了,但是對我們來說,我們可以進行更好的封裝。如用JS輸出我們的彈出層,使彈出層完全脫離出頁面。
相關推薦
利用jQuery框架設定頁面彈出層
在一些網頁中,我們經常需要用到一些彈出層給使用者做提示,我們一般的做法都是使用瀏覽器自帶的alert來進行處理,但是對於不同的瀏覽器解析出來的樣式都是不一樣的。我們可以先寫個小demo檢視下各個瀏覽器的彈出樣式: 測試程式碼如下: <
jquery外掛——頁面彈出層(GreyBox)
一、基礎安裝1.在<head></head>標籤中加入如下程式碼:<script type="text/javascript"> var GB_ROOT_DIR = "http://mydomain.com/greybox/";<
前端ui框架layui——layer彈出層-內建方法
提示:本頁內容所展示的內建方法是除了所有彈出方法(eg:layer.open)以外的,想看彈出方法請到這裡————————內建方法——————————1.layer.config(options) - 初始化全域性配置 這是一個可以重要也可以不重要的方法,重要的是,它的
頁面彈出層元件layer的用法
一:頁面引入和核心js檔案 layer.js <script src="layer.js的路徑"></script> 二:基礎引數: 型別:Number,預設:0 layer提供了5種層型別。可傳入的值有:0(資訊框,預設)1(頁面層)2(i
jQuery的click事件在當前頁彈出層視窗(不開啟新頁面)
當給連結新增一個click事件,我們可能不希望Web瀏覽器按照其常規模式退出當前頁面並通過新頁面載入連結的目的地,而是在當前頁彈出層視窗(不開啟新頁面)。例如,當單擊了一個縮圖上的連結時,頁面會載入一幅較大的影象。通常,單擊連結會退出頁面並在一個空白頁面上顯示影象本身的
Ajax中用layer彈出層並刷新頁面的方法
ble ajax location index window ont tab delet delete $.post("DeleteHandler.ashx", { "table": "Contents", "ID": vals }, fun
JQuery 彈出層,始終顯示在屏幕正中間
filter scrolltop rep 指定 mode spa -c target mod 1.讓層始終顯示在屏幕正中間: 樣式代碼: Html代碼 .model{ position: absolute; z-ind
jquery 點擊彈出層自身以外的任意位置,關閉彈出層
top stop 關閉 click spl bsp *** doc mask <!--彈出層---> <div class="mask"> <div class="wrap"></div> </div>
jQuery彈出層layer插件的使用
layui scroll 彈出層 eight flow one max func 簡單 引入插件layer 觸發彈出層的按鈕/鏈接 <a href="javascript:showPop();"> <img src="" /> </a
layer彈出層的iframe頁面回調
關閉按鈕 PE 開戶 彈出層 復制代碼 getch 銷毀 bsp child $("#ChoiceBank").click(function () { var width = $("#content").css("Width");
解決session過期跳轉到登錄頁並跳出iframe框架(或者layui彈出層)
ref 界面 func ESS pre 這不 session ram 用戶 當用戶長時間停留在管理界面沒有操作,等到session過期後,進行了操作,那麽只是iframe跳轉到login頁面,這不是我們想要的結果。解決方法:在login頁面加一個邏輯判斷: <scr
jquery-彈出層
ges cti 關閉按鈕 pointer otto int flow lock 內容 html: <html><head> <meta charset="utf-8"> <title>jquery彈出層</title&g
layer彈出層點選關閉按鈕重新整理父頁面
有兩種方法: 1.layer彈出層彈出的方法裡面會有一個end(層銷燬後觸發的回撥),無論是確認還是取消,只要層被銷燬了,end都會執行,不攜帶任何引數。 layer.open({ title:"品類合作模式新增"
JQuery 彈出層,始終顯示在螢幕正中間
分享一下我老師大神的人工智慧教程!零基礎,通俗易懂!http://blog.csdn.net/jiangjunshow 也歡迎大家轉載本篇文章。分享知識,造福人民,實現我們中華民族偉大復興!
推薦一款好用的jquery彈出層外掛——wbox
分享一下我老師大神的人工智慧教程!零基礎,通俗易懂!http://blog.csdn.net/jiangjunshow 也歡迎大家轉載本篇文章。分享知識,造福人民,實現我們中華民族偉大復興!
Layer彈出層關閉後重新整理父頁面
Layer彈出層關閉後重新整理父頁面 //編輯 $("#edit").on("click", function(){ var id = getIdSelections(); //debugger; var addUrl = 'editCustomer.html?id='+ id la
JS 彈出框 jquery 彈出層
幾種面板式樣
彈出層列表父子頁面傳值
需求: 若將layer彈出層作為單獨的外掛引用的話,需要先引入jQuery1.8以上版本和layer.js以及layer.css。(layer文件) $("#addressBtn").click(function () { var de
利用layer實現彈出層效果
先看效果: 第一步:下載彈出層外掛 地址:https://layer.layui.com/ 大概這個樣子: 我用的tp5框架,記住要把下載的所有的這些檔案都放在框架裡面:不然會沒樣式!!!! 第二步:程式碼實現 index.html <
Jquery 點選圖片在彈出層顯示大圖 (很好用)
效果圖片: 1.點選前的效果: 2.點選後的效果: html程式碼: <td width="350"> <img height="100" width="100" src="http://or7y3wqnj.bkt.clouddn.com/${f
