
Android 3D旋轉動畫效果
阿新 • • 發佈:2019-01-21
這篇文章主要介紹一下如何實現View的3D旋轉效果,實現的主要原理就是圍繞Y軸旋轉,同時在Z軸方面上有一個深入的縮放。
演示的demo主要有以下幾個重點:
1,自定義旋轉動畫
2,動畫做完後,重置ImageView
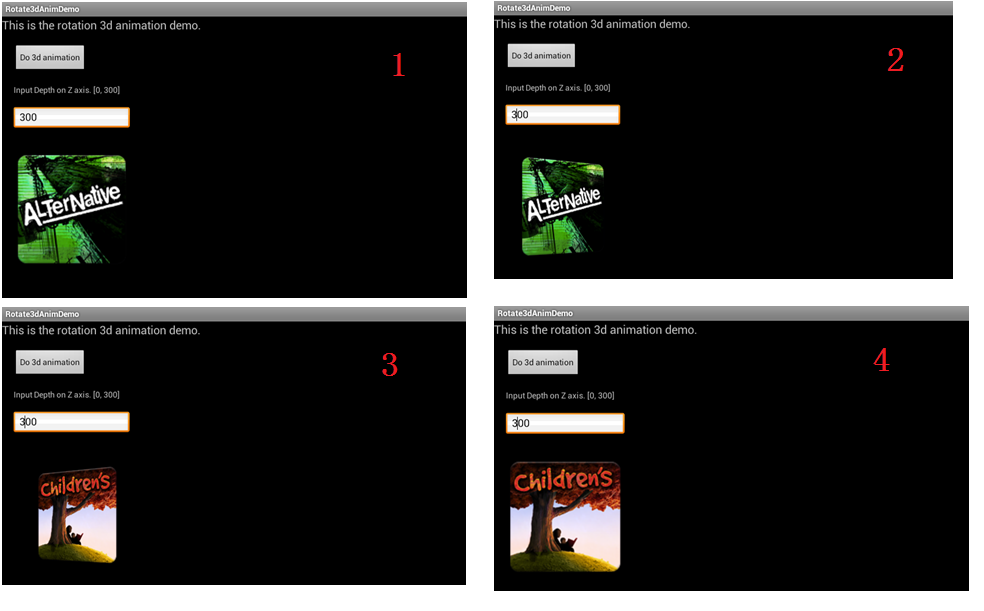
先看一下程式的執行效果:
1,自定義動畫類
這裡實現了一個Rotate3dAnimation的類,它擴充套件了Animation類,重寫applyTransformation()方法,提供指定時間的矩陣變換,我們在這個方法裡,就可以利用Camera類得得到一個圍繞Y軸旋轉的matrix,把這個matrix設定到Transformation物件中。 具體的實現程式碼如下:-
@Override
- protectedvoid applyTransformation(float interpolatedTime, Transformation t)
- {
- finalfloat fromDegrees = mFromDegrees;
- float degrees = fromDegrees + ((mToDegrees - fromDegrees) * interpolatedTime);
- finalfloat centerX = mCenterX;
-
finalfloat centerY = mCenterY;
- final Camera camera = mCamera;
- final Matrix matrix = t.getMatrix();
- camera.save();
- if (mReverse) {
- camera.translate(0.0f, 0.0f, mDepthZ * interpolatedTime);
- } else {
-
camera.translate(0.0f, 0.0f, mDepthZ * (1.0f - interpolatedTime));
- }
- camera.rotateY(degrees);
- camera.getMatrix(matrix);
- camera.restore();
- matrix.preTranslate(-centerX, -centerY);
- matrix.postTranslate(centerX, centerY);
- }
2,如何使用這個動畫類
在Activity中,我們有兩個大小一樣的ImageView,它們都放在FrameLayout中,這樣他們位置是重疊的,對最上面的ImageView做動畫(旋轉角度從0到90),當動畫做完後,再對後面的ImageView做動畫(旋轉角度從90到180),在這裡,要控制相應的ImageView隱藏或顯示。
動畫的listener實現如下:
- privatefinalclass DisplayNextView implements Animation.AnimationListener {
- publicvoid onAnimationStart(Animation animation) {
- }
- publicvoid onAnimationEnd(Animation animation) {
- mContainer.post(new SwapViews());
- }
- publicvoid onAnimationRepeat(Animation animation) {
- }
- }
動畫做完後,執行的程式碼如下:
- privatefinalclass SwapViews implements Runnable
- {
- @Override
- publicvoid run()
- {
- mImageView1.setVisibility(View.GONE);
- mImageView2.setVisibility(View.GONE);
- mIndex++;
- if (0 == mIndex % 2)
- {
- mStartAnimView = mImageView1;
- }
- else
- {
- mStartAnimView = mImageView2;
- }
- mStartAnimView.setVisibility(View.VISIBLE);
- mStartAnimView.requestFocus();
- Rotate3dAnimation rotation = new Rotate3dAnimation(
- -90,
- 0,
- mCenterX,
- mCenterY, mDepthZ, false);
- rotation.setDuration(mDuration);
- rotation.setFillAfter(true);
- rotation.setInterpolator(new DecelerateInterpolator());
- mStartAnimView.startAnimation(rotation);
- }
- }
點選Button的事件處理實現:
- @Override
- publicvoid onClick(View v)
- {
- mCenterX = mContainer.getWidth() / 2;
- mCenterY = mContainer.getHeight() / 2;
- getDepthZ();
- applyRotation(mStartAnimView, 0, 90);
- }
applyRotation的實現如下:
- privatevoid applyRotation(View animView, float startAngle, float toAngle)
- {
- float centerX = mCenterX;
- float centerY = mCenterY;
- Rotate3dAnimation rotation = new Rotate3dAnimation(
- startAngle, toAngle, centerX, centerY, mDepthZ, true);
- rotation.setDuration(mDuration);
- rotation.setFillAfter(true);
- rotation.setInterpolator(new AccelerateInterpolator());
- rotation.setAnimationListener(new DisplayNextView());
- animView.startAnimation(rotation);
- }
3,完整程式碼如下
Rotate3dAnimActivity.java
- publicclass Rotate3dAnimActivity extends Activity
- {
- ImageView mImageView1 = null;
- ImageView mImageView2 = null;
- ImageView mStartAnimView = null;
- View mContainer = null;