
github搭建maven私服
阿新 • • 發佈:2019-01-23
前言
GitHub的強大,詳細很多小夥伴們都知道了,下面我主要講解的是兩種jar包的上傳,
1、第一種是我們自己寫的程式碼想提供給他人或者自己使用
2、第二種是針對一些平臺,比如阿里,百度等知名網際網路他們提供的jar包製作成我們的maven包,
1、生成自己的Maven私服
1.1、配置釋出管理器,將這個釋出管理器釋出的maven版本放到我們本地(釋出管理器如果不懂的話,建議查詢我的部落格進行了解)
下面這個名字,建議根據我們所製作的maven的jar包的作用進行命名,因為為了我們已經自己在github上檢視方便以及維護方便
<distributionManagement.directory.name 1.2、新增maven釋出外掛
<plugin>
<artifactId>maven-deploy-plugin</artifactId>
<version>2.8.1</version>
<configuration>
<altDeploymentRepository>internal.repo::default::file://${project.build.directory}/${distributionManagement.directory.name}</altDeploymentRepository 1.3、完整的pom如下
<?xml version="1.0" encoding="UTF-8"?>
<project xmlns="http://maven.apache.org/POM/4.0.0" xmlns:xsi="http://www.w3.org/2001/XMLSchema-instance"
    xsi:schemaLocation="http://maven.apache.org/POM/4.0.0 http://maven.apache.org/xsd/maven-4.0.0.xsd">
    <modelVersion>4.0.0</modelVersion>

    <groupId>com.hlj.repo</groupId>
    <artifactId>test-github-maven</artifactId>
    <version>0.0.1</version>
    <packaging>jar</packaging>

    <name>com-hlj-github-maven-repo</name>
    <description>Demo project for Spring Boot</description>

    <parent>
        <groupId>org.springframework.boot</groupId>
        <artifactId>spring-boot-starter-parent</artifactId>
        <version>2.0.4.RELEASE</version>
        <relativePath/> <!-- lookup parent from repository -->
    </parent>

    <properties>
        <project.build.sourceEncoding>UTF-8</project.build.sourceEncoding>
        <project.reporting.outputEncoding>UTF-8</project.reporting.outputEncoding>
        <java.version>1.8</java.version>
        <distributionManagement.directory.name>hlj-test-github-maven</distributionManagement.directory.name>

    </properties>

    <distributionManagement>
        <repository>
            <id>hlj-managemaent-Id</id>
            <name>hlj managemaent name</name>
            <url>file://${project.build.directory}/${distributionManagement.directory.name}</url>
        </repository>
    </distributionManagement>


    <dependencies>
        <dependency>
            <groupId>org.springframework.boot</groupId>
            <artifactId>spring-boot-starter</artifactId>
        </dependency>

        <dependency>
            <groupId>org.springframework.boot</groupId>
            <artifactId>spring-boot-starter-test</artifactId>
            <scope>test</scope>
        </dependency>
    </dependencies>

    <build>
        <plugins>
            <plugin>
                <groupId>org.springframework.boot</groupId>
                <artifactId>spring-boot-maven-plugin</artifactId>
            </plugin>

            <!--maven釋出外掛-->
            <plugin>
                <artifactId>maven-deploy-plugin</artifactId>
                <version>2.8.1</version>
                <configuration>
                    <altDeploymentRepository>internal.repo::default::file://${project.build.directory}/${distributionManagement.directory.name}</altDeploymentRepository>
                </configuration>
            </plugin>
        </plugins>
    </build>


</project>
1.4、執行命令,釋出到我們上面配置的路徑target/hlj-test-github-maven中
mvn clean deploy
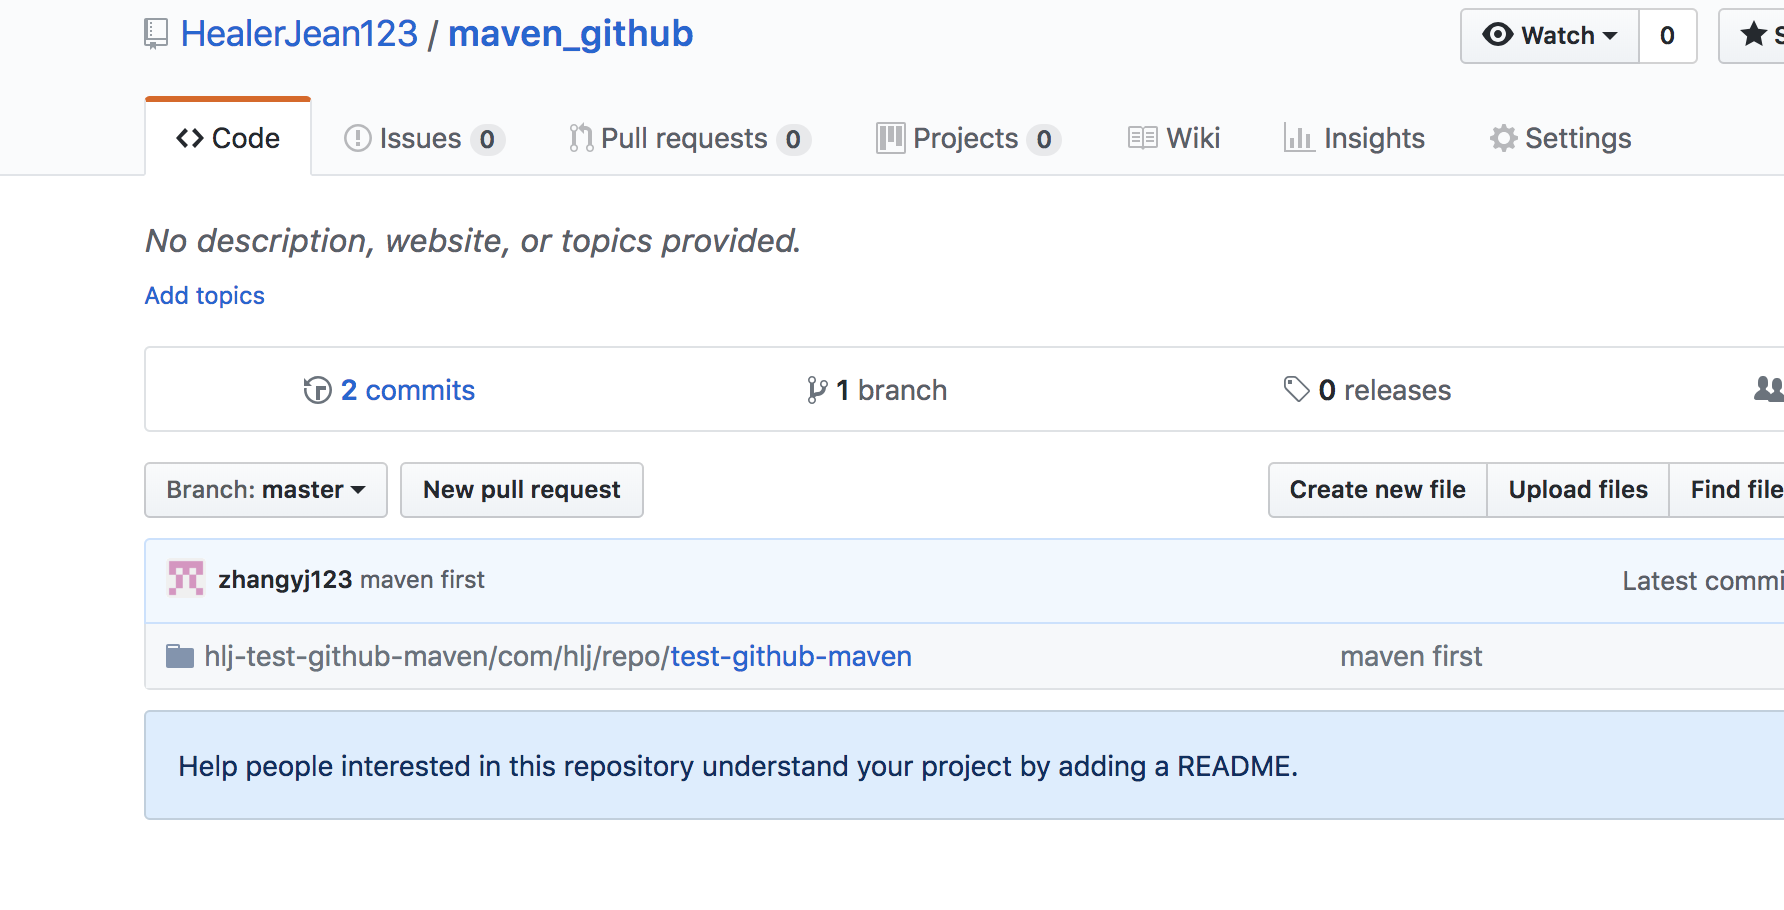
1.5、建立一個maven專案maven_github,將hlj-test-github-maven
資料夾複製到我們建立好的maven專案中去
1.6、pom中開始使用這個pom依賴,為了測試,我們應該先刪除除掉本地倉庫中的依賴包,
JeandeMBP:hlj healerjean$ cd ~/.m2/repository/com/hlj
JeandeMBP:hlj healerjean$ ls -l
total 0
drwxr-xr-x  6 healerjean  staff  204 Aug 30 20:30 repo
JeandeMBP:hlj healerjean$ rm -rf repo
JeandeMBP:hlj healerjean$ ls -l
total 0
JeandeMBP:hlj healerjean$
1.7、修改下我們目前測試工程中pom中的groupId,防止產生干擾
<groupId>com.hlj.repo</groupId>
改為
<groupId>com.hlj.repo-add</groupId>
1.8、開始匯入我們自己的依賴,這個是及時我們更新pom,發現還是顯示紅色報錯,不過沒關係,我們直接使用命令 mvn package,強制下載
<repositories>
    <repository>
        <!--id任意-->
        <id>hlj-repo</id>
        <url>https://raw.github.com/HealerJean123/maven_github/master/hlj-test-github-maven</url>
    </repository>
</repositories>


<!--github倉庫匯入的-->
<dependency>
    <groupId>com.hlj.repo</groupId>
    <artifactId>test-github-maven</artifactId>
    <version>0.0.1</version>
</dependency>
mvn packege
1.9、成功,測試的pom如下
<?xml version="1.0" encoding="UTF-8"?>
<project xmlns="http://maven.apache.org/POM/4.0.0" xmlns:xsi="http://www.w3.org/2001/XMLSchema-instance"
    xsi:schemaLocation="http://maven.apache.org/POM/4.0.0 http://maven.apache.org/xsd/maven-4.0.0.xsd">
    <modelVersion>4.0.0</modelVersion>

    <groupId>com.hlj.repo</groupId>
    <artifactId>test-github-maven</artifactId>
    <version>0.0.1</version>
    <packaging>jar</packaging>

    <name>com-hlj-github-maven-repo</name>
    <description>Demo project for Spring Boot</description>

    <parent>
        <groupId>org.springframework.boot</groupId>
        <artifactId>spring-boot-starter-parent</artifactId>
        <version>2.0.4.RELEASE</version>
        <relativePath/> <!-- lookup parent from repository -->
    </parent>

    <properties>
        <project.build.sourceEncoding>UTF-8</project.build.sourceEncoding>
        <project.reporting.outputEncoding>UTF-8</project.reporting.outputEncoding>
        <java.version>1.8</java.version>
        <distributionManagement.directory.name>hlj-test-github-maven</distributionManagement.directory.name>

    </properties>

    <distributionManagement>
        <repository>
            <id>hlj-managemaent-Id</id>
            <name>hlj managemaent name</name>
            <url>file://${project.build.directory}/${distributionManagement.directory.name}</url>
        </repository>
    </distributionManagement>

    <repositories>
        <repository>
            <!--id任意-->
          <id>hlj-repo</id>
            <url>https://raw.github.com/HealerJean123/maven_github/master/hlj-test-github-maven</url>
        </repository>
    </repositories>

    <dependencies>


        <dependency>
            <groupId>org.springframework.boot</groupId>
            <artifactId>spring-boot-starter</artifactId>
        </dependency>

        <dependency>
            <groupId>org.springframework.boot</groupId>
            <artifactId>spring-boot-starter-test</artifactId>
            <scope>test</scope>
        </dependency>

        <!--github倉庫匯入的-->
        <dependency>
            <groupId>com.hlj.repo</groupId>
            <artifactId>test-github-maven</artifactId>
            <version>0.0.1</version>
        </dependency>
    </dependencies>

    <build>
        <plugins>
            <plugin>
                <groupId>org.springframework.boot</groupId>
                <artifactId>spring-boot-maven-plugin</artifactId>
            </plugin>

            <!--maven釋出外掛-->
            <plugin>
                <artifactId>maven-deploy-plugin</artifactId>
                <version>2.8.1</version>
                <configuration>
                    <altDeploymentRepository>internal.repo::default::file://${project.build.directory}/${distributionManagement.directory.name}</altDeploymentRepository>
                </configuration>
            </plugin>
        </plugins>
    </build>


</project>
2、jar上傳到github製作依賴包
參考下面的,將它先匯入本地maven倉庫,然後我們直接將生成的資料夾taobao-sdk-java上傳到上面那個倉庫中
mvn install:install-file -Dfile=taobao-sdk-java-5.2.1.jar -DgroupId=taobao-sdk-java -DartifactId=taobao-sdk-java -Dversion=5.2.1 -Dpackaging=jar


<dependency>
    <groupId>taobao-sdk-java</groupId>
    <artifactId>taobao-sdk-java</artifactId>
    <version>5.2.1</version>
</dependency>
3、解釋下如何觀察這個依賴包的pom Id如果確認
3.1、開啟這個maven-metadata.xml檔案
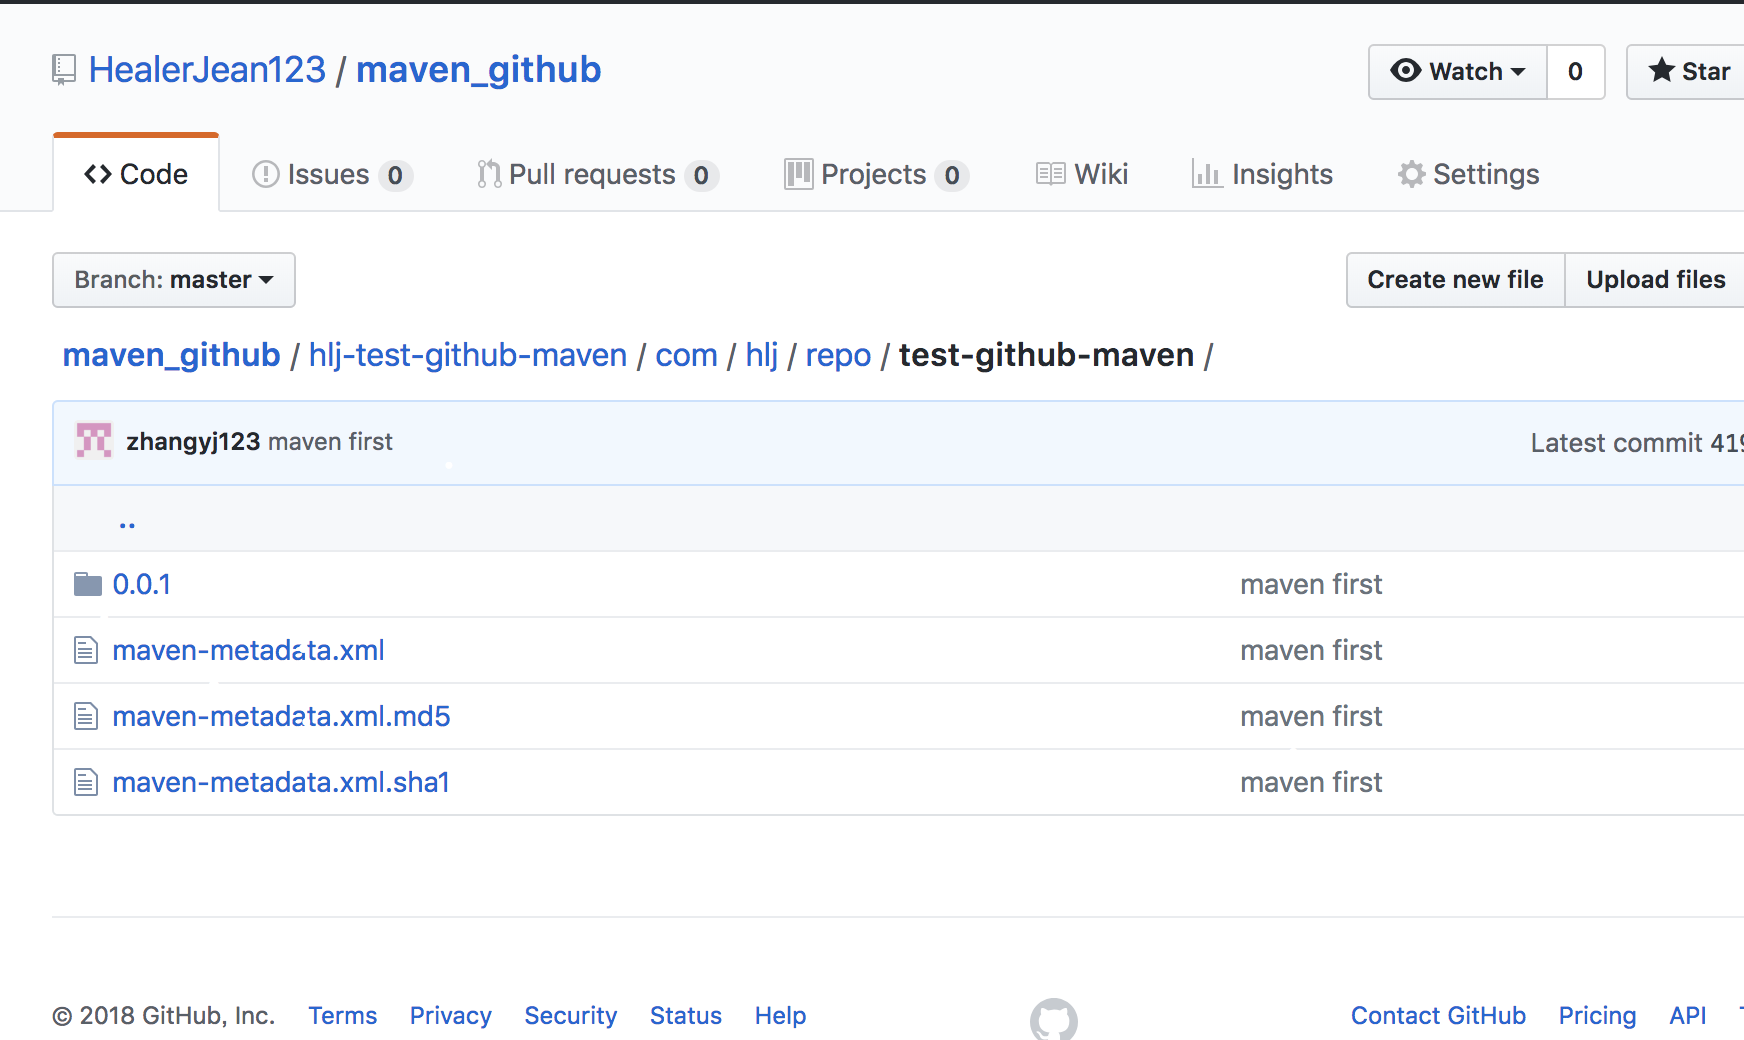
3.2、可以觀察到版本資訊,已經更新時間
<?xml version="1.0" encoding="UTF-8"?>
<metadata>
  <groupId>com.hlj</groupId>
  <artifactId>com-hlj-github-maven-repo</artifactId>

  <versioning>
    <versions>
      <version>0.0.1-SNAPSHOT</version>
    </versions>
    <lastUpdated>20180830123020</lastUpdated>
  </versioning>
</metadata>
4、我自己今後的規範
1、groupId com.hlj.repo
2、artifactId 工具類名字
3、版本 0.0.1(初始)
<dependency>
    <groupId>com.hlj.repo</groupId>
    <artifactId>logback-access-</artifactId>
    <version>0.0.1</version>
</dependency>

<dependency>
    <groupId>com.hlj.repo</groupId>
    <artifactId>logback-classic</artifactId>
    <version>0.0.1</version>
</dependency>
4、目錄釋出管理器或者叫githut入口名字 hlj-artifactId
<distributionManagement.directory.name>hlj-test-github-maven</distributionManagement.directory.name>

<distributionManagement>
    <repository>
        <id>hlj-managemaent-Id</id>
        <name>hlj managemaent name</name>
        <url>file://${project.build.directory}/${distributionManagement.directory.name}</url>
    </repository>
</distributionManagement>

<repositories>
    <repository>
        <!--id任意-->
        <id>hlj-repo</id>
        <url>https://raw.github.com/HealerJean123/maven_github/master/hlj-test-github-maven</url>
    </repository>
</repositories>

    <dependency>
            <groupId>com.hlj.repo</groupId>
            <artifactId>test-github-maven</artifactId>
            <version>0.0.1</version>
    </dependency>
程式碼下載
如果滿意,請打賞博主任意金額,感興趣的在微信轉賬的時候,新增博主微信哦, 請下方留言吧。可與博主自由討論哦
| 支付包 | 微信 | 微信公眾號 |
|---|---|---|
 |
 |
 |