Eclipse下配置javah.exe自動生成jni標頭檔案
阿新 • • 發佈:2019-01-26
最近專案中需要用到JNI來進行java和c++之間的互動,去命令列呼叫javah.exe命令生成jni標頭檔案的方法比較麻煩,可以通過配置Eclipse來解決這個問題,配置方法如下:
1、首先確保你的環境配置沒有問題(我想既然都開始用JNI了因該不會有問題吧!)
2、開啟如下按鈕 external tools configurations…

3、選中program,然後點選上面的帶有+號的文件,新建一個專案
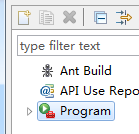
4、設定專案名和一些相關配置資訊。
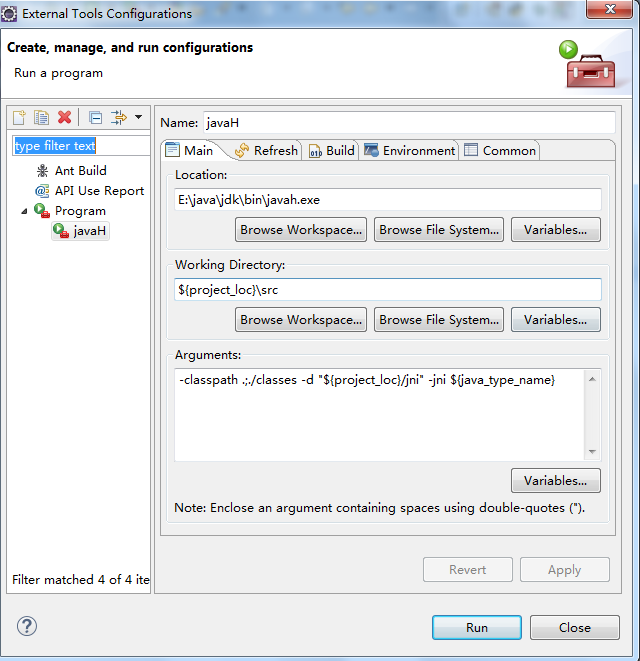
Name設定:隨便起我這裡起的是javaH
Main設定:
Location 點選Browse File System 設定
Working Directory 點選variables…選擇 project_loc,然後加上\src
Arguments: 直接複製貼上
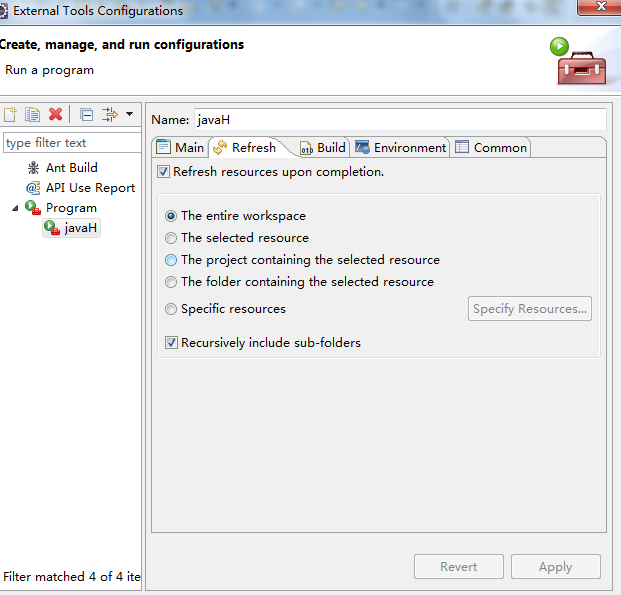
-classpath .;./classes -d "${project_loc}/jni" -jni ${java_type_name}Refresh設定:參考下圖
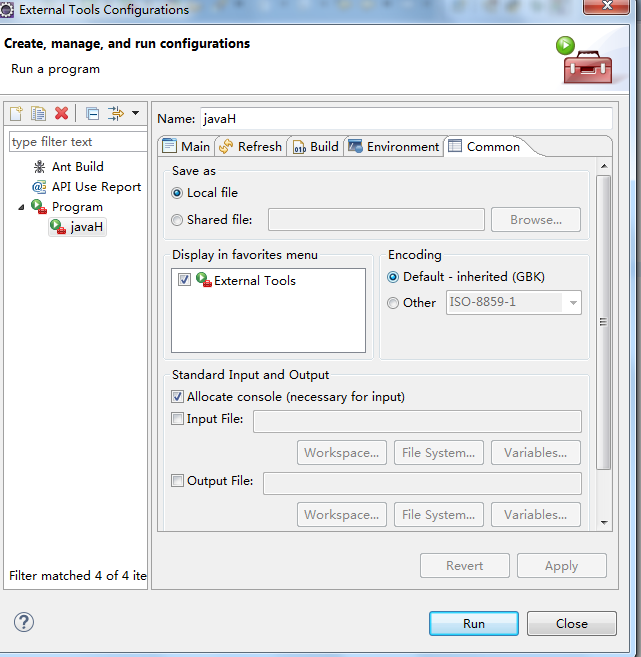
Common設定:參考下圖
點選下apply。
5、編寫測試程式碼
package jni.exercise;
public class test {
public native int add(int a,int b);
public native int compare(int a,int b);
public static void main(String[] args) {
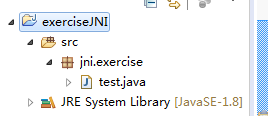
// TODO Auto-generated method stub 目錄結果如下:
選中test.java 點選 編譯

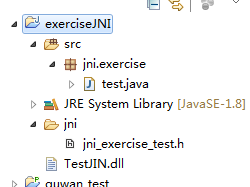
就能生成標頭檔案了
/* DO NOT EDIT THIS FILE - it is machine generated */
#include <jni.h>
/* Header for class jni_exercise_test */
#ifndef _Included_jni_exercise_test
#define _Included_jni_exercise_test 
