python3、pip 、tensorflow安裝(OS系統、終端操作)
阿新 • • 發佈:2019-01-26
新本子一片空白,需要用tensorflow跑結果。本子自帶python2點版本,現在需要安裝python3、pip、tensorflow,安裝方法查了很多種,用的homedrew安裝的,不得不說,很省事,很方便。
1、檢視版本:python -V (V大寫),顯示的是安裝的版本型別。(要用python3的話,就是python3 -V)
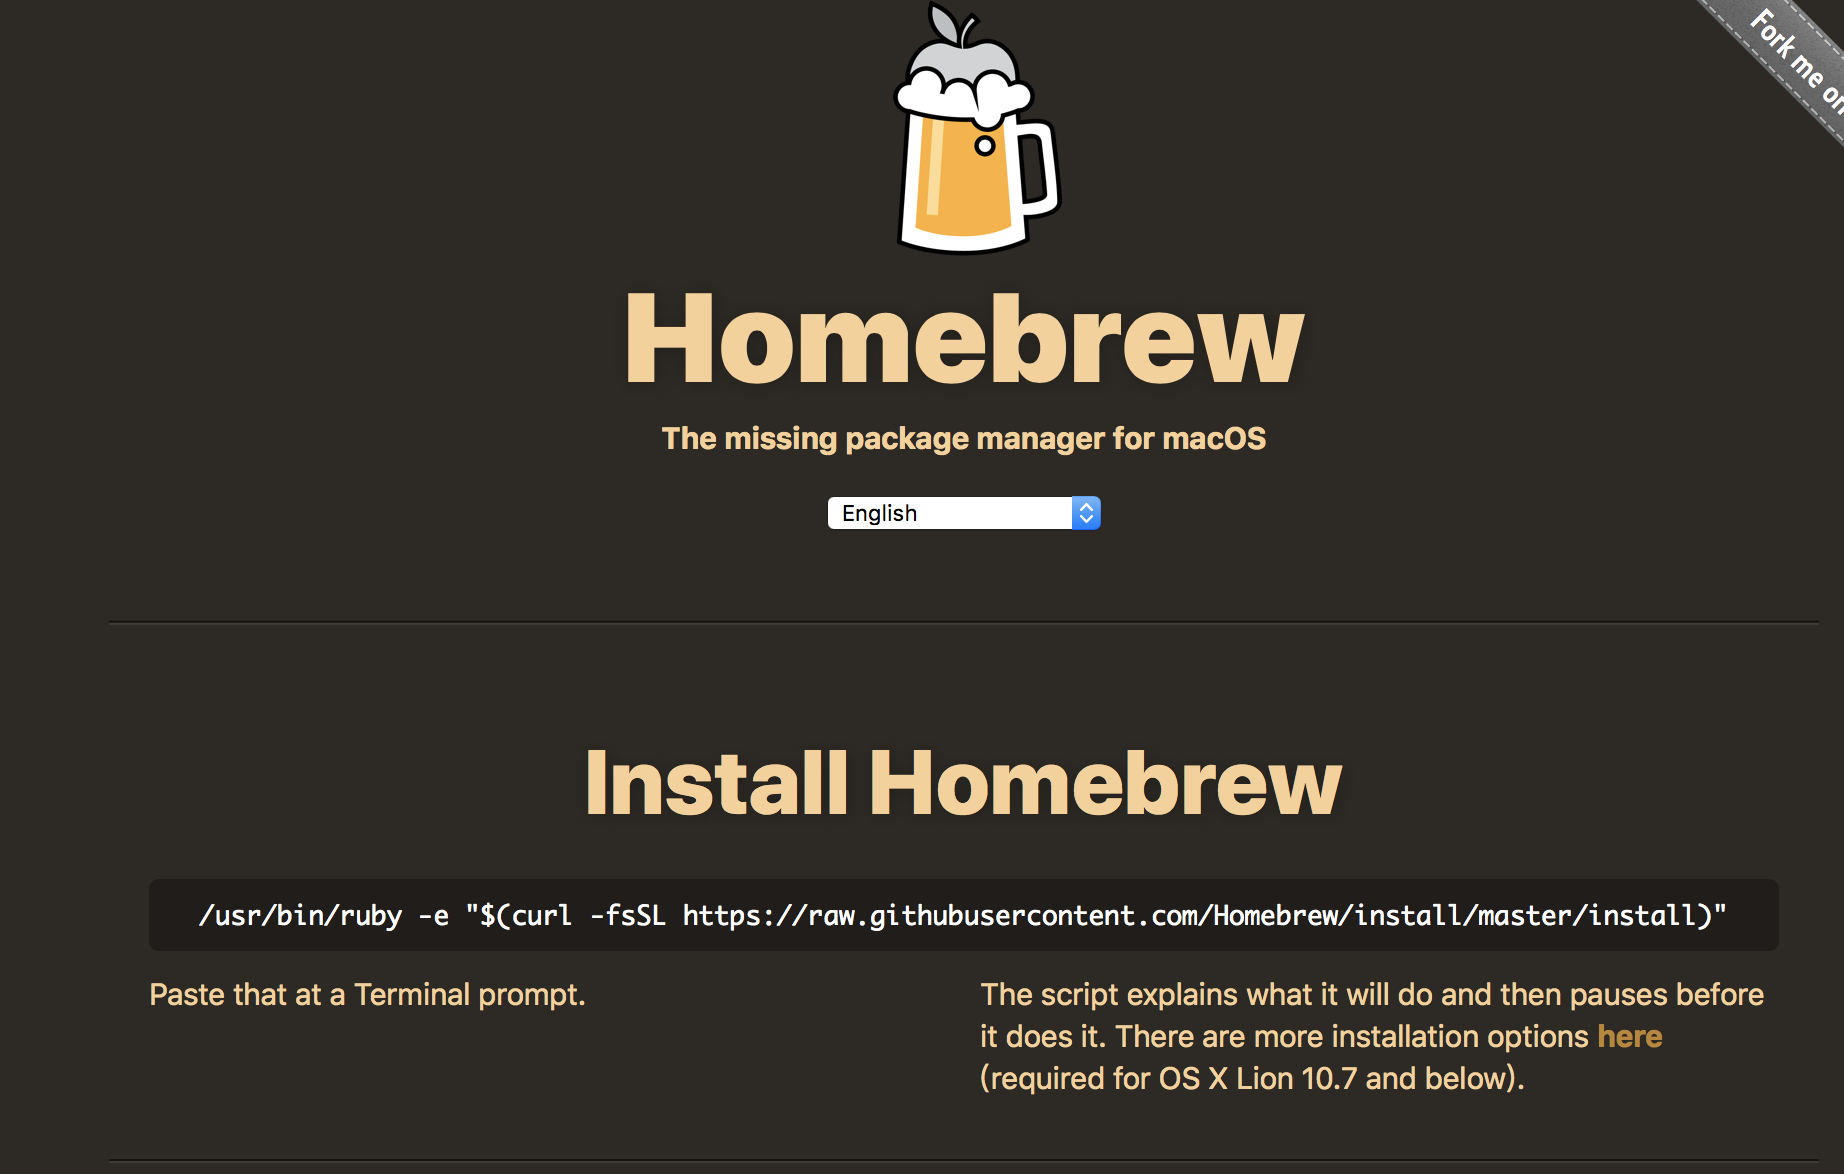
2、安裝homedrew,這個真心方便,這個介面點進去,複製:
/usr/bin/ruby -e "$(curl -fsSL https://raw.githubusercontent.com/Homebrew/install/master/install)"3、安裝python3:輸入命令:brew install python3 (此部操作同時下載pip。)
4、安裝tensorflow: pip3 install tensorflow 。
5、順利的話,沒有問題了就。
測試安裝:1、進入python3,輸入:python3
2、import tensorflow as tf
- node1 = tf.constant(3.0, dtype=tf.float32)
- node2 = tf.constant(4.0)# also tf.float32 implicitly
- print(node1, node2)
- Tensor("Const:0", shape=(), dtype=float32) Tensor("Const_1:0",shape=(), dtype=float32)
- sess = tf.Session()
- print(sess.run([node1, node2]))
- node3 = tf.add(node1, node2)
- print("node3:", node3)
- print("sess.run(node3):", sess.run(node3))
結果出來是:
- node3:Tensor("Add:0", shape=(), dtype=float32)
- sess.run(node3):7.0
說明安裝成功!
參考文獻:https://blog.csdn.net/lengguoxing/article/details/78456279
https://www.cnblogs.com/i-am-lvjiazhen/p/6264354.html

