
SPRING BOOT快速搭建WEB應用教程(二)—HELLOWORLD
阿新 • • 發佈:2019-01-27
一、建立工程
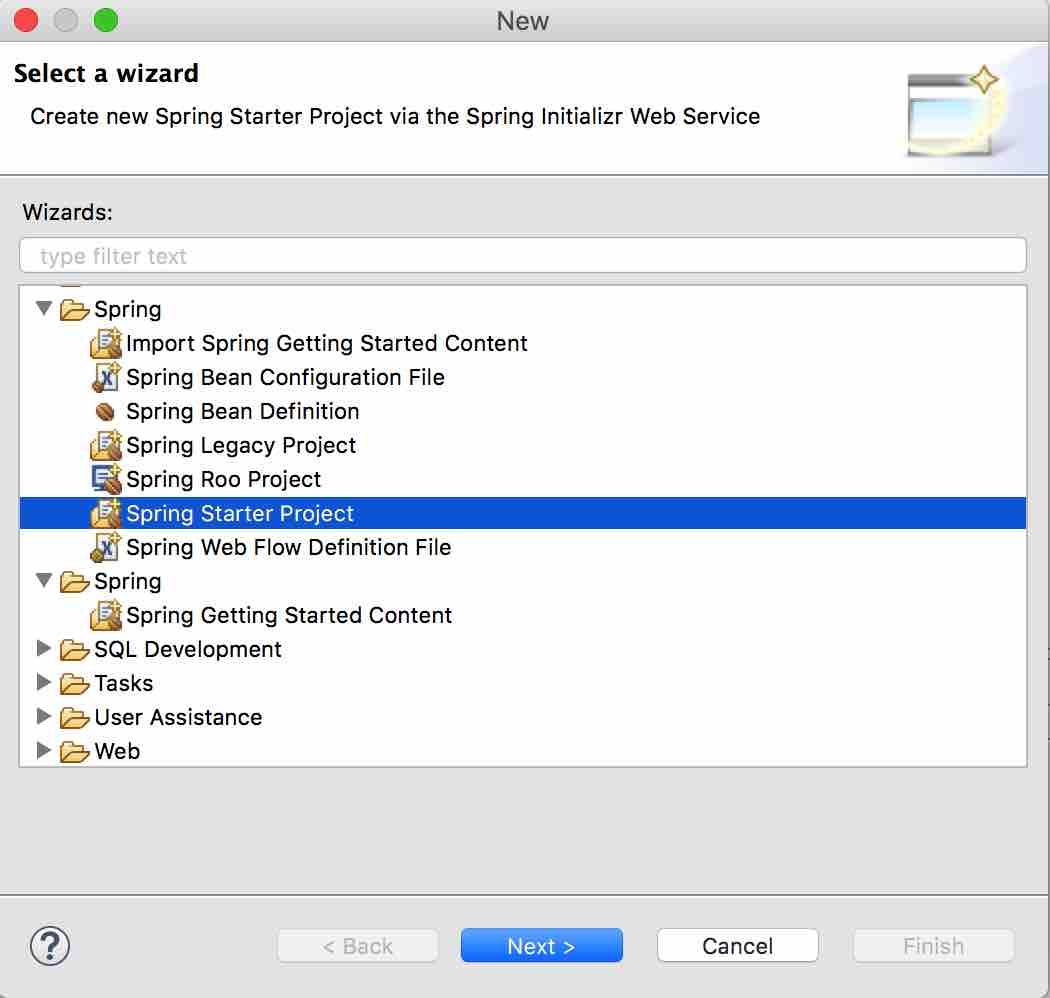
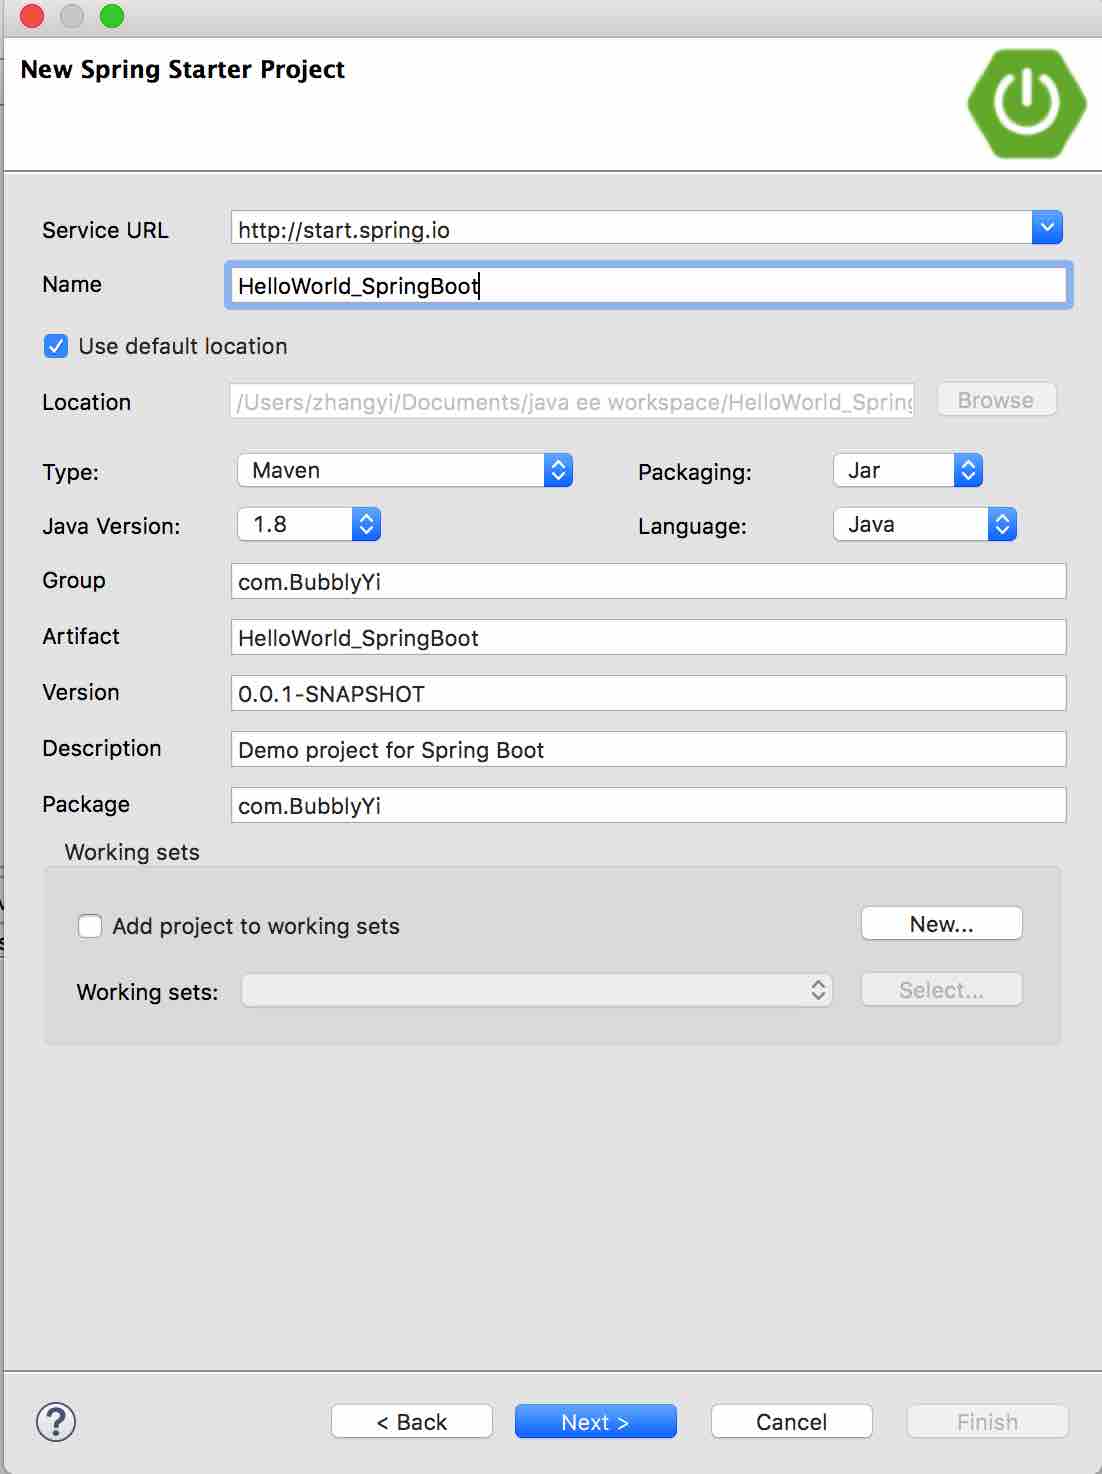
建立名稱為”HelloWorld_SpringBoot”的spring boot工程, new->Spring Starter Project
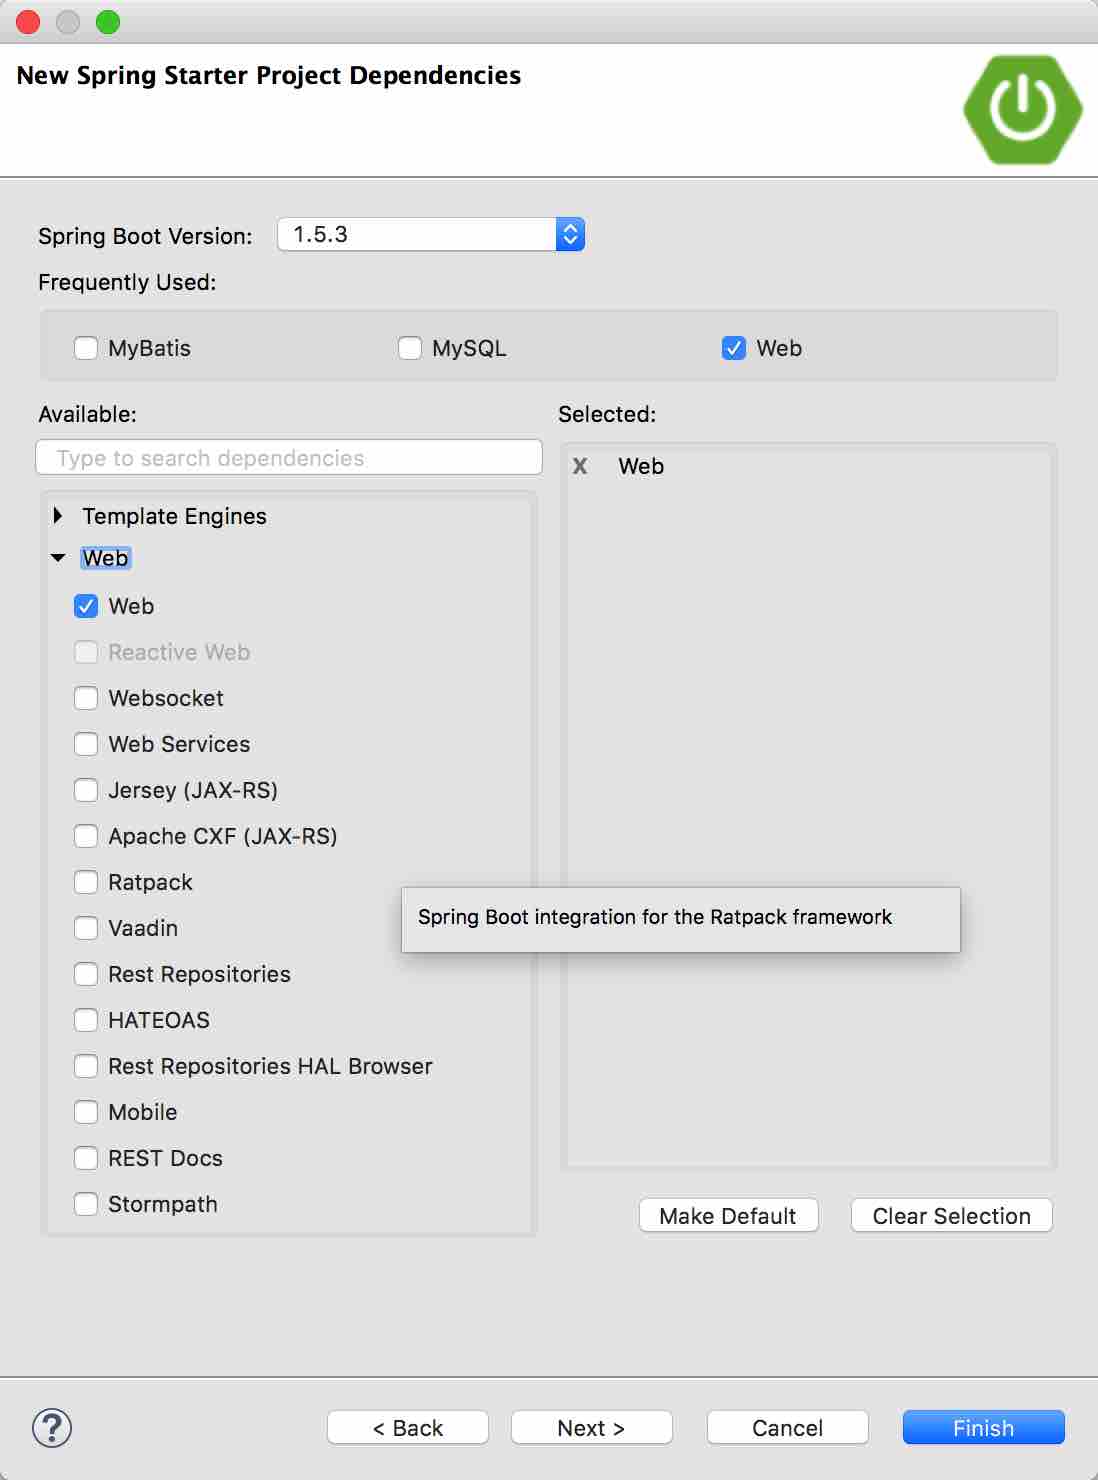
 勾選需要的業務:
二、開始編碼
建立HelloController
?| 1 2 3 4 5 6 7 8 9 10 11 12 13 14 |
package
com.BubblyYi.cotroller;
import
org.springframework.web.bind.annotation.RequestMapping;
import
org.springframework.web.bind.annotation.RestController;@RestController
@RequestMapping(value="/index")
public
class
HelloController {
@RequestMapping(value="/hello")
public
String sayHello(){
return
"hello world!";
}
}
|
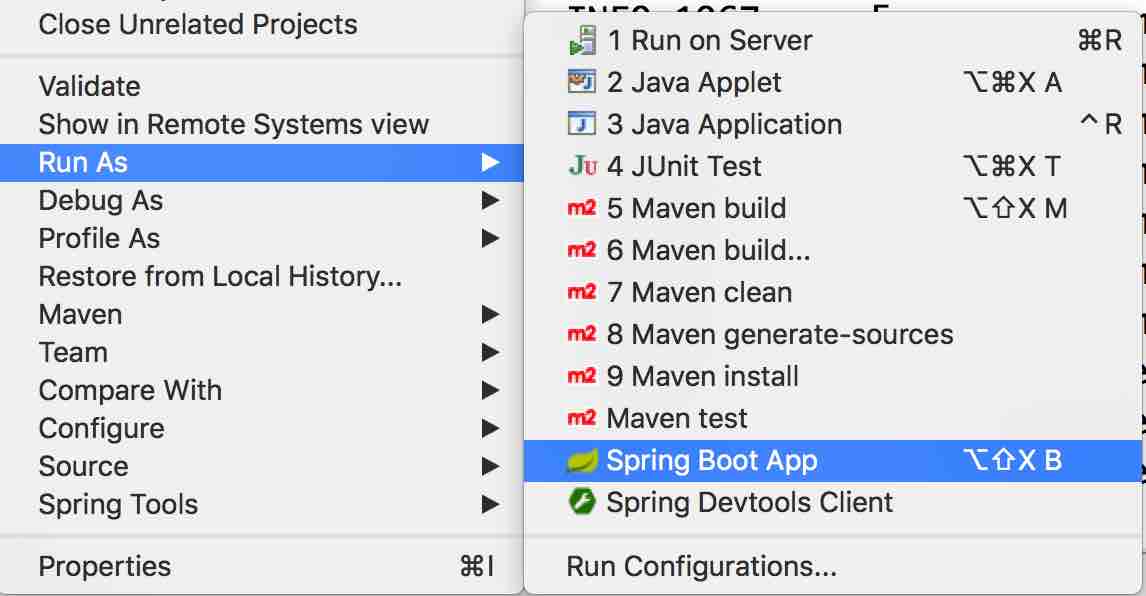
啟動專案
你的控制檯會輸入這樣的資訊
當出現 Started HelloWorldSpringBootApplication 字樣時表示專案啟動成功!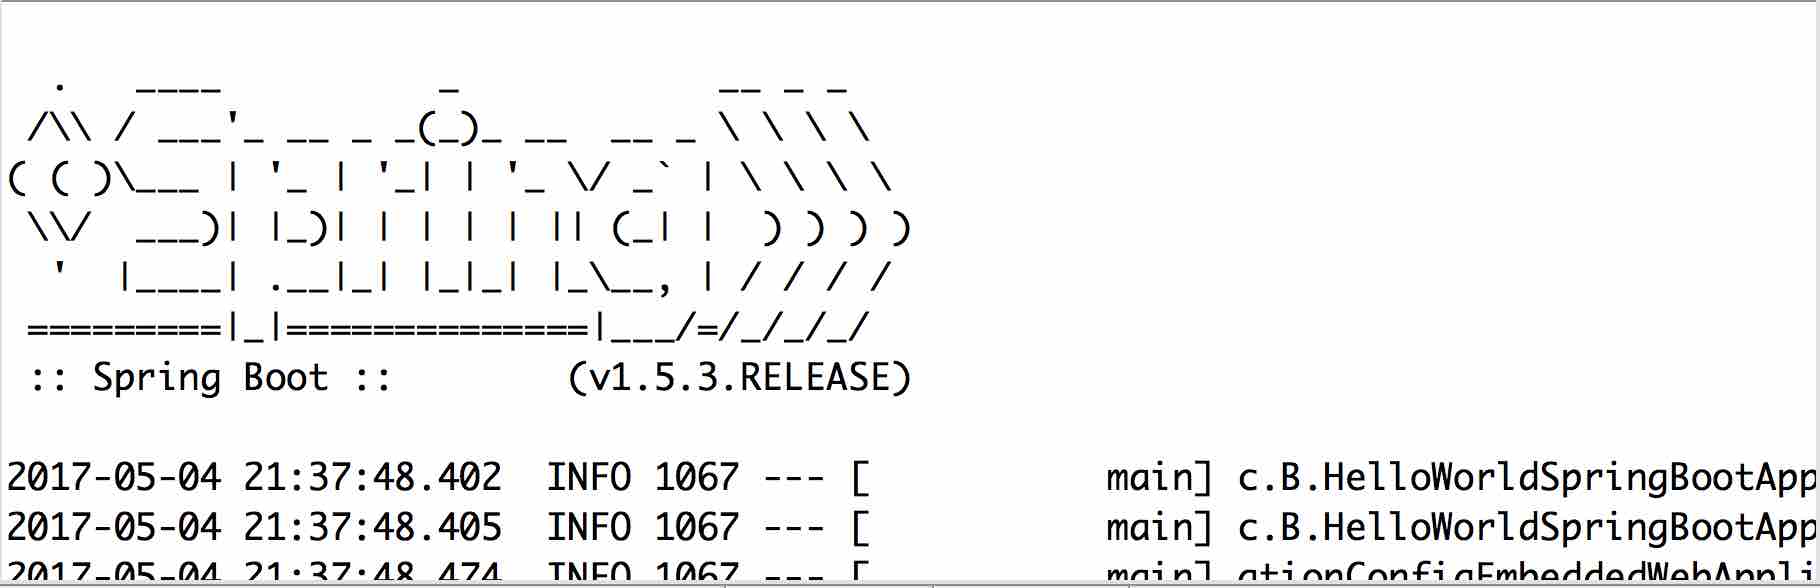 我們在瀏覽器中敲入http://localhost:8080/index/hello 就會出現以下資訊。
 至此呢,第一個HelloWorld web程式就寫好啦~~~是不是很方便呢?