Electron程式開發之Windows開發環境搭建
阿新 • • 發佈:2019-01-27
參考文件
開發環境介紹
- 主機作業系統:Windows7
- Python版本:Python 2.7.12
- node版本:v8.9.3
- npm版本:v5.5.1
- cnpm版本:v6.0.0
- Electron版本:v2.0.7
提示:
* Windows7 / Server 2008 R2 或更高
* Visual Studio 2017 - 免費下載 VS 2017 Community Edition
* Python 2.7.12
* Node.js
開發工具介紹
開發工具
- Vs code最新版
外掛安裝
- npm
- npm Intellisense
- Node.js Extension Pack
- Node.js Modules Intellisense
Electron簡介
Electron是由Github開發,基於Chromium和Node.js,使用JavaScript、HTML和CSS等Web技術建立跨平臺原生桌面應用的框架。相容Mac、Window和Linux,它構建的應用可在這三個作業系統上面執行,藉助Electron,我們可以使用純JavaScript來呼叫豐富的原生APIs。
- 自動更新
- 原生的選單和通知
- 崩潰報告
- 除錯和效能分析
- windows安裝程式
Electron安裝
安裝Python
- 點選執行msi安裝包,預設安裝python。
- win + r 輸入cmd開啟命令列,輸入python -V檢視python是否正確安裝。
安裝node、npm和配置npm安裝路徑
- 點選執行msi安裝包,預設安裝node v8.9.3。
- win + r 輸入cmd開啟命令列,輸入node -v檢視node v8.9.3是否正確安裝,輸入npm -v檢視整合的npm v5.5.1是否正確安裝。
- npm配置全域性安裝路徑。
- win + r 輸入cmd開啟命令列,輸入:
npm config set prefix "C:\Program Files\nodejs\node_global"- 檢視nodejs資料夾中是否自動生成node_global資料夾,如果存在,則說明設定成功。
- 右擊計算機,點選屬性,點選高階系統設定,點選環境變數,翻閱系統變數內容,找到path變數,在變數值末尾新增;C:\Program Files\nodejs\node_global;。
安裝cnmp
- win + r 輸入cmd開啟命令列,輸入:
npm install -g cnpm --registry=https://registry.npm.taobao.org"- win + r 輸入cmd開啟命令列,輸入:
cnpm -v檢視cnpm是否正確安裝。
安裝electron
- win + r 輸入cmd開啟命令列,輸入:
cnpm install -g electron- win + r 輸入cmd開啟命令列,輸入:
electron -v檢視electron是否正確安裝。
構建第一個應用程式
新建資料夾your-app, 開啟vscode,在vscode中開啟該資料夾
根據需要建立檔案main.js和index.html.一個最基本的 Electron 應用一般來說會有如下的目錄結構:
your-app/
  ├── package.json
  ├── main.js
  └── index.html
終端執行程式碼:
npm init預設生成package.json檔案:
{
  "name": "electrontest",
  "version": "1.0.0",
  "description": "",
  "main": "main.js",
  "scripts": {
    "test": "echo \"Error: no test specified\" && exit 1"
  },
  "author": "",
  "license": "ISC"
}
在預設package.json檔案中新增一個 start 指令碼來指引 Electron 去執行當前的 package
{
  "name": "electrontest",
  "version": "1.0.0",
  "description": "",
  "main": "main.js",
  "scripts": {
    "start": "electron .",
    "test": "echo \"Error: no test specified\" && exit 1"
  },
  "author": "",
  "license": "ISC"
}
新增啟動程式程式碼
{
  const {app, BrowserWindow} = require('electron')

  // Keep a global reference of the window object, if you don't, the window will
  // be closed automatically when the JavaScript object is garbage collected.
  let win

  function createWindow () {
    // 建立瀏覽器視窗。
    win = new BrowserWindow({width: 800, height: 60})

    // 然後載入應用的 index.html。
    win.loadFile('index.html')

    // 開啟開發者工具
    win.webContents.openDevTools()

    // 當 window 被關閉,這個事件會被觸發。
    win.on('closed', () => {
      // 取消引用 window 物件,如果你的應用支援多視窗的話,
      // 通常會把多個 window 物件存放在一個數組裡面,
      // 與此同時,你應該刪除相應的元素。
      win = null
    })
  }

  // Electron 會在初始化後並準備
  // 建立瀏覽器視窗時,呼叫這個函式。
  // 部分 API 在 ready 事件觸發後才能使用。
  app.on('ready', createWindow)

  // 當全部視窗關閉時退出。
  app.on('window-all-closed', () => {
    // 在 macOS 上,除非使用者用 Cmd + Q 確定地退出,
    // 否則絕大部分應用及其選單欄會保持啟用。
    if (process.platform !== 'darwin') {
      app.quit()
    }
  })

  app.on('activate', () => {
    // 在macOS上,當單擊dock圖示並且沒有其他視窗開啟時,
    // 通常在應用程式中重新建立一個視窗。
    if (win === null) {
      createWindow()
    }
  })

  // 在這個檔案中,你可以續寫應用剩下主程序程式碼。
  // 也可以拆分成幾個檔案,然後用 require 匯入。
}
新增需要渲染的模板檔案
<!DOCTYPE html>
<html>
<head>
<meta charset="UTF-8">
<title>Hello World!</title>
</head>
<body>
<h1>Hello World!</h1>
We are using node <script>document.write(process.versions.node)</script>,
Chrome <script>document.write(process.versions.chrome)</script>,
and Electron <script>document.write(process.versions.electron)</script>.
</body>
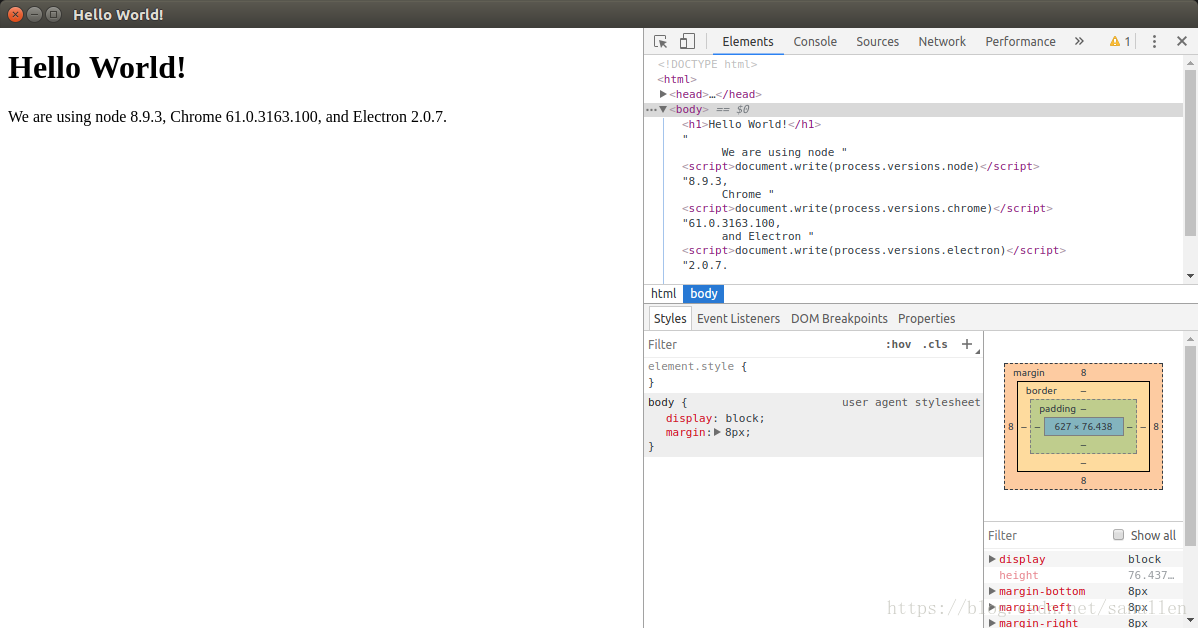
</html>終端輸入一下程式碼, 啟動應用程式
electron .