
Android 安卓動畫 屬性動畫
阿新 • • 發佈:2019-01-27
目錄
引入
屬性動畫的出現,彌補了補間動畫的不足之處,補間動畫,只是改變了表面上的東西,但是其中屬性並未改變,而屬性動畫相反,改變了表面上的東西,並且也更改了其屬性。
類:ObjectAnimator
用於操作屬性動畫的類
動畫 - 相關文章篇
幀動畫
補間動畫
屬性動畫
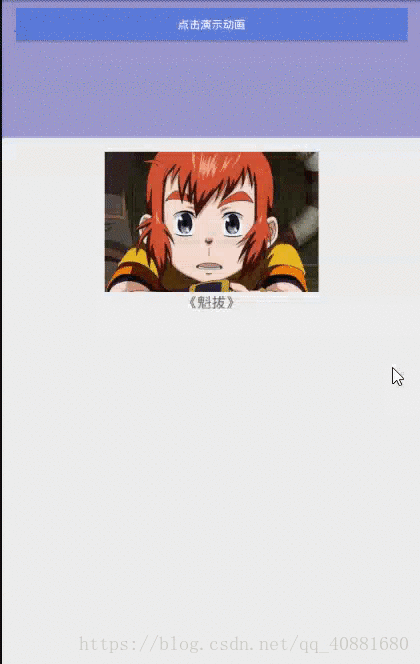
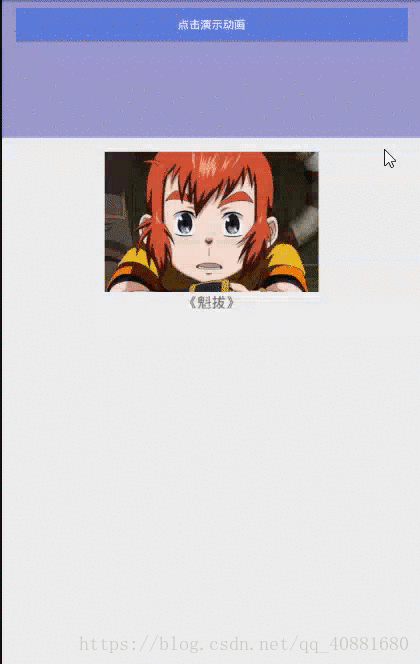
先來看下基本效果:
佈局檔案 篇
<?xml version="1.0" encoding="utf-8"?>
<LinearLayout xmlns:android="http://schemas.android.com/apk/res/android"
    xmlns:app="http://schemas.android.com/apk/res-auto"
    xmlns:tools="http://schemas.android.com/tools"
    android:layout_width="match_parent"
    android:layout_height="match_parent"
    android:orientation="vertical"
    tools:context=".MainActivity">

    <LinearLayout
        android:layout_width="match_parent"
        android:layout_height="0dp"
        android:layout_weight="1"
        android:background="#9c98ce"
        android:orientation="vertical"
        android:paddingLeft="20dp"
        android:paddingRight="20dp"
        android:paddingTop="10dp">

        <Button
            android:id="@+id/button"
            android:layout_width="match_parent"
            android:layout_height="wrap_content"
            android:background="#5b7bda"
            android:text="點選演示動畫"
            android:textColor="#fff" />

    </LinearLayout>

    <LinearLayout
        android:layout_width="match_parent"
        android:layout_height="0dp"
        android:layout_weight="4"
        android:orientation="vertical">

        <ImageView
            android:id="@+id/image"
            android:layout_width="wrap_content"
            android:layout_height="wrap_content"
            android:layout_gravity="center"
            android:layout_marginTop="20dp"
            android:background="@mipmap/kuiba" />

        <TextView
            android:layout_width="wrap_content"
            android:layout_height="wrap_content"
            android:layout_gravity="center"
            android:text="《魁拔》"
            android:textSize="18sp" />

    </LinearLayout>

</LinearLayout>
程式碼邏輯 篇
屬性動畫用到的是:ObjectAnimator
public class MainActivity extends AppCompatActivity implements View.OnClickListener {

    ObjectAnimator objectAnimator;
    private Button button;
    private ImageView image;

    @Override
    protected void onCreate(Bundle savedInstanceState) {
        super.onCreate(savedInstanceState);
        setContentView(R.layout.activity_main);
        initView();
    }

    private void initView() {
        button = (Button) findViewById(R.id.button);
        image = (ImageView) findViewById(R.id.image);
        button.setOnClickListener(this);
        image.setOnClickListener(this);
    }

    @Override
    public void onClick(View v) {
        switch (v.getId()) {
            case R.id.button:
                objectAnimator = ObjectAnimator.ofFloat(image,"alpha",1f,0f);
                objectAnimator.setDuration(2000);
                objectAnimator.start();
                break;
            case R.id.image:
                Toast.makeText(this, "我是屬性動畫", Toast.LENGTH_SHORT).show();
                break;
        }
    }
}
以上Java程式碼 objectAnimator = ObjectAnimator.ofFloat(image,"alpha",1f,0f);中
括號中的引數:
第一個引數,要實現動畫的控制元件id
第二個引數,要實現的動畫屬性,以下列出6種:
|
propertyName |
詳細作用 |
|---|---|
| alpha | 實現漸變效果 |
| rotation | 實現旋轉旋轉效果 |
| translationX | 實現水平移動效果(左或右移動) |
| translationY | 實現縱向移動效果(向上或者向下移動) |
| scaleX | 實現軸X縮放效果(放大或者縮小) |
| scaleY | 實現軸Y縮放效果(放大或者縮小) |
以上兩個引數是所有的實現效果都是這樣寫的,接下來介紹漸變動畫的引數
第三個引數,開始時的透明狀態( 1f 為不透明,0f 為完全透明,取值 0f ~ 1f )
第四個引數,結束時的透明狀態( 1f 為不透明,0f 為完全透明,取值 0f ~ 1f )
在這裡還可以加上第五個引數,表示為,漸變後再回到某一狀態(1f為不透明,0f為完全透明,取值0f~1f),看程式碼
objectAnimator = ObjectAnimator.ofFloat(image,"alpha",1f,0f,0.7f);這樣的話實現效果就變成了如下:
開始為1f,漸變後為0f,最後回到0.7f
| ObjectAnimator 類 方法 | 詳細解釋 |
|---|---|
| setDuration(2000) | 設定動畫持續時間,單位:毫秒ms |
| start(); | 開始執行動畫 |
有問題請聯絡我QQ:16191592