
[Wondgirl] 微信小程式(二)檢視渲染
阿新 • • 發佈:2019-01-28
元件的使用
1.
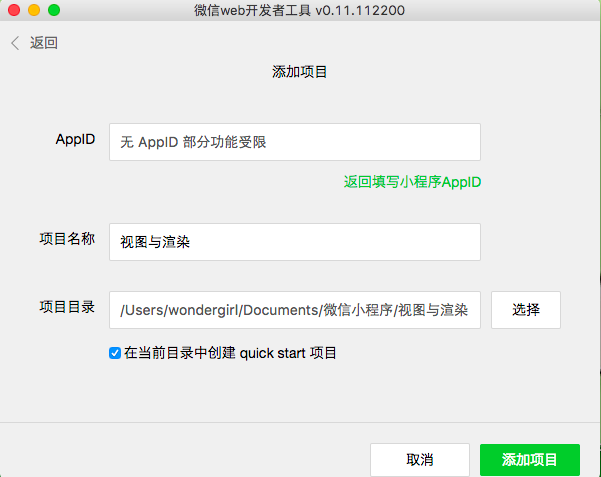
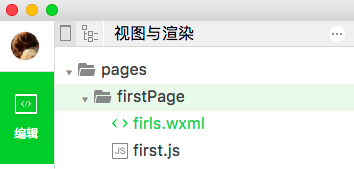
2.新建頁面firstPage
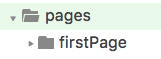
在裡面再建立first.js和first.wxml
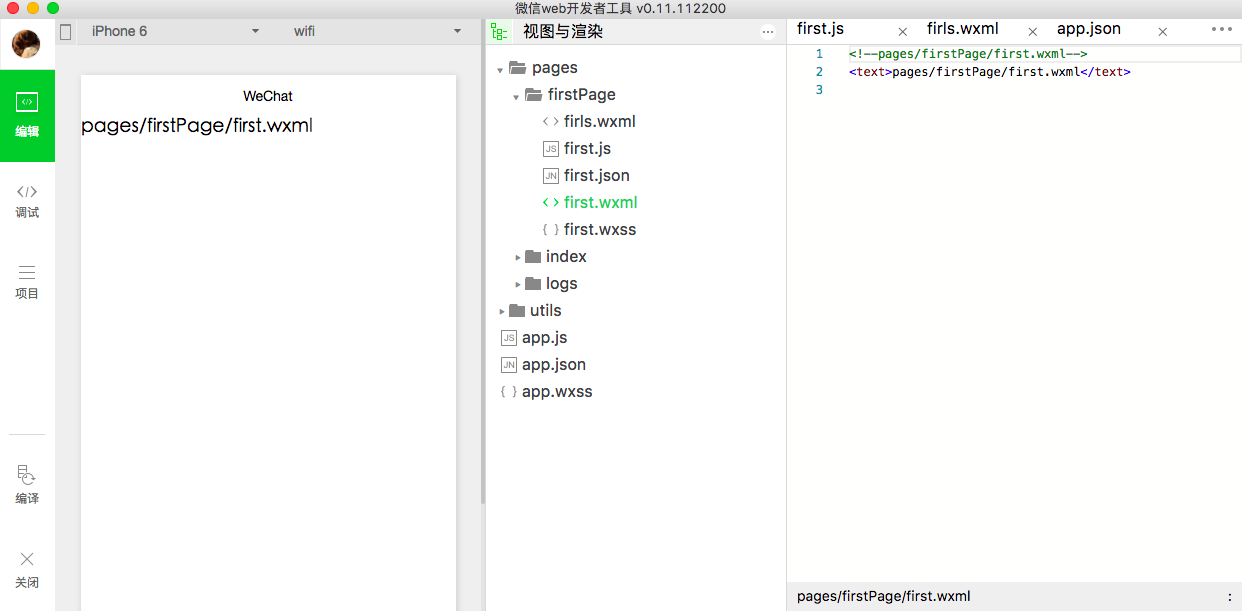
在app.json中把我們的頁面載入進來:”pages/firstPage/first”,
{
"pages":[
"pages/firstPage/first",//把first頁面載入進來
"pages/index/index",
"pages/logs/logs"
],
"window":{
"backgroundTextStyle":"light",
"navigationBarBackgroundColor": "#fff",
"navigationBarTitleText 在我們的頁面裡面呼叫page方法:first.js
Page({
data:{
// text:"這是一個頁面"
},
onLoad:function(options){
// 頁面初始化 options為頁面跳轉所帶來的引數
},
onReady:function(){
// 頁面渲染完成
},
onShow:function(){
// 頁面顯示
},
onHide:function(){
// 頁面隱藏
},
onUnload:function 儲存所有頁面後編譯,我們可以看到,我們的頁面成功加載出來了
標籤的使用
我們找到[表單元件]—button,複製右面選中的示例程式碼,貼上到頁面的佈局first.wxml檔案中.
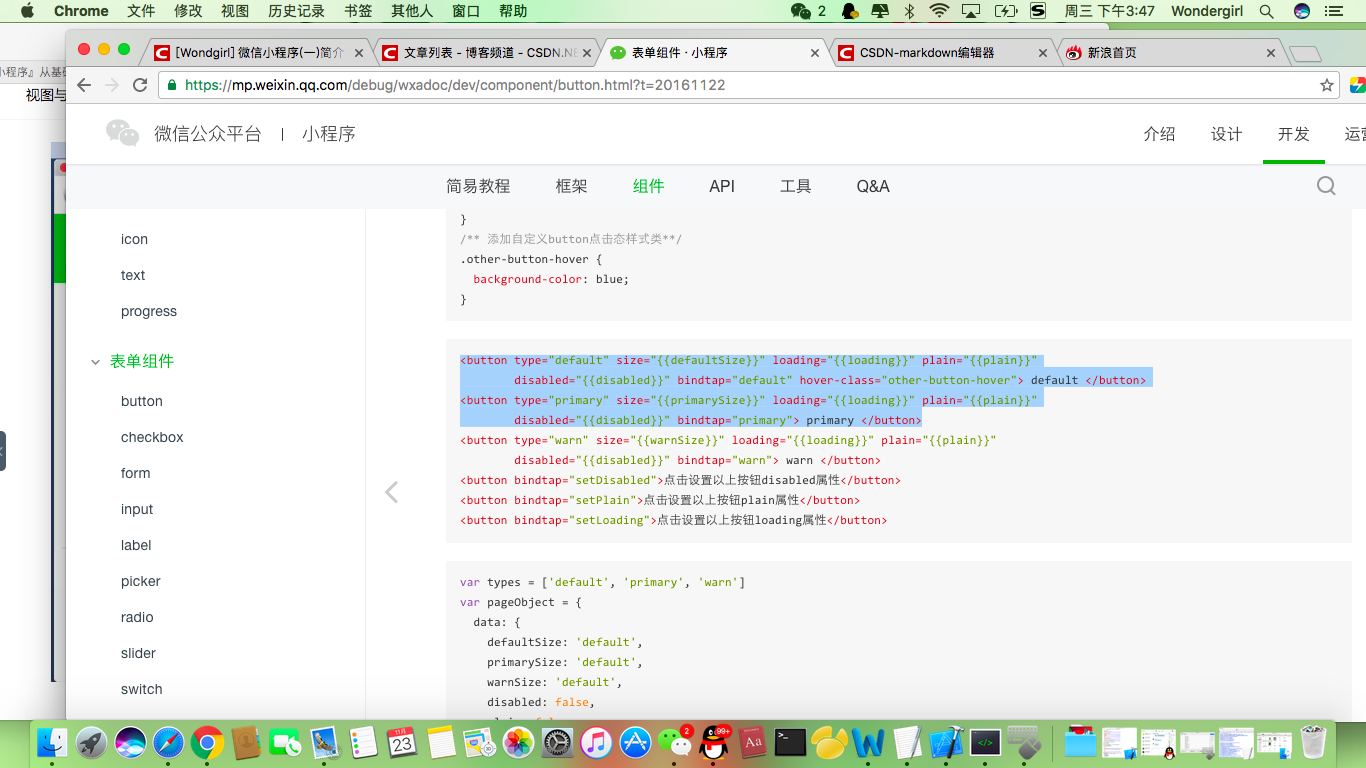
first.wxml程式碼:
<!--pages/firstPage/first.wxml-->
<text>這裡是文字內容</text>
<button type="default" hover-class="other-button-hover"> default </button>
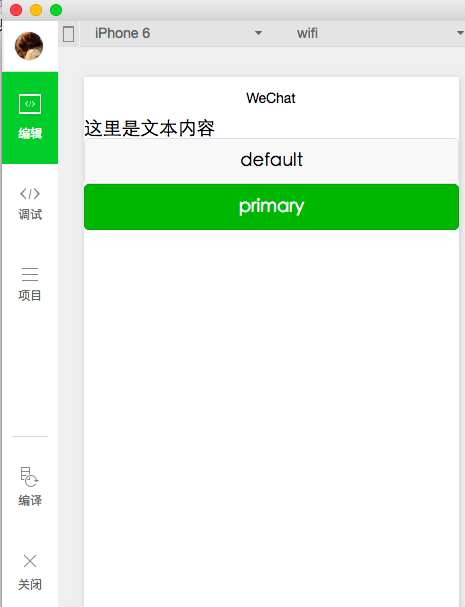
<button 執行效果如下:
繫結資料:{{資料值}}
1.把first.wxml內容改為
<!--pages/firstPage/first.wxml-->
<text>{{text}}</text>
<button type="default" hover-class="other-button-hover"> default </button>
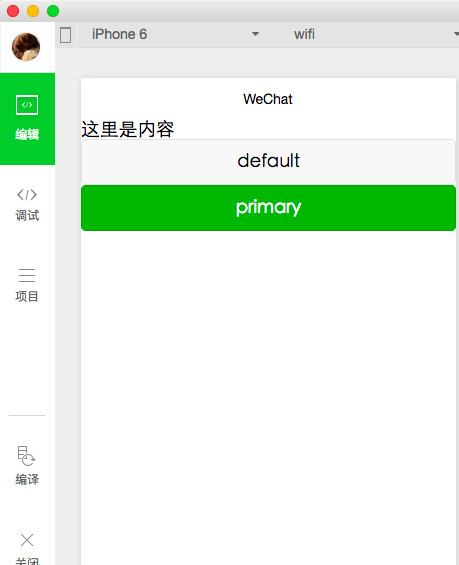
<button type="primary" > primary </button>2.在first.js頁面給text賦值:text:”這裡是內容”
Page({
  data:{
    // text:"這是一個頁面"
    text:"這裡是內容"
  },
  onLoad:function(options){
    // 頁面初始化 options為頁面跳轉所帶來的引數

  },
  onReady:function(){
    // 頁面渲染完成

  },
  onShow:function(){
    // 頁面顯示

  },
  onHide:function(){
    // 頁面隱藏

  },
  onUnload:function(){
    // 頁面關閉

  }
})
執行結果為:
命令按鈕的資料繫結同上:
在first.wxml:
<button type="default" hover-class="other-button-hover"> {{btnText}} </button>first.js:
btnText:"命令按鈕"命令按鈕新增點選事件:
bindtap=”btnClick”
first.wxml:
<button type="default" hover-class="other-button-hover" bindtap="btnClick"> {{btnText}} </button>
first.js裡新增:
btnClick:function(){
    this.setData({text:"內容改變"})
  }
執行後你會發現,當你點命令按鈕後,text的內容將會更改為:內容改變
渲染標籤的使用
一.條件渲染
當為false時編譯後view不顯示.
<view wx:if="{{false}}"> {{text}} </view>當為true時編譯後view顯示.
<view wx:if="{{true}}"> {{text}} </view>else的使用:當為true時顯示帶1的view,否則顯示帶2的view
<!--pages/firstPage/first.wxml-->
<text>{{text}}</text>
<button type="default"  hover-class="other-button-hover" bindtap="btnClick"> {{btnText}} </button>
<button type="primary" > primary </button>
<view wx:if="{{show}}"> {{text}}1 </view>
<view wx:else> {{text}}2 </view>
Page({
data:{
// text:"這是一個頁面"
text:"這裡是內容",
btnText:"命令按鈕",
show:true
},
onLoad:function(options){
// 頁面初始化 options為頁面跳轉所帶來的引數
},
onReady:function(){
// 頁面渲染完成
},
onShow:function(){
// 頁面顯示
},
onHide:function(){
// 頁面隱藏
},
onUnload:function(){
// 頁面關閉
},
btnClick:function(){
console.log("show:"+this.data.show);
this.setData({text:"內容改變",show:!this.data.show})
}
})二.迴圈標籤 for
也可以在first.js中輸入
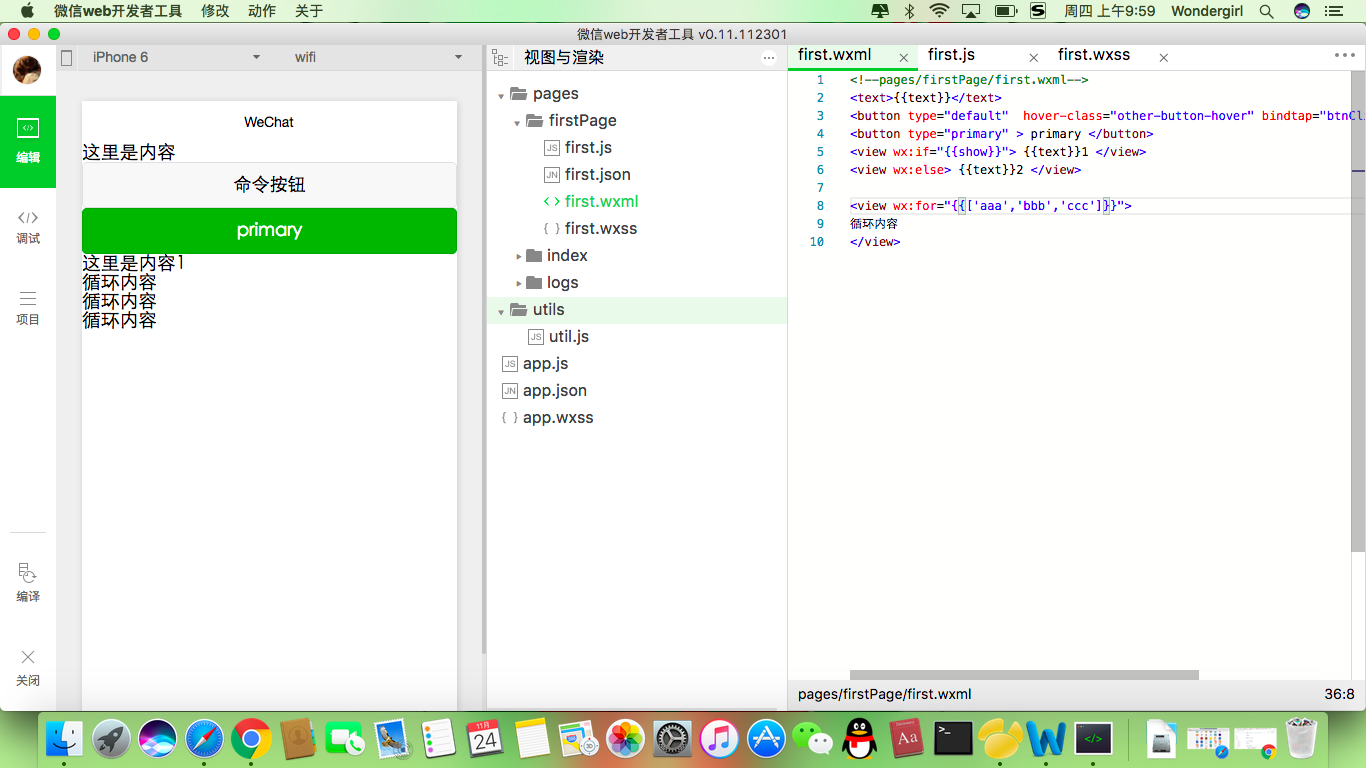
news:['aaa','bbb','ccc']<!--pages/firstPage/first.wxml-->
<text>{{text}}</text>
<button type="default" hover-class="other-button-hover" bindtap="btnClick"> {{btnText}} </button>
<button type="primary" > primary </button>
<view wx:if="{{show}}"> {{text}}1 </view>
<view wx:else> {{text}}2 </view>
<view wx:for="{{news}}">
迴圈內容
</view>若要顯示for迴圈陣列中的值,可以寫item.如下圖

或
還可以用index來顯示是第幾條
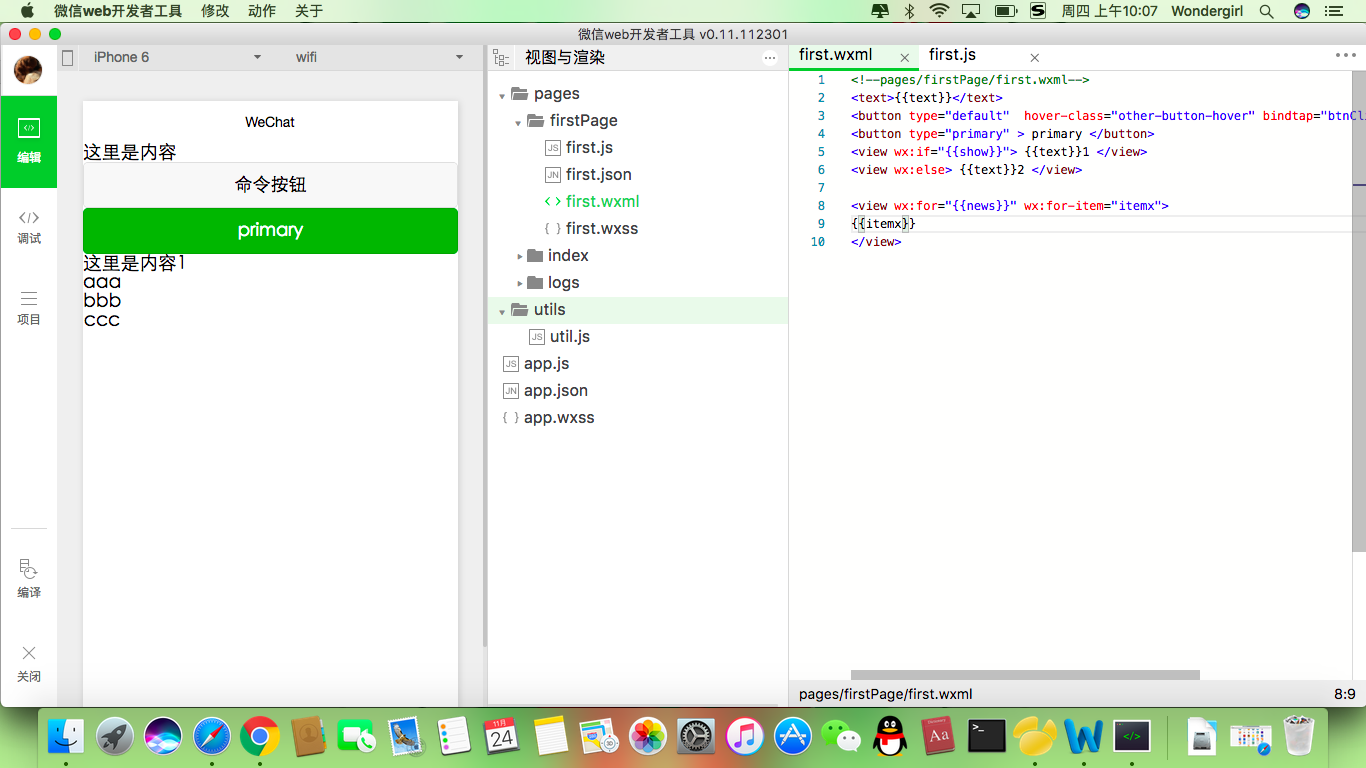
<!--pages/firstPage/first.wxml-->
<text>{{text}}</text>
<button type="default"  hover-class="other-button-hover" bindtap="btnClick"> {{btnText}} </button>
<button type="primary" > primary </button>
<view wx:if="{{show}}"> {{text}}1 </view>
<view wx:else> {{text}}2 </view>

<view wx:for="{{news}}" wx:for-item="itemx">
{{index}}{{itemx}}
</view>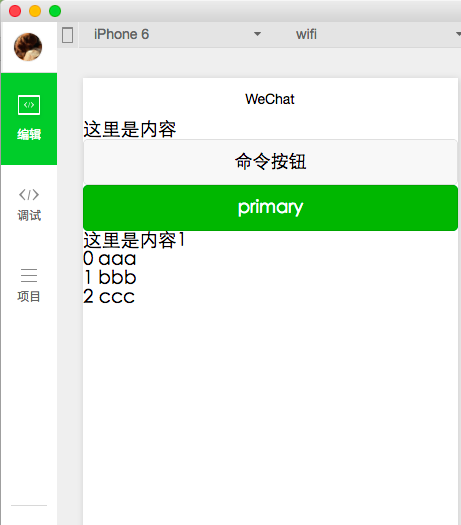
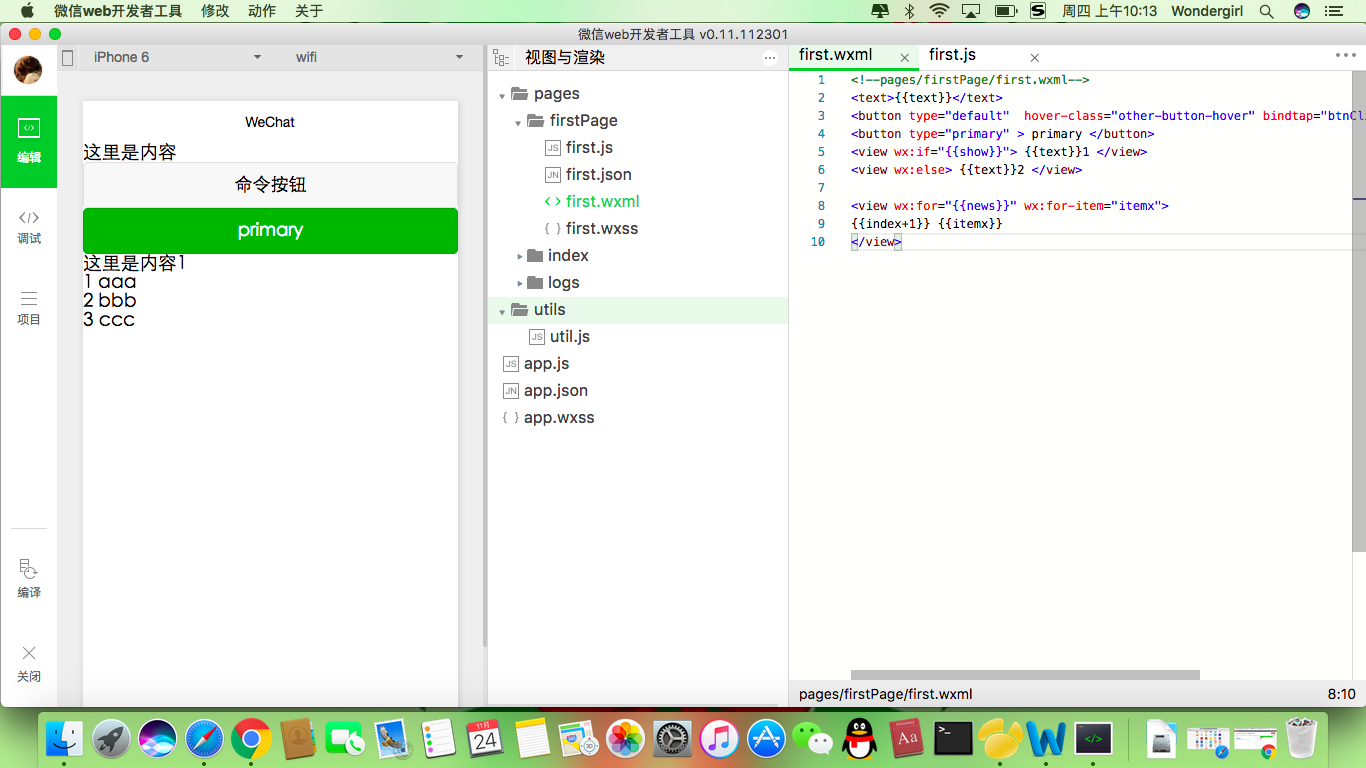
想要從1開始也可以
動態的更改news的值:每點選一次命令按鈕,刪除一行資料.
<!--pages/firstPage/first.wxml-->
<text>{{text}}</text>
<button type="default"  hover-class="other-button-hover" bindtap="btnClick"> {{btnText}} </button>
<button type="primary" > primary </button>
<view wx:if="{{show}}"> {{text}}1 </view>
<view wx:else> {{text}}2 </view>

<view wx:for="{{news}}" wx:for-item="itemx">
{{index+1}}{{itemx}}
</view>
index也可以定義
<view wx:for="{{news}}" wx:for-item="itemx" wx:for-index="ix">
{{ix+1}}{{itemx}}
</view>
Page({
data:{
// text:"這是一個頁面"
text:"這裡是內容",
btnText:"命令按鈕",
show:true,
news:['aaa','bbb','ccc']
},
onLoad:function(options){
// 頁面初始化 options為頁面跳轉所帶來的引數
},
onReady:function(){
// 頁面渲染完成
},
onShow:function(){
// 頁面顯示
},
onHide:function(){
// 頁面隱藏
},
onUnload:function(){
// 頁面關閉
},
btnClick:function(){
console.log("show:"+this.data.show);
var newsdata = this.data.news;
newsdata.shift()//刪除第一條資料用.shift()
this.setData({text:"內容改變",show:!this.data.show,news:newsdata})
}
})