
Android 如何實現歡迎介面(Splash Screen)
啟動介面 先記一下
參考文章:http://blog.csdn.net/shaoduo/article/details/48351585
http://www.jb51.net/article/36190.htm
Android筆記之:App應用之啟動介面SplashActivity的使用
http://blog.csdn.net/xueshanhaizi/article/details/51262528
Android應用啟動介面分析(Starting Window)
http://blog.csdn.net/qq_25047355/article/details/55260980
詳解安卓從圖表icon點選到APP啟動介面載入流程
http://www.jb51.net/article/36190.htm
Android筆記之:App應用之啟動介面SplashActivity的使用
https://www.cnblogs.com/xiongbo/archive/2011/05/17/splash.html
建立Android啟動介面
https://www.jianshu.com/p/33a798ac3298 你所不知道的。。。
貼:
MainActivity
ancivity_main.xmlpublic class MainActivity extends Activity { private ImageView imageView; @Override protected void onCreate(Bundle savedInstanceState) { super.onCreate(savedInstanceState); setContentView(R.layout.activity_main); imageView = findViewById(R.id.image); Intent intent = getIntent(); if (intent!=null) { //注意Intent傳遞物件的方式 Bitmap bitmap = intent.getParcelableExtra("Image"); imageView.setImageBitmap(bitmap); } } }
<?xml version="1.0" encoding="utf-8"?>
<LinearLayout
    xmlns:android="http://schemas.android.com/apk/res/android"
    xmlns:tools="http://schemas.android.com/tools"
    android:layout_width="match_parent"
    android:layout_height="match_parent"
    tools:context="net.lm.fire_controller.MainActivity">

    <ImageView
        android:id="@+id/image"
        android:layout_width="fill_parent"
        android:layout_height="fill_parent" />

</LinearLayout>
SplashScreenActivity
package net.lm.fire_controller;

import android.app.Activity;
import android.content.Intent;
import android.graphics.Bitmap;
import android.graphics.BitmapFactory;
import android.os.AsyncTask;
import android.os.Bundle;

import java.io.IOException;
import java.io.InputStream;
import java.net.HttpURLConnection;
import java.net.URL;

/**
 * Created by Administrator on 2018/1/11.
 */

public class SplashScreenActivity extends Activity {

    private static final String url = "http://img.pconline.com.cn/images/upload/upc/tx/wallpaper/1304/30/c0/20394669_1367251284721_320x480.jpg";

    @Override
    protected void onCreate(Bundle savedInstanceState) {
        super.onCreate(savedInstanceState);
        setContentView(R.layout.splash_screen);

        new FetchDataTask().execute(url);
    }

    public class FetchDataTask extends AsyncTask<String,Void,Bitmap> {


        //執行前呼叫
        protected  void onPreExecut(){
            super.onPreExecute();
        }

        //執行後臺任務
        @Override
        protected Bitmap doInBackground(String... strings) {
            Bitmap bitmap = null;

            try {
                //通過傳入的圖片地址,獲取圖片
                HttpURLConnection connection = (HttpURLConnection) (new URL(strings[0])).openConnection();
                InputStream is = connection.getInputStream();
                bitmap = BitmapFactory.decodeStream(is);
            } catch (IOException e) {
                e.printStackTrace();
            }
            return bitmap;
        }

        //任務完成時呼叫

        @Override
        protected void onPostExecute(Bitmap result) {
            super.onPostExecute(result);

            //講獲取的資料通過Intent傳送給MainActivity
            Intent intent = new Intent(SplashScreenActivity.this,MainActivity.class);
            //注意,intent傳遞圖片時,圖片物件大小不應該超過40k
            intent.putExtra("Image",result);
            startActivity(intent);

            //啟動MainActivity後銷燬自身
            finish();
        }
    }
}
splash_screen.xml
<?xml version="1.0" encoding="utf-8"?>
<LinearLayout xmlns:android="http://schemas.android.com/apk/res/android"
    android:layout_width="match_parent"
    android:layout_height="match_parent"
    android:gravity="center"
    android:orientation="vertical">


    <ImageView

        android:id="@+id/appImage"
        android:src="@mipmap/personal_logo"
        android:layout_width="wrap_content"
        android:layout_height="wrap_content" />
    <TextView
        android:gravity="center"
        android:text="Welcome to MS_Movie"
        android:layout_marginTop="15dp"
        android:textSize="30sp"
        android:textColor="#00ACED"
        android:layout_width="wrap_content"
        android:layout_height="wrap_content" />
</LinearLayout>
專案清單檔案:
<?xml version="1.0" encoding="utf-8"?>
<manifest xmlns:android="http://schemas.android.com/apk/res/android"
package="net.lm.fire_controller" >
<uses-permission android:name="android.permission.INTERNET"/>
<application
android:allowBackup="true"
android:icon="@mipmap/ic_launcher"
android:label="@string/app_name"
android:roundIcon="@mipmap/ic_launcher_round"
android:supportsRtl="true"
android:theme="@style/AppTheme" >
<activity android:name=".MainActivity" >
<intent-filter>
<action android:name="android.intent.action.MAIN" />
<category android:name="android.intent.category.LAUNCHER" />
</intent-filter>
</activity>
</application>
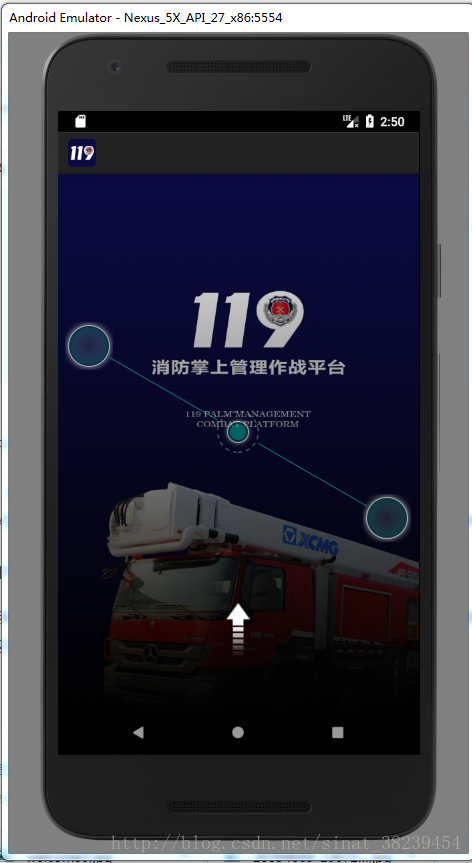
</manifest>這裡附一張,老師給的提醒:
/**
 * 包名:net.hw.driver_test.ui
 * 類名:SplashScreenActivity
 * 描述:啟動介面
 * 作者:華衛
 * 日期:2017年1月4日
 */
package net.hw.driver_test.ui;

import android.app.Activity;
import android.content.Intent;
import android.os.Bundle;
import android.os.Handler;
import android.view.animation.AnimationUtils;
import android.widget.ImageView;
import net.hw.driver_test.R;

public class SplashScreenActivity extends Activity {
	/**
	 * 圖示標籤
	 */
	private ImageView ivIcon;
	/**
	 * 延遲時間
	 */
	private static final int DELAY_TIME = 4000;

	@Override
	protected void onCreate(Bundle savedInstanceState) {
		super.onCreate(savedInstanceState);
		// 利用佈局資原始檔設定使用者介面
		setContentView(R.layout.activity_splash_screen);

		// 通過資源標識獲得控制元件例項
		ivIcon = (ImageView) findViewById(R.id.iv_icon);

		// 載入動畫配置檔案,啟動動畫
		ivIcon.startAnimation(AnimationUtils.loadAnimation(this, R.anim.animator));

		// 利用訊息處理器實現延遲跳轉到登入視窗
		new Handler().postDelayed(new Runnable() {
			@Override
			public void run() {
				// 啟動登入視窗
				startActivity(new Intent(SplashScreenActivity.this, LoginActivity.class));
				// 關閉啟動畫面
				finish();
			}
		}, DELAY_TIME);
	}
}
後續(過了一個下午):
查看了一些資料,如果按照原本計劃,應該是一個啟動頁面後再彈出登入註冊框。。 為了多方面的考慮,想了一下,如果今後有類似的app做引導頁,其實也是可以採用 三張圖片滾動的形式,再跳轉主介面,這樣也是可以的。
一張啟動頁面用Splash Screen可以做出來,控制持續的時間 再跳轉可以的。
我找到了簡書上用RxJava做的引導頁,嘗試了一下,感覺使用者體驗應該相對來說也是可以,只是再加長了進入主介面的時間,多了緩衝和視覺上的效果。
這是現在做的一個實訓專案,但是目前來說寫這篇文章意義不大,只是一個拓展吧。以作今後開發之需。