
Ubuntu 16.04.1 LTS上安裝電源管理系統TLP
http://linrunner.de/en/tlp/docs/tlp-linux-advanced-power-management.html
https://github.com/linrunner/TLP/
安裝參考
http://linrunner.de/en/tlp/docs/tlp-linux-advanced-power-management.html
sudo apt-get install tlp tlp-rdw
對ThinkPad還需要額外安裝
sudo apt-get install tp-smapi-dkms acpi-call-dkms
安裝之後需要重啟機器下次才會啟動。
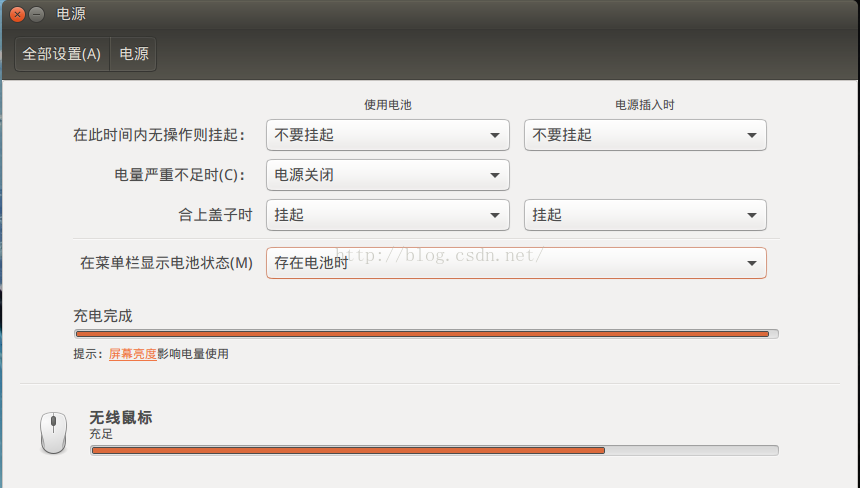
下面是安裝之後的介面截圖
相關推薦
Ubuntu 16.04.1 LTS上安裝電源管理系統TLP
主頁: http://linrunner.de/en/tlp/docs/tlp-linux-advanced-power-management.html https://github.com/linrunner/TLP/ 安裝參考 http://linrunner.de/e
在Ubuntu 16.04.3 LTS上安裝Go 1.10
升級Go新版本的原因目前Ubuntu 16.04.3上最新的二進位制Go版本是1.6.2,執行github上的一個大的go專案,發現context包在go版本1.6以上和以下的import方式有差異在go1.7及以上版本context包被正式列入官方庫中,所以我們只需要imp
ubuntu 16.04.1 LTS postgresql安裝配置
ket ons wget 5.6 int cst multi 啟動 oca postgresql安裝--------------------二進制安裝:wget https://get.enterprisedb.com/postgresql/postgresql-9.5.6
ubuntu 16.04.1 LTS redis安裝配置
star ins redis-cli -s download root per edi down 編譯安裝:apt-get updateapt-get install build-essential tclwget http://download.redis.io/redi
Ubuntu 16.04.1 LTS zookeeper-3.4.11安裝啟動失敗Error contacting service. It is probably not running.
騰訊雲伺服器Ubuntu 16.04.1 LTS zookeeper-3.4.11安裝啟動失敗 zookeeper安裝後啟動報許可權不足: [email protected]:/opt/zookeeper-3.4.8/bin$ ./zkServer.sh start ZooKeep
在VMWare虛擬機器中安裝Ubuntu 16.04.1 LTS
一、需要的準備 安裝好VMWare虛擬機器(傻瓜式安裝,一直next就可以,請支援正版),將Ubuntu的系統映象下載好,目前最新的LTS版本為16.04.1。 我把虛擬機器和Ubuntu映象傳到了百度雲裡,需要的可以下載。 連結:http://pan.baidu.com
ubuntu 16.04.1 LTS 初始化
test shanghai ubuntu nap sysctl fail2ban all rtu system gcc環境------------------sudo apt-get update && \sudo apt-get install build
第4步:在雲伺服器Ubuntu 16.04.4 LTS中安裝Hadoop2.9.2
在阿里雲中搭建大資料實驗環境 第4步:在雲伺服器Ubuntu 16.04.4 LTS中安裝Hadoop2.9.2 https://www.cnblogs.com/87hbteo/p/7606012.html 一、更新apt 用liuxv使用者登入後,先更新apt,能使apt安裝以後要
在Ubuntu 16.04.3 LTS上搭建QUIC互動demo
目的本文依據參考文獻中的資料,來利用chromium原始碼編譯出quic_server和quic_client, 並依靠它們來發送QUIC協議請求,瞭解QUIC互動的細節。前提必須能夠流暢地翻牆下載chromium等專案程式碼下面是實操記錄專案目錄存放在cd ~/progra
在Ubuntu 14.04.5 LTS上安裝selenium 3實錄
簡介 Selenium是一組web自動化測試工具集,提供多種語言的API,例如java,python,ruby,.net等,支援Firefox,Chrome,IE,Safari 等多種瀏覽器,但是它驅動瀏覽器執行需要有專門的驅動程式。當驅動程式與瀏覽器的版本不匹配是就會報錯。所以下載驅動一定
在Ubuntu 16.04.3 LTS上玩轉QUIC開源專案proto-quic
說明proto-quic專案是民間從chromium中抽取出的QUIC實現相關的程式碼。採用這個專案的程式碼,比從chromium原始碼編譯,要更快速和簡單。因為畢竟GFW限制,不是所有的人都可以翻牆去下載近10G的chromium專案原始碼。下面的實操過程完全遵照githu
Ubuntu 18.04.1 LTS server安裝全紀錄
自定義 ubuntu 分區 reboot 方法 font 虛擬系統 ssh key ntfs VMware Workstation Pro操作 創建新的虛擬機 這裏強調一下虛擬機存放目錄的問題: 建一個根目錄VM,在其下建xp、win7、ubuntu
深度學習(四)環境配置 Ubuntu Server 16.04.1 LTS 安裝步驟 tensorflow 安裝
Ubuntu Server 16.04.1 LTS 安裝步驟 1.下載ISO光碟映象檔案 http://www.ubuntu.com/download/server 2.點選下載後進入http://www.ubuntu.com/download/server/insta
Hadoop安裝教程_單機/偽分散式配置_騰訊雲/Ubuntu Server 16.04.1 LTS 64位/Hadoop2.9.1
環境 騰訊雲伺服器 系統:Ubuntu Server 16.04.1 LTS 64位 Hadoop版本:hadoop-2.9.1 提示:雲伺服器下的Ubuntu圖形化介面親測很卡,慎用!所以本教程全程shell配置。 裝好了 Ubuntu 系統之後,在安裝 Ha
Ubuntu 16.04.2 LTS PXE全自動安裝
"ubuntu pxe安裝" "pxe ubuntu" "ubuntu 16" Ubuntu 16.04.2 LTS PXE全自動安裝使用的版本為ubuntu-16.04.2-server-amd64.iso (829M)1、將光盤中的
Ubuntu 16.04.2 LTS 安裝 jdk1.6 和 tomcat6 (二)
pass set 命令 arc 記錄 variable ogr ant pat 上一篇記錄和分享了jdk1.6 在Ubuntu 16.04.2 環境下的安裝配置,本文開始安裝和配置tomcat 6 2 安裝tomcat http://tomcat.ap
Ubuntu Server 16.04.1 LTS 64位下編譯並運行bitcoin-v0.15.1
core confirm 區別 mon prefix ffi bit ould tco 依賴庫安裝 ? 安裝編譯環境 apt-get -y install build-essential libtool autotools-dev automake autoconf pk
Python 2.7.12+Django 1.11.8+Ubuntu 16.04.4 LTS+Apache 2.4.33寶塔配置
鏈接 是我 AD 測試環境 可能 static ive window In 將在本地localhost的項目部署到寶塔上;首先創建兩個域名,因為是測試環境,所以只是修該了C:\Windows\System32\drivers\etc\host文件 然後分別建立了前端(
VirtualBox 5.2.20 + Ubuntu 18.04.1 LTS + openstack Rocky devstack實驗安裝
順利的安裝了openstack rocky實驗環境,基本安裝過程記錄如下: 一、安裝VirtualBox 5.2.20 下載網址:https://www.virtualbox.org/wiki/Downloads 我選的是windows版本,在膝上型電腦win10下安裝
虛擬機器安裝Ubuntu 18.04.1 LTS教程
登陸Ubuntu官網下載系統映象,本文以Ubuntu 18.04.1 LTS為例 映象路徑:https://www.ubuntu.com/download/desktop 開啟VMare workspace 選擇需要安裝系統的映象,即剛才下載的映象。 填寫