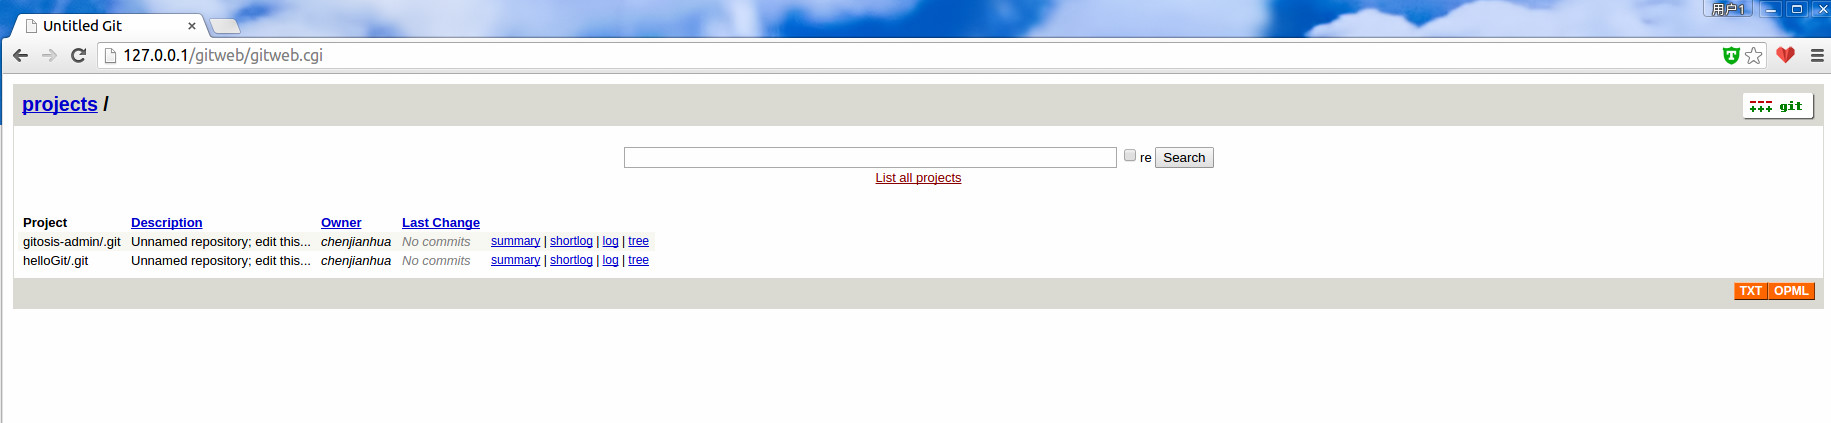
Nginx作為gitweb伺服器
阿新 • • 發佈:2019-01-29
安裝nginx和gitweb
sudo apt-get install nginx gitweb
將Gitweb安裝目錄連結到web主目錄下
sudo ln -s /usr/share/gitweb/ /var/www/
安裝spawn-fcgi和fastcgi-wrapper
#安裝 spawn-fcgi
sudo apt-get install spawn-fcgi
#安裝fastcgi-wrapper
git clone https://github.com/gnosek/fcgiwrap.git
cd fcgiwrap
autoreconf -i
./configure
make
make install
#啟動fastcgi-wrapper 修改gitweb.conf
gitweb.cgi 指令碼中有這樣一句話: /etc/gitweb.conf,很顯然,它會讀取 /etc/gitweb.conf 檔案來獲取配置資訊。因此,我們需要在 /etc 下新建一個檔案 gitweb.conf。
vi /etc/gitweb.conf
# path to git projects (<project>.git)
$projectroot = "/home/git/repositories/";
# file with project list; by default, simply scan the projectroot dir. nginx.conf
server {
listen 80;
server_name