
在flask中使用驗證碼
阿新 • • 發佈:2019-01-29
前景
在學習flask web 開發的過程中,終於到了登入註冊的介面,之前用PIL製作了自己的驗證碼,現在終於用上了,在蒐集各種資料的情況下。終於初步完成了flask的驗證碼環節
驗證碼程式碼
from PIL import Image, ImageFont, ImageDraw, ImageFilter
import random
def validate_picture():
total = 'abcdefghijklmnopqrstuvwxyzABCDEFGHIJKLMNOPQRSTUVWXYZ012345789'
# 圖片大小130 x 50
width = 130 我選擇用一個單獨的檔案寫了一個驗證碼,這個函式返回im物件和驗證碼構成的字串
forms.py
class LoginForm(FlaskForm):
    email = StringField('電子郵箱', validators=[DataRequired(), Length(1, 64), Email()])
    password = PasswordField('密碼', validators=[DataRequired()])
    verify_code = StringField('驗證碼', validators=[DataRequired()])
    remember_me = BooleanField('記住自己的使用者')
    submit = SubmitField('登入')
views.py
@auth.route('/code')
def get_code():
    image, str = validate_picture()
    # 將驗證碼圖片以二進位制形式寫入在記憶體中,防止將圖片都放在資料夾中,佔用大量磁碟
    buf = BytesIO()
    image.save(buf, 'jpeg')
    buf_str = buf.getvalue()
    # 把二進位制作為response發回前端,並設定首部欄位
    response = make_response(buf_str)
    response.headers['Content-Type'] = 'image/gif'
    # 將驗證碼字串儲存在session中
    session['image'] = str
    return response
@auth.route('/login', methods=['GET', 'POST'])
def login():
form = LoginForm()
if form.validate_on_submit():
user = User.query.filter_by(email=form.email.data).first()
if session.get('image') != form.verify_code.data:
flash('驗證碼錯誤')
# 驗證使用者的登入密碼
if user is not None and user.verify_password(form.password.data):
login_user(user,form.remember_me.data)
flash('驗證通過,登入成功')
return redirect(request.args.get('next') or
url_for('main.index'))
else:
flash('使用者名稱或者密碼不正確')
return render_template('auth/login.html',form=form)login.html
{% extends "base.html" %}
{% import "bootstrap/wtf.html" as wtf %}
{% block title %}Flasky - Login{% endblock %}
{% block page_content %}
<div class="page-header">
    <h1>Login</h1>
</div>
<div class="col-md-4">
    {{ wtf.quick_form(form) }}
    <!--點選圖片重新獲取驗證碼-->
    <img  src="/auth/code " onclick="this.src='/auth/code?'+ Math.random()">
</div>
{% endblock %}
實驗結果
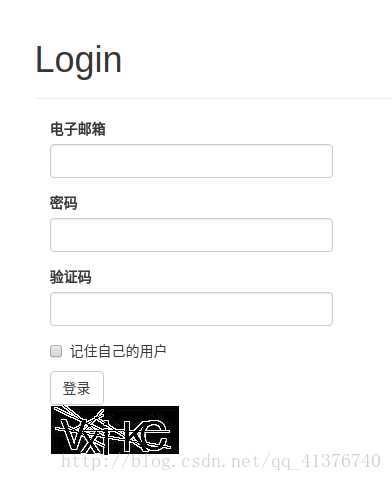
登入介面:
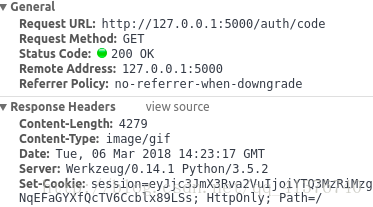
response返回的註冊碼圖片:

檢視一個頭部資訊:content-type為image/gif
同樣,點選之後是會重新整理驗證碼的
總結
算是一個還行的東西把,雖說是從網上找的,然後結合了一些自己的想法。也理解了response的一點點東西。對session和cookie也稍微瞭解了一下,欠缺部分:HTTP的欄位資訊,和session和cookie的詳細瞭解。正在做這件事,雖然每天空閒時間都蠻少的,但是儘量多做點事情,一天在web裡面實現一個功能,用好這寫空餘時間。