QT Desinger設計窗體應用程式框架
目錄
前言
QT Desinger這個工具讓我們可以想C#一樣通過拖動元件來開發GUI應用程式。對於新手或敏捷開發而言都是一大利器,但是如果希望深入的學習QT底層程式碼實現的話,這當然不是一個好的選擇。
系統軟體
- 系統
- Win 10
- 軟體
- PyCharm 5
- Python 3.4.3
- PyQt 4
QT Designer
官方手冊,點這裡
摘要:
Qt Designer is the Qt tool for designing and building graphical user interfaces (GUIs) with Qt Widgets. You can compose and customize your windows or dialogs in a what-you-see-is-what-you-get (WYSIWYG) manner, and test them using different styles and resolutions.
Widgets and forms created with Qt Designer integrate seamlessly with programmed code, using Qt’s signals and slots mechanism, so that you can easily assign behavior to graphical elements. All properties set in Qt Designer can be changed dynamically within the code. Furthermore, features like widget promotion and custom plugins allow you to use your own components with Qt Designer.
QT Designer 是構建和設計圖形使用者介面(gui)的Qt工具。可以以所見即所得(what-you-see-is-what-you-get)的方式來組合和定製你的視窗或者對話方塊,並且可以使用不同的風格和解決方案來測試。
使用QT Designer建立的部件和表單,你可以無縫的將這些部件的訊號和槽整合到程式程式碼中,所以你能夠很容易的去指定圖形元件的動作。在QT Designer中設定的屬性值在程式碼中可以動態的更改,而且QT Designer允許你使用自己擁有的部件和自定義外掛。
Using QT Designer
使用QT Designer的幾個步驟:
1)建立窗體並在窗體中放置各種控制元件。
2)對窗體進行佈局設計。
3)設定各控制元件的標籤順序。
4)建立訊號和槽。
5)連線訊號和槽。
Open QTDesigner Tool
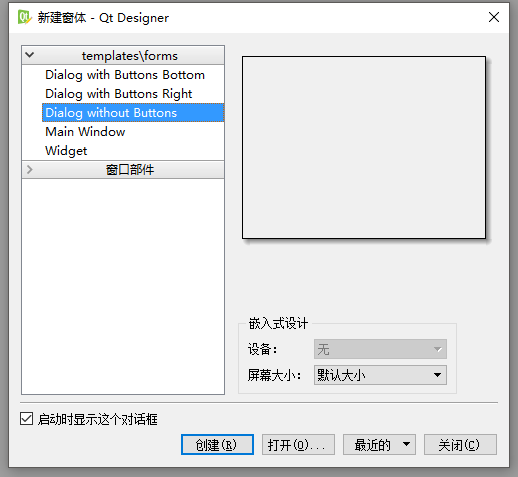
啟動QT Designer後,提供了5種表單樣式
1)底部帶”確定”,”取消”按鈕的對話方塊窗體。
2)右側帶”確定”,”取消”按鈕的對話方塊窗體。
3)不帶按鈕的對話方塊窗體。
4)Main Window型別窗體。
5)通用窗體。
Widget Box
QT Designer的控制元件欄
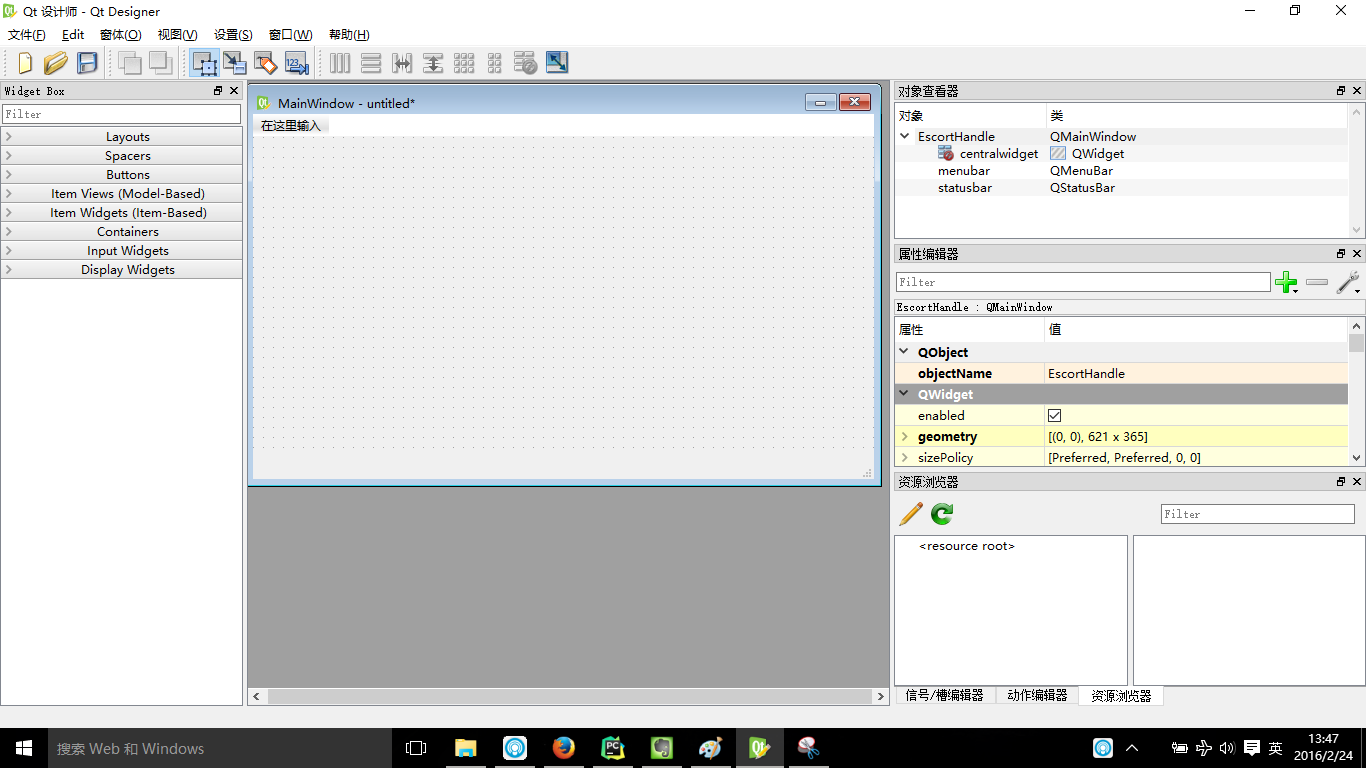
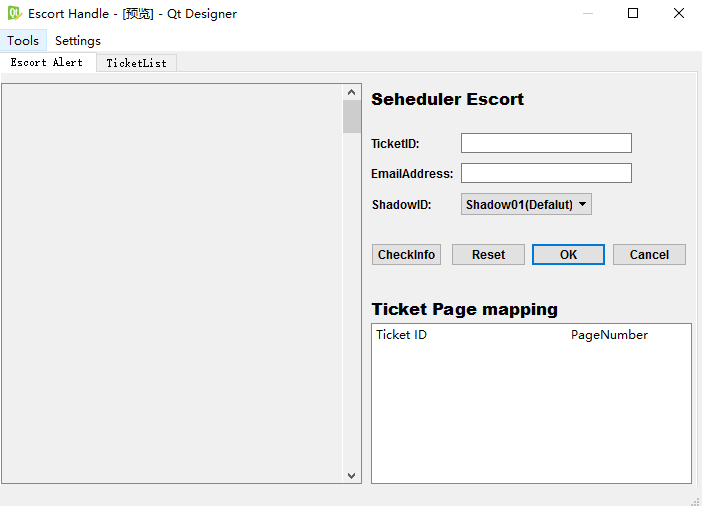
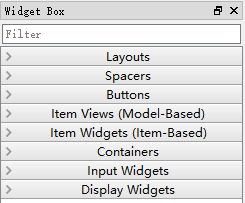
左邊是控制元件欄,提供了很多控制元件類,可以像Visual studio那樣直接將控制元件拖放QWidget中看到效果,Ctrl+R可以預覽效果。
QT Designer的佈局
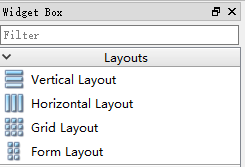
Qt Designer Widget Box 中的Layouts控制元件提供了四種佈局方法:
Vertical Layout 縱向佈局
Horizontal Layout 橫向佈局
Grid Layout 柵格佈局
Form Layout 在窗體佈局中佈局
屬性欄
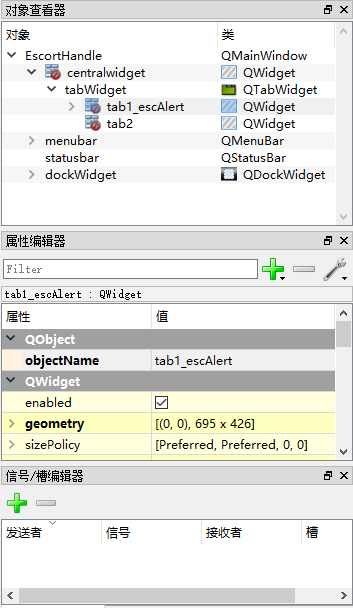
右邊是對視窗及控制元件的調整、設定、動作 、新增資源(列如:圖片)。還可以直接編輯Qt的訊號槽(signal和slot)。
通過訊號槽機制,QT使物件間的通訊變得非常簡單,Example:
物件A宣告訊號(signal),物件B實現與A引數相匹配的槽(slot),通過呼叫connect()進行連線,合適的時機物件A使用emit把帶上引數的訊號發射出去,物件B的槽會就接收到響應,並做出動作。
訊號與槽作為QT的核心機制,在QT程式中廣泛應用,以後再專門介紹。
示例
i. 我們選擇Main Window
MainWindows預設添加了選單欄(menubar)、工具欄和狀態列(statusbar)等
ii. 拖動控制元件設計你喜歡的窗體框架
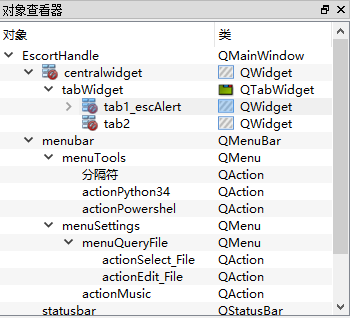
在設計窗體框架的時候需要注意層次之間的關係,這個可以在物件檢視器中得到體現
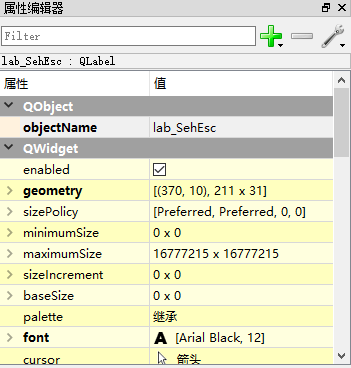
還可以在屬性編輯器中對每一個部件的屬性進行設計
iii. 儲存.ui檔案
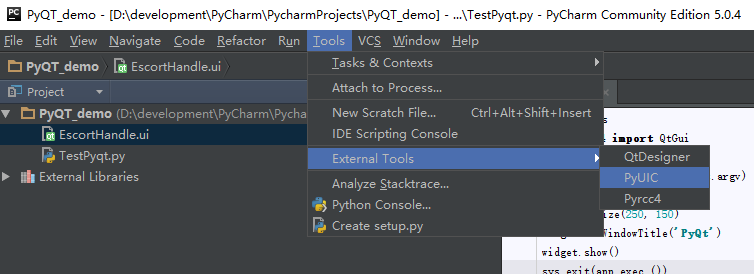
預設儲存到PyCharm當前專案的workspace中。
iiii. 將.ui檔案轉換為.py檔案
使用pyuic4.bat
D:\>D:\development\\Python34\Lib\site-packages\PyQt4\pyuic4.bat d:\development\PyCharm\PycharmProjects\PyQT_demo\EscortHandle.ui -o d:\development\PyCharm\PycharmProjects\PyQT_demo\escortHandle.pyCommand line pyuic4:
The pyuic4 utility is a command line interface to the uic module. The command has the following syntax:
pyuic4 [options] .ui-fileThe full set of command line options is:
-h, –help
–version
-i <Number>, –indent <N> 指定Python code的縮排格式
-o <FILE>, –output <FILE> 指定轉換成.py檔案的檔名
-p, –preview 預覽
-w, –pyqt3-wrapper 封裝器,相容PyQt3
-x, –execute The generated Python code includes a small amount of additional code that creates and displays the GUI when it is executes as a standalone application.
–from-imports Resource modules are imported using from . import rather than a simple import.
–resource-suffix <SUFFIX> The suffix <SUFFIX> is appended to the basename of any resource file specified in the .ui file to create the name of the Python module generated from the resource file by pyrcc4. The default is _rc. For example if the .ui file specified a resource file called foo.qrc then the corresponding Python module is foo_rc. 當使用資源的時候需要注意
使用PyCharm External Tools
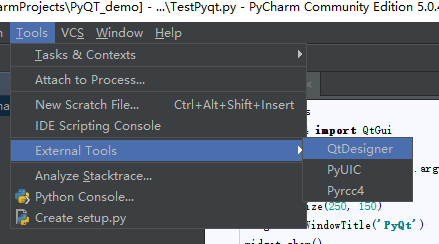
在之前介紹個將pyuic4工具擴充套件到PyCharm中,傳送門
OK! 在獲得了.py檔案之後你就可以繼續之後的邏輯層程式的編寫了。
Done

