iOS自定義轉場動畫(1)——自定義Push轉場動畫
版本:Xcode 7.0.1
語言:Objective-C
轉場動畫就是viewController之間切換的動畫。
主要有以下三種自定義方法:
- 列Push & Pop
- Modal
- Segue
第一種是UINavigationController的轉場方法
第二種是模態跳轉
第三種是 Stroyboard 中的拖線,屬於 UIStoryboardSegue 類,通過繼承這個類來自定義轉場過程動畫。
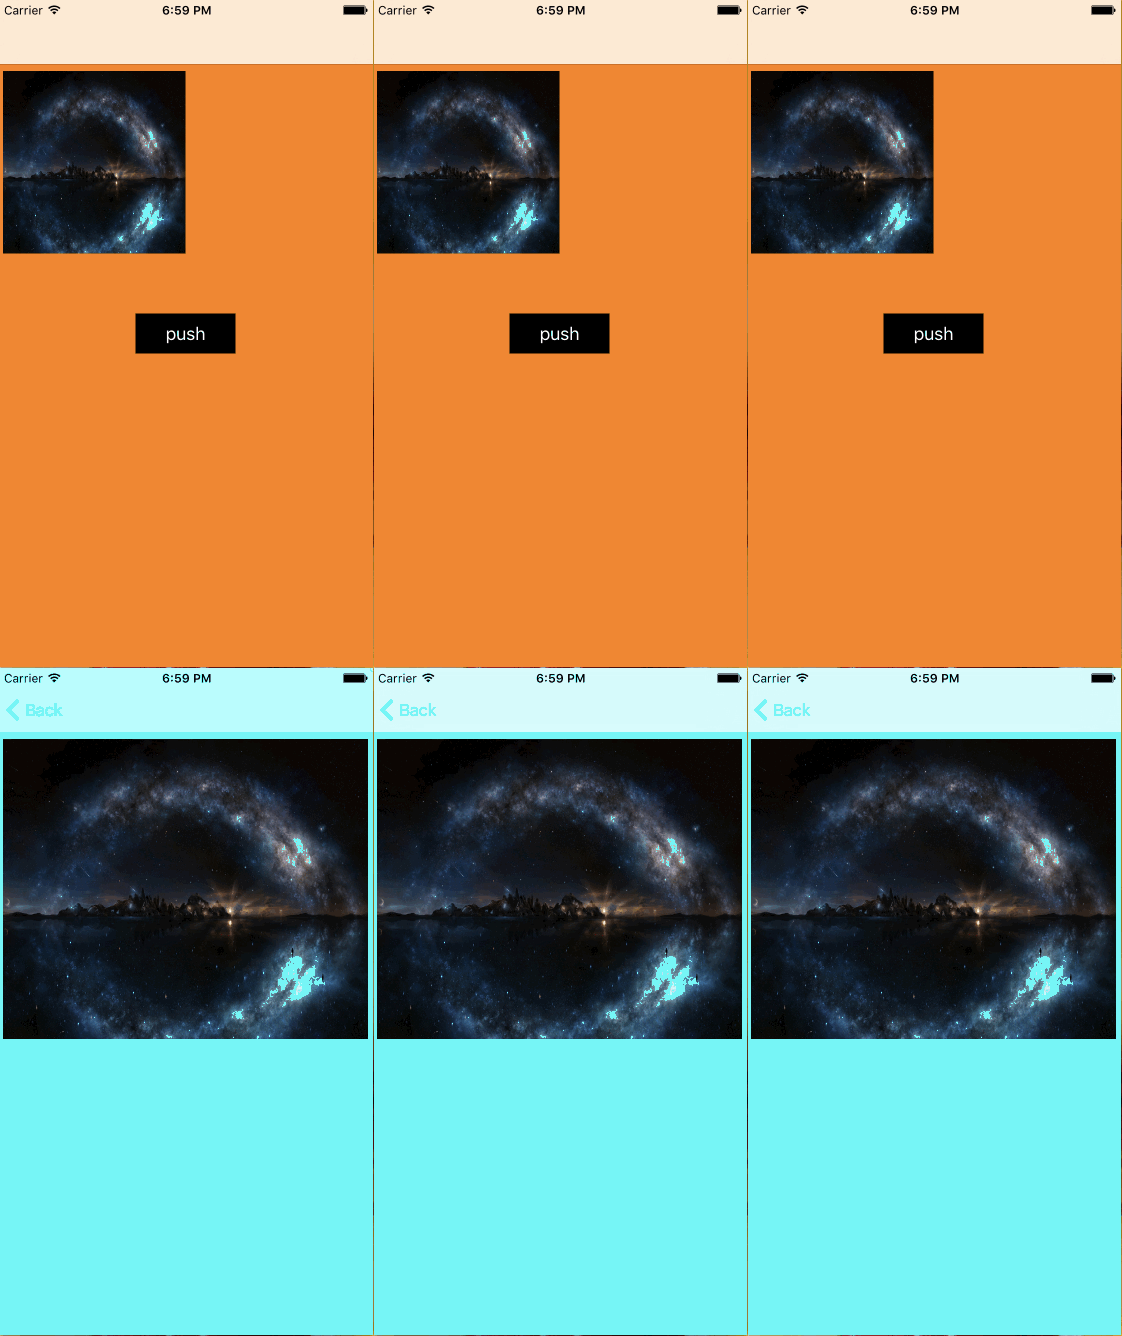
先來看一下效果:
Push
首先說一下 Push 這種轉場的自定義,操作步驟如下:
準備工作
1、新建工程,刪掉Main storyboard,把程式設定的General的Main Interface清空。
2、 新建一個類繼承UIViewController,在AppDelegate中建立一個UINavigationController,設定root為ViewController。
3、在ViewController建立一個ImageView,放在.h中
@property (nonatomic, retain) UIImageView * sourceImageView; // 源imageView,在fromVC中
給ImageView新增一張圖片
再建立一個按鈕,設定點選按鈕進入SecondViewController。
4、在SecondViewController也建立一個ImageView
@property (nonatomic, retain) UIImageView * avatarImageView; // 替身imageView,在toVC中
開始寫動畫
5、 建立一個檔案繼承自 NSObject(我把它取名叫PushTransition), 並在.h檔案中遵守UIViewControllerAnimatedTransitioning協議。
由於Push和Pop是兩套動畫,所以需要兩個這樣的檔案,判斷動畫型別的辦法在下面討論。6、實現協議的兩個方法
// 指定動畫的持續時長
1. (NSTimeInterval)transitionDuration;
// 轉場動畫的具體內容 7、在其中編寫 Push 的動畫。 具體的動畫實現過程都在程式碼的註釋裡 :
// 指定動畫的持續時長
- (NSTimeInterval)transitionDuration:(nullable id <UIViewControllerContextTransitioning>)transitionContext{
    return 0.5;

}
// 轉場動畫的具體內容
- (void)animateTransition:(id <UIViewControllerContextTransitioning>)transitionContext{
    // 獲取動畫的源控制器和目標控制器
    ViewController * fromVC = [transitionContext viewControllerForKey:UITransitionContextFromViewControllerKey];
    SecondViewController * toVC = [transitionContext viewControllerForKey:UITransitionContextToViewControllerKey];
    UIView * container = transitionContext.containerView;

    // 建立一個imageView的截圖,並把原本imageView隱藏,造成以為移動的就是imageView的假象
    UIView * snapshotView = [fromVC.sourceImageView snapshotViewAfterScreenUpdates:NO];
    snapshotView.frame = [container convertRect:fromVC.sourceImageView.frame fromView:fromVC.view];
    fromVC.sourceImageView.hidden = YES;

    // 設定目標控制器的位置,並把透明度設為0,在後面的動畫中慢慢顯示出來變為1
    toVC.view.frame = [transitionContext finalFrameForViewController:toVC];
    toVC.view.alpha = 0;

    // 都新增到container中。注意順序
    [container addSubview:toVC.view];
    [container addSubview:snapshotView];

    // 執行動畫
    [UIView animateKeyframesWithDuration:[self transitionDuration:transitionContext] delay:0 options:UIViewKeyframeAnimationOptionCalculationModeLinear animations:^{
        snapshotView.frame = toVC.avatarImageView.frame;
        toVC.view.alpha = 1;
    } completion:^(BOOL finished) {
        fromVC.sourceImageView.hidden = NO;
        toVC.avatarImageView.image = fromVC.sourceImageView.image;
        [snapshotView removeFromSuperview];

        //一定要記得動畫完成後執行此方法,讓系統管理 navigation
        [transitionContext completeTransition:YES];
    }];
}
使用動畫
回到ViewController中
8、 在ViewController.h中遵守UINavigationControllerDelegate協議,並設定為self
// 必須在viewDidAppear或者viewWillAppear中寫,因為每次都需要將delegate設為當前介面
- (void)viewDidAppear:(BOOL)animated{
    [super viewDidAppear:animated];
    self.navigationController.delegate = self;
}
9、實現 UINavigationControllerDelegate 協議方法:
- (id<UIViewControllerAnimatedTransitioning>)navigationController:(UINavigationController *)navigationController animationControllerForOperation:(UINavigationControllerOperation)operation fromViewController:(UIViewController *)fromVC toViewController:(UIViewController *)toVC{
    if (operation == UINavigationControllerOperationPush){ // 就是在這裡判斷是哪種動畫型別
        return [[PushTransition alloc] init]; // 返回push動畫的類
    }else{
        return nil;
    }
}
