
iOS動畫圖層 — iOS模糊效果
阿新 • • 發佈:2019-02-03
在iOS平臺下,如果需要對UIImageView中的圖片進行簡單的模糊處理,可以使用自帶的API進行處理。
CoreImage是蘋果用來簡化圖片處理的框架。
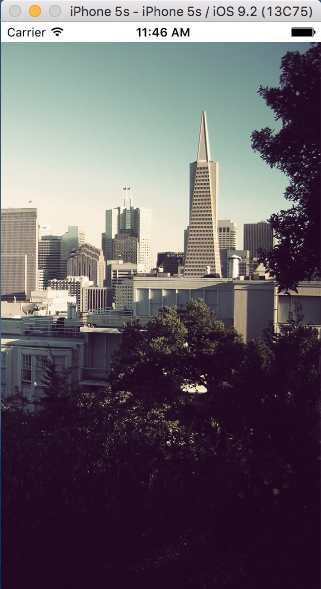
首先我們將一張圖片顯示到UIImageView中,效果如下:
下面的程式碼片段可以實現圖片的模糊效果
	//CIImage
	CIImage *ciImage = [[CIImage alloc] initWithImage:[UIImage imageNamed:@"bg"]];
	//CIFilter 設定一個模糊濾鏡
	CIFilter *blurFilter = [CIFilter filterWithName:@"CIGaussianBlur"];
	//將圖片放入濾鏡中
	[blurFilter setValue:ciImage forKey:kCIInputImageKey];
	//輸出CIFilter的鍵值對描述
	NSLog(@"%@",[blurFilter attributes]);
	//設定模糊程度
	[blurFilter setValue:@(2) forKey:@"inputRadius"];
	//將處理好的圖片輸出
	CIImage *outimage = [blurFilter valueForKey:kCIOutputImageKey];
	//CIContext 設定nil的時候預設使用CPU渲染
	CIContext *context = [CIContext contextWithOptions:nil];
	//獲取CIImage控制代碼
	CGImageRef outputCGImage = [context createCGImage:outimage fromRect:[outimage extent]];
	//最終獲取圖片
	UIImage *blurImage = [UIImage imageWithCGImage:outputCGImage];
	//釋放CGImage控制代碼
	CGImageRelease(outputCGImage);
<pre name="code" class="objc">

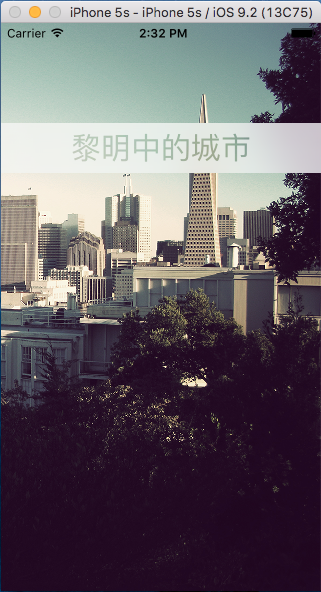
如果需要對圖片上新增的文字進行模糊渲染,可以使用UIVisualEffectView進行實時渲染,但是UIVisualEffectView只能夠在iOS8及以後的版本使用,因此,如果你的App需要相容以前版本,還是需要考慮一下。
另外需要注意的是,UIVisualEffectView需要顯示在UIScrollView上。我們需要達到的效果是如下這樣:
下面貼出程式碼片段:
#import "ViewController.h"

@interface ViewController ()

@property (nonatomic, strong) UIScrollView *scrollView;

@end

@implementation ViewController

- (void)viewDidLoad {
    [super viewDidLoad];
    //新增背景圖片
    self.scrollView = [[UIScrollView alloc] initWithFrame:self.view.bounds];
    UIImageView * imageView = [[UIImageView alloc] initWithImage:[UIImage imageNamed:@"bg"]];
    self.scrollView.contentSize = imageView.image.size;
    [self.scrollView addSubview:imageView];
    [self.view addSubview:self.scrollView];

    //新增模糊效果(這塊部分是我們截圖中白色的模糊背景)
    UIVisualEffectView *effectView = [[UIVisualEffectView alloc] initWithEffect:[UIBlurEffect effectWithStyle:UIBlurEffectStyleExtraLight]];
    //設定effectView的frame值
    effectView.frame = CGRectMake(0, 100, [UIScreen mainScreen].bounds.size.width, 50);
    [self.view addSubview:effectView];

    //新增顯示文字
    //初始化label並且設定frame值
    UILabel *label = [[UILabel alloc] initWithFrame:effectView.bounds];
    //label的text值
    label.text = @"黎明中的城市";
    //label的字型大小
    label.font = [UIFont systemFontOfSize:30];
    //label的對齊方式
    label.textAlignment = NSTextAlignmentCenter;
    [effectView.contentView addSubview:label];

    //新增模糊子view的UIVisualEffectView
    /*創建出子模糊view,需要注意的是,這裡的subEffectView相當於是對label的模糊處理,label的模糊
      效果需要和effectView的模糊效果保持一致,因此我們使用了[UIVibrancyEffect effectForBlurEf      fect(UIBlurEffect *)effectView.effect]
     */
    UIVisualEffectView *subEffectView = [[UIVisualEffectView alloc] initWithEffect:[UIVibrancyEffect effectForBlurEffect:(UIBlurEffect *)effectView.effect]];

    subEffectView.frame = effectView.bounds;
    //將子模糊view新增到effectView的contentView中才能生效
    [effectView.contentView addSubview:subEffectView];
    //新增要顯示的view來達到特殊效果
    [subEffectView.contentView addSubview:label];

}
@end