現代作業系統應用開發:UWP——檔案管理(二):FileManagement
阿新 • • 發佈:2019-02-03
背景簡介
我們的UWP程式想要讀寫本地的檔案的時候,往往會遇到許可權問題,這裡存在著兩個解決方法:
第一,電腦上的KnownFolder允許UWP程式直接訪問;這裡的KnowFolder指的是下面圖片中的資料夾:

關於這種方法可以參考第一篇部落格,本片部落格將主要介紹第二中方法
第二,UWP程式啟動時生成的local,temp,roaming(漫遊)資料夾,程式對這三個資料夾也具有直接訪問許可權;當需要訪問這些資料夾是,需要在新增ms-appdata:///字首,如
| 資料夾 | 字首 |
|---|---|
| local | ms-appdata:///local/ |
| roaming | ms-appdata:///roaming/ |
| temp | ms-appdata:///temp/ |
當需要獲取local資料夾中的AppConfig.xml檔案時,可以使用下面的程式碼:
var file = await Windows.StorageFile.GetFileFromApplicationUriAsync(new Uri("ms-appdata:///local/AppConfig.xml"));至於這些資料夾的路徑在哪裡,我們可以通過下面的程式碼找到:
StorageFolder localFolder = ApplicationData.Current.LocalFolder;
Debug.WriteLine 這是程式自動生成的一個目錄,每個人的路徑應該都不一樣
功能簡介
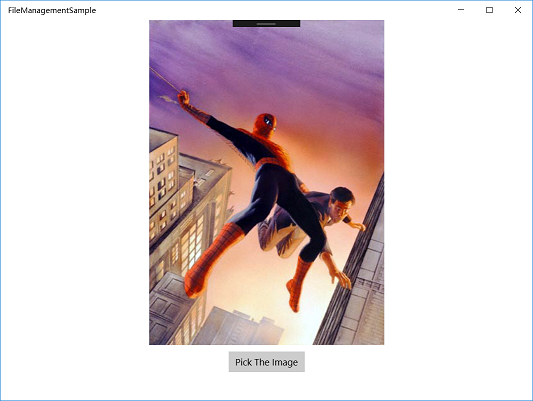
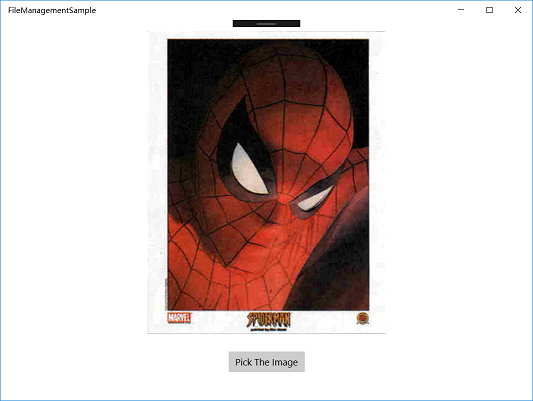
部落格示例程式碼有一個頁面MainPage,MainPage裡有一個Image控制元件和一個按鈕,點選按鈕,將可以從本地選擇圖片,選好圖片後Image將更新,同時該圖片將被複制到程式的local資料夾中(如何得到local資料夾的路徑看上面)
實現效果
- 程式啟動時

- 選擇一張圖片

- 在本地的local資料夾中

實現過程
在MainPage.xaml新增控制元件
<Grid Background="{ThemeResource ApplicationPageBackgroundThemeBrush}" 在MainPage.xaml.cs中新增程式碼
namespace FileManagementSample
{
    public sealed partial class MainPage : Page
    {
        private StorageFile file;
        public MainPage()
        {
            this.InitializeComponent();
        }
        private async void PickImage(object sender, RoutedEventArgs e)
        {
            //選取圖片
            FileOpenPicker openPicker = new FileOpenPicker();
            openPicker.FileTypeFilter.Add(".jpg");
            StorageFile Pickfile = await openPicker.PickSingleFileAsync();
            if (Pickfile != null)
            {
                //設定Image為選擇的圖片
                BitmapImage bitmap = new BitmapImage();
                using (var stream = await Pickfile.OpenAsync(Windows.Storage.FileAccessMode.Read))
                {
                    bitmap.SetSource(stream);
                }
                MyImage.Source = bitmap;

                //將圖片儲存在LocalFolder
                StorageFolder localFolder = ApplicationData.Current.LocalFolder;
                StorageFile fileCopy = await Pickfile.CopyAsync(localFolder, Pickfile.Name, NameCollisionOption.ReplaceExisting);
            }
        }

    }
}
需要注意的地方:
- 通過ApplicationData.Current.LocalFolder獲得LocalFolder
總結
整個專案其實是相當簡單的,在將檔案儲存在LocalFolder後,我們就可以通過新增上面提到的字首訪問LocalFolder裡的檔案了,比如說我們程式碼中儲存的圖片,可以通過下面的程式碼訪問:
//imagename替換為圖片名,如部落格的示例程式碼,imagename將為spider2.jpg
var uri = new System.Uri("ms-appdata:///local/" + imagename);
file = await Windows.Storage.StorageFile.GetFileFromApplicationUriAsync(uri);
BitmapImage bitmap = new BitmapImage();
using (var stream = await file.OpenAsync(Windows.Storage.FileAccessMode.Read))
{
    bitmap.SetSource(stream);
}
MyImage.Source = bitmap;
FYI
專案下載之後記住把Debug模式從ARM換成X86或X64(根據你自己的機型選擇),之前一開始學習的時候不知道這一點,從網上下載下來的專案都執行不了,糾結的一逼(╥╯^╰╥)

