Material Design學習之 Switch(詳細解釋)
今天講的是Switch,本來有考慮把它和CheckBox一起做了,但是畢竟實現不同,還是分開做吧,廢話不多,開始正題
開關
On/off 開關切換單一設定選擇的狀態。開關控制的選項以及它的狀態,應該明確的展示出來並且與內部的標籤相一致。開關應該單選按鈕呈現相同的視覺特性。
開關通過動畫來傳達被聚焦和被按下的狀態。
開關滑塊上標明 “on” 和 “off” 的做法被棄用,取而代之的是下圖所示的開關。

當然,也有暗主題

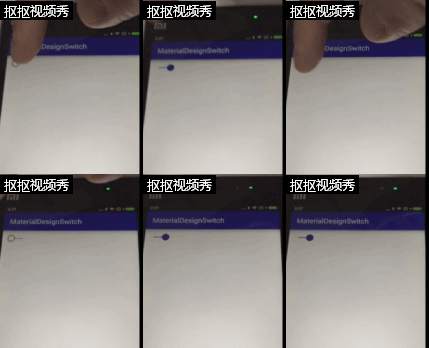
我們來貼下我們程式碼實現的效果:
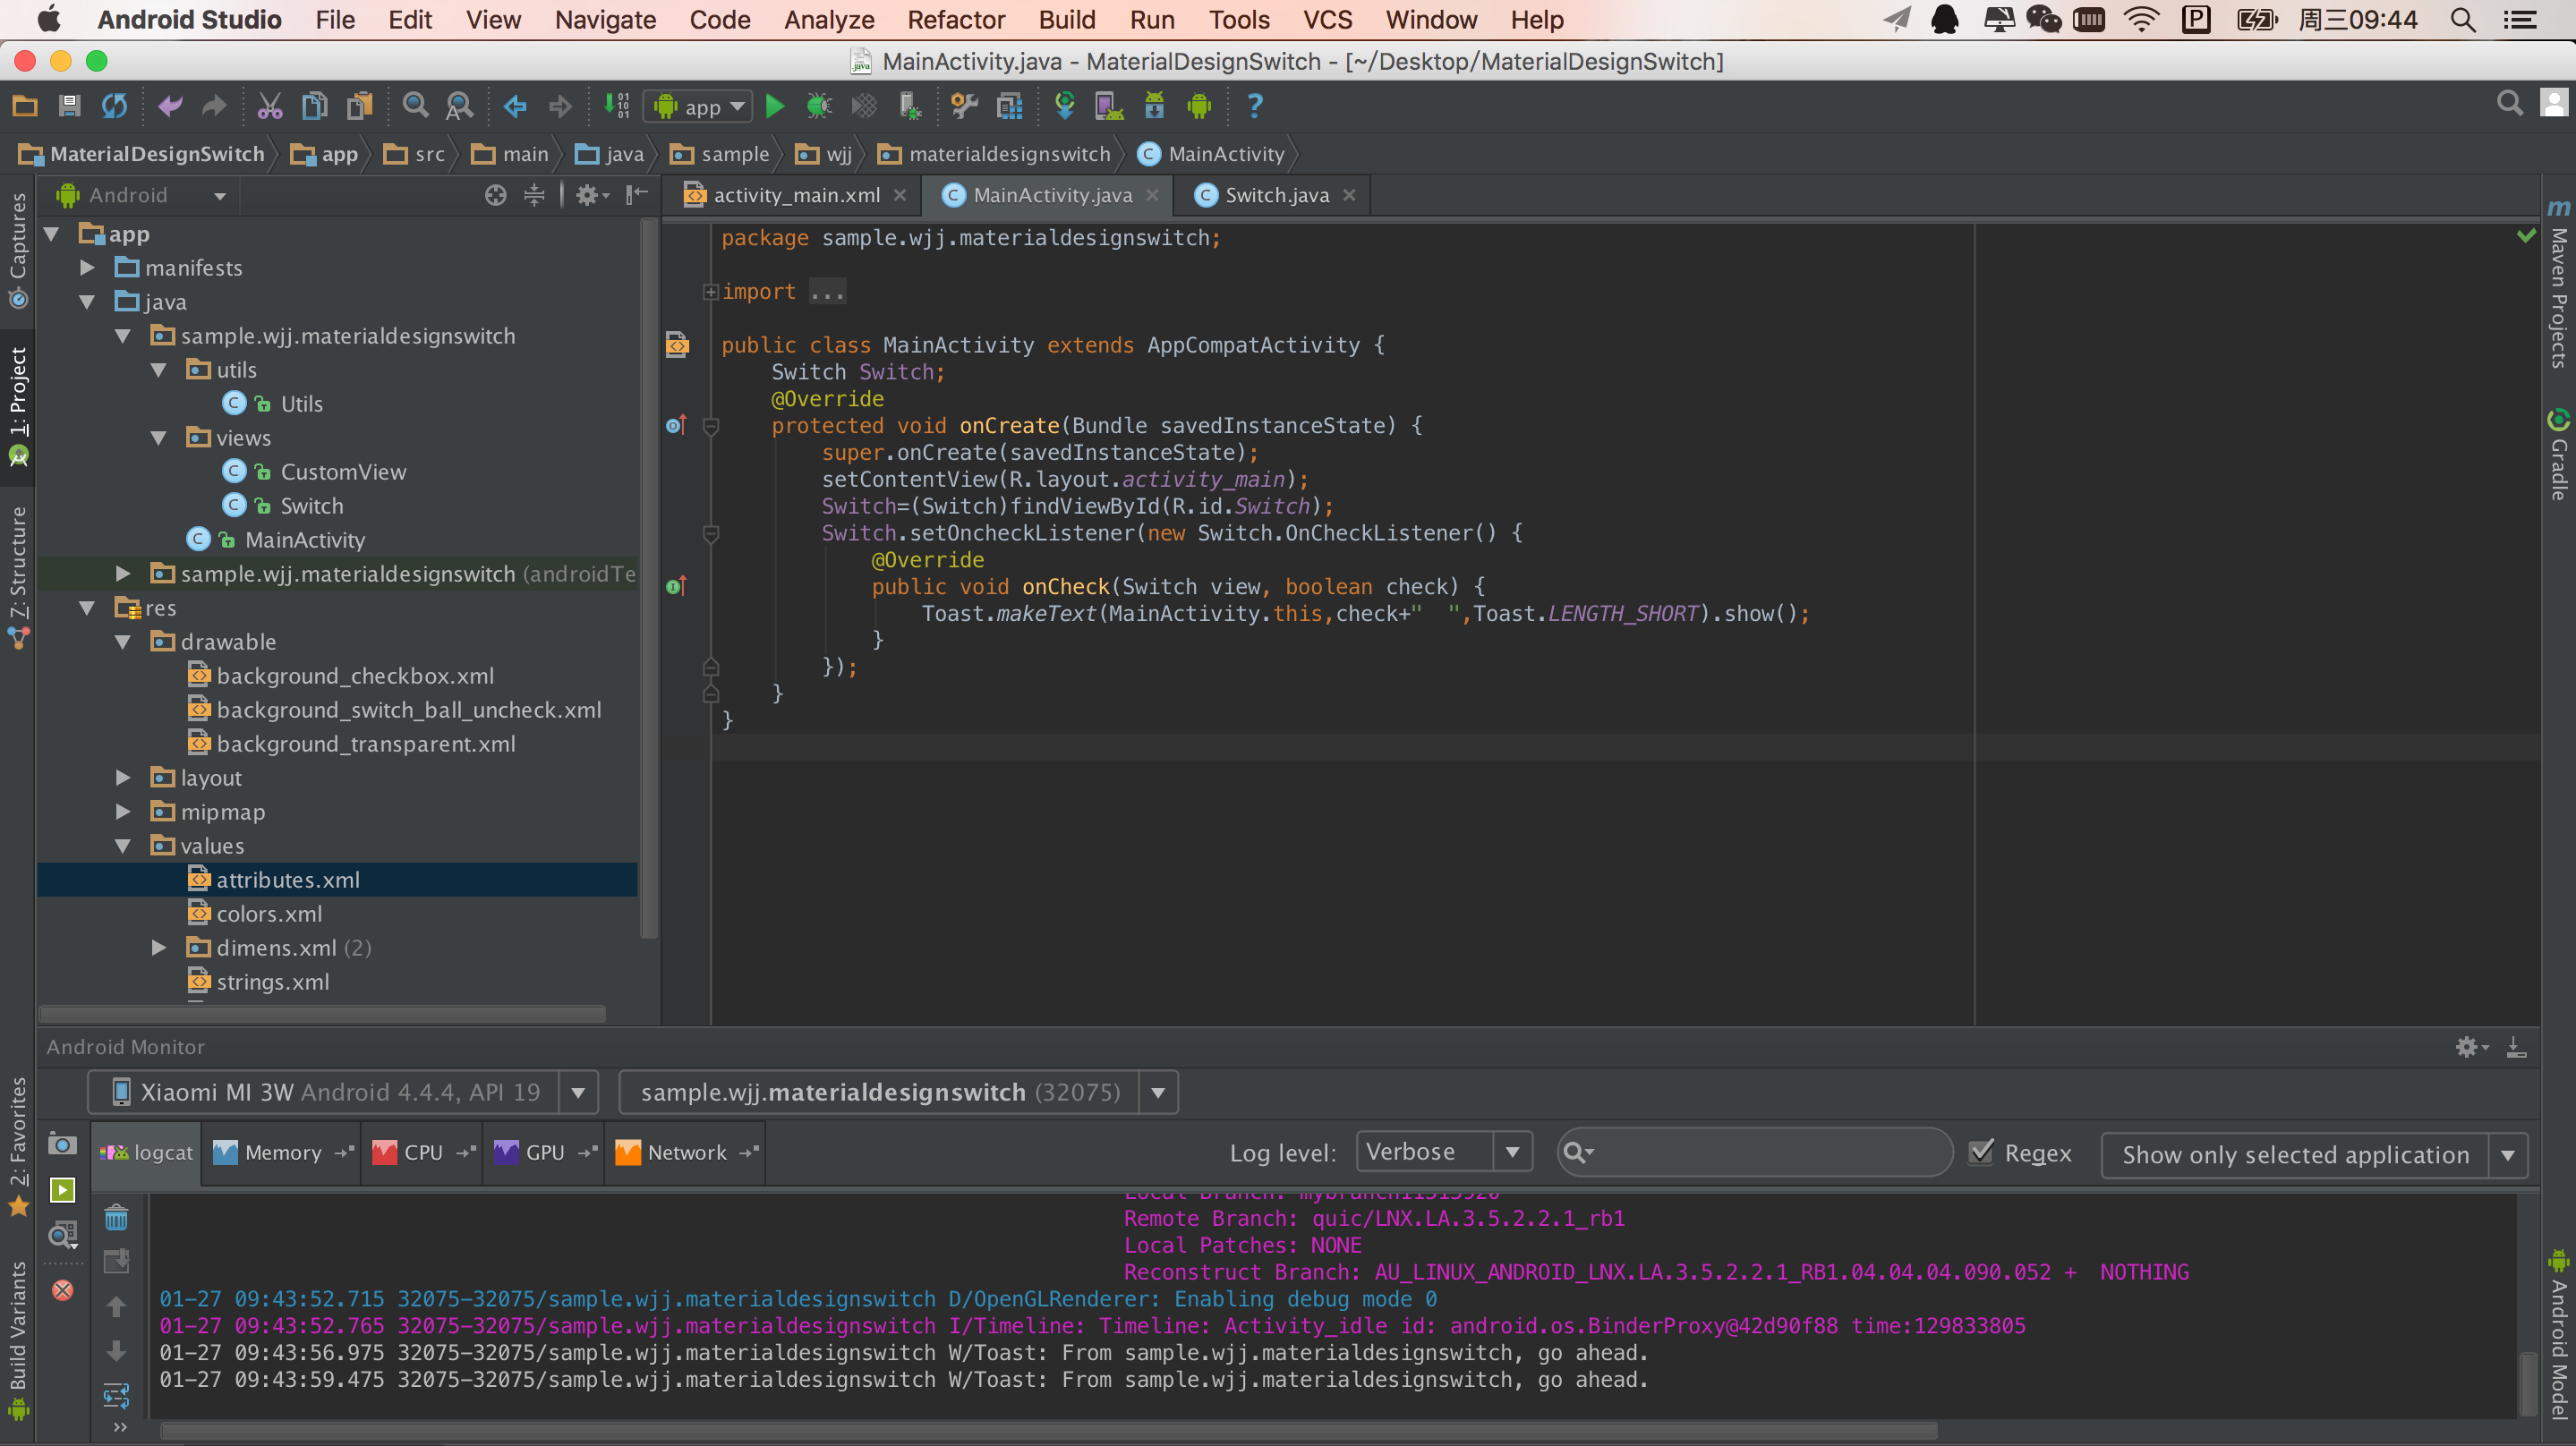
包結構:
這邊就說下Switch這個類,別的在之前文章裡有。
private int 28-37,一系列的變數宣告。
public Switch 39-52行,建構函式,設定監聽事件,根據是否被按來做相應初始化操作
   protected void setAttributes(AttributeSet attrs) {

        setBackgroundResource(R.drawable.background_transparent);

        // Set size of view
        setMinimumHeight(Utils.dpToPx(48, getResources()));
        setMinimumWidth(Utils.dpToPx(80, getResources()));

        // Set background Color
        // Color by resource
        int bacgroundColor = attrs.getAttributeResourceValue(ANDROIDXML,
                "background", -1);
        if (bacgroundColor != -1) {
            setBackgroundColor(getResources().getColor(bacgroundColor));
        } else {
            // Color by hexadecimal
            int background = attrs.getAttributeIntValue(ANDROIDXML, "background", -1);
            if (background != -1)
                setBackgroundColor(background);
        }

        check = attrs.getAttributeBooleanValue(MATERIALDESIGNXML, "check",
                false);
        eventCheck = check;
        ball = new Ball(getContext());
        RelativeLayout.LayoutParams params = new LayoutParams(Utils.dpToPx(20,
                getResources()), Utils.dpToPx(20, getResources()));
        params.addRule(RelativeLayout.CENTER_VERTICAL, RelativeLayout.TRUE);
        ball.setLayoutParams(params);
        addView(ball);

    }
55-86行,具體獲取xml引數的方法,在這裡操作了放置了小球的位置。
    @Override
    public boolean onTouchEvent(MotionEvent event) {
        if (isEnabled()) {
            isLastTouch = true;
            if (event.getAction() == MotionEvent.ACTION_DOWN) {
                press = true;
            } else if (event.getAction() == MotionEvent.ACTION_MOVE) {
                float x = event.getX();
                x = (x < ball.xIni) ? ball.xIni : x;
                x = (x > ball.xFin) ? ball.xFin : x;
                if (x > ball.xCen) {
                    eventCheck = true;
                } else {
                    eventCheck = false;
                }
                ViewHelper.setX(ball, x);
                ball.changeBackground();
                if ((event.getX() <= getWidth() && event.getX() >= 0)) {
                    isLastTouch = false;
                    press = false;
                }
            } else if (event.getAction() == MotionEvent.ACTION_UP ||
                    event.getAction() == MotionEvent.ACTION_CANCEL) {
                press = false;
                isLastTouch = false;
                if (eventCheck != check) {
                    check = eventCheck;
                    if (onCheckListener != null)
                        onCheckListener.onCheck(Switch.this,check);
                }
                if ((event.getX() <= getWidth() && event.getX() >= 0)) {
                    ball.animateCheck();
                }
            }
        }
        return true;
    }
88-124行,具體的業務邏輯。
在控制元件按下去的時候勾勒出手指觸控反饋,合理移動的情況下(並且手指操作距離滿足條件的情況下),控制元件狀態發生改變。如果移動不合理的情況下預設不執行操作。如果觸控點為另一端點(在最左OR最右的對立點),讓控制元件狀態發生改變,未被點選時為空心圓,被選中的狀態為實心圓。操作有效才執行小球挪動動畫。
  @Override
    protected void onDraw(Canvas canvas) {
        super.onDraw(canvas);
        if (!placedBall) {
            placeBall();
        }

        // Crop line to transparent effect
        if(null == bitmap) {
            bitmap = Bitmap.createBitmap(canvas.getWidth(),
                    canvas.getHeight(), Bitmap.Config.ARGB_8888);
        }
        Canvas temp = new Canvas(bitmap);
        Paint paint = new Paint();
        paint.setAntiAlias(true);
        paint.setColor((eventCheck) ? backgroundColor : Color.parseColor("#B0B0B0"));
        paint.setStrokeWidth(Utils.dpToPx(2, getResources()));
        temp.drawLine(getHeight() / 2, getHeight() / 2, getWidth()
                - getHeight() / 2, getHeight() / 2, paint);
        Paint transparentPaint = new Paint();
        transparentPaint.setAntiAlias(true);
        transparentPaint.setColor(getResources().getColor(
                android.R.color.transparent));
        transparentPaint.setXfermode(new PorterDuffXfermode(
                PorterDuff.Mode.CLEAR));
        temp.drawCircle(ViewHelper.getX(ball) + ball.getWidth() / 2,
                ViewHelper.getY(ball) + ball.getHeight() / 2,
                ball.getWidth() / 2, transparentPaint);

        canvas.drawBitmap(bitmap, 0, 0, new Paint());

        if (press) {
            paint.setColor((check) ? makePressColor() : Color
                    .parseColor("#446D6D6D"));
            canvas.drawCircle(ViewHelper.getX(ball) + ball.getWidth() / 2,
                    getHeight() / 2, getHeight() / 2, paint);
        }
        invalidate();

    }
126-165行,如果是第一次繪製,預設在起始位置,如果xml配置預設為選中則做被選中繪製。
先設定畫布,為整個View的區域塊畫一條線作為ball執行的軌跡,未選中為灰色,選中為background顏色值。
再畫球,預設空心球
如果手勢壓著我們的控制元件再繪製一個觸控反饋“圓陰影”
  protected int makePressColor() {
        int r = (this.backgroundColor >> 16) & 0xFF;
        int g = (this.backgroundColor >> 8) & 0xFF;
        int b = (this.backgroundColor >> 0) & 0xFF;
        r = (r - 30 < 0) ? 0 : r - 30;
        g = (g - 30 < 0) ? 0 : g - 30;
        b = (b - 30 < 0) ? 0 : b - 30;
        return Color.argb(70, r, g, b);
    }
172-180行,手勢陰影實現.
 boolean placedBall = false;

    private void placeBall() {
        ViewHelper.setX(ball, getHeight() / 2 - ball.getWidth() / 2);
        ball.xIni = ViewHelper.getX(ball);
        ball.xFin = getWidth() - getHeight() / 2 - ball.getWidth() / 2;
        ball.xCen = getWidth() / 2 - ball.getWidth() / 2;
        placedBall = true;
        ball.animateCheck();
    }
183-192,小球初始化座標操作。
 @Override
    public void setBackgroundColor(int color) {
        backgroundColor = color;
        if (isEnabled())
            beforeBackground = backgroundColor;

    }

    public void setChecked(boolean check) {
        invalidate();
        this.check = check;
        this.eventCheck = check;
        ball.animateCheck();
    }

    public boolean isCheck() {
        return check;
    }
196-213一系列的設定操作。
   class Ball extends View {

        float xIni, xFin, xCen;

        public Ball(Context context) {
            super(context);
            setBackgroundResource(R.drawable.background_switch_ball_uncheck);
        }

        public void changeBackground() {
            if (eventCheck) {
                setBackgroundResource(R.drawable.background_checkbox);
                LayerDrawable layer = (LayerDrawable) getBackground();
                GradientDrawable shape = (GradientDrawable) layer
                        .findDrawableByLayerId(R.id.shape_bacground);
                shape.setColor(backgroundColor);
            } else {
                setBackgroundResource(R.drawable.background_switch_ball_uncheck);
            }
        }

        public void animateCheck() {
            changeBackground();
            ObjectAnimator objectAnimator;
            if (eventCheck) {
                objectAnimator = ObjectAnimator.ofFloat(this, "x", ball.xFin);

            } else {
                objectAnimator = ObjectAnimator.ofFloat(this, "x", ball.xIni);
            }
            objectAnimator.setDuration(300);
            objectAnimator.start();
        }

    }
215-249行,小球的實現,昨天也有出現,唯一的區別就是動畫是一個從左到右或從右到左 300毫秒的變化。
實現跟之前的有些許共同點,這裡總結下:
先制定一個區域,作為我們的畫區,畫一個底層的線,畫小球,根據操作做小球的運動和UI的變化!!! 就是啦麼 簡單!!!
記得點個贊哦!!


