React-native事件處理
阿新 • • 發佈:2019-02-04
1、onPress:接受一個點選事件的處理函式
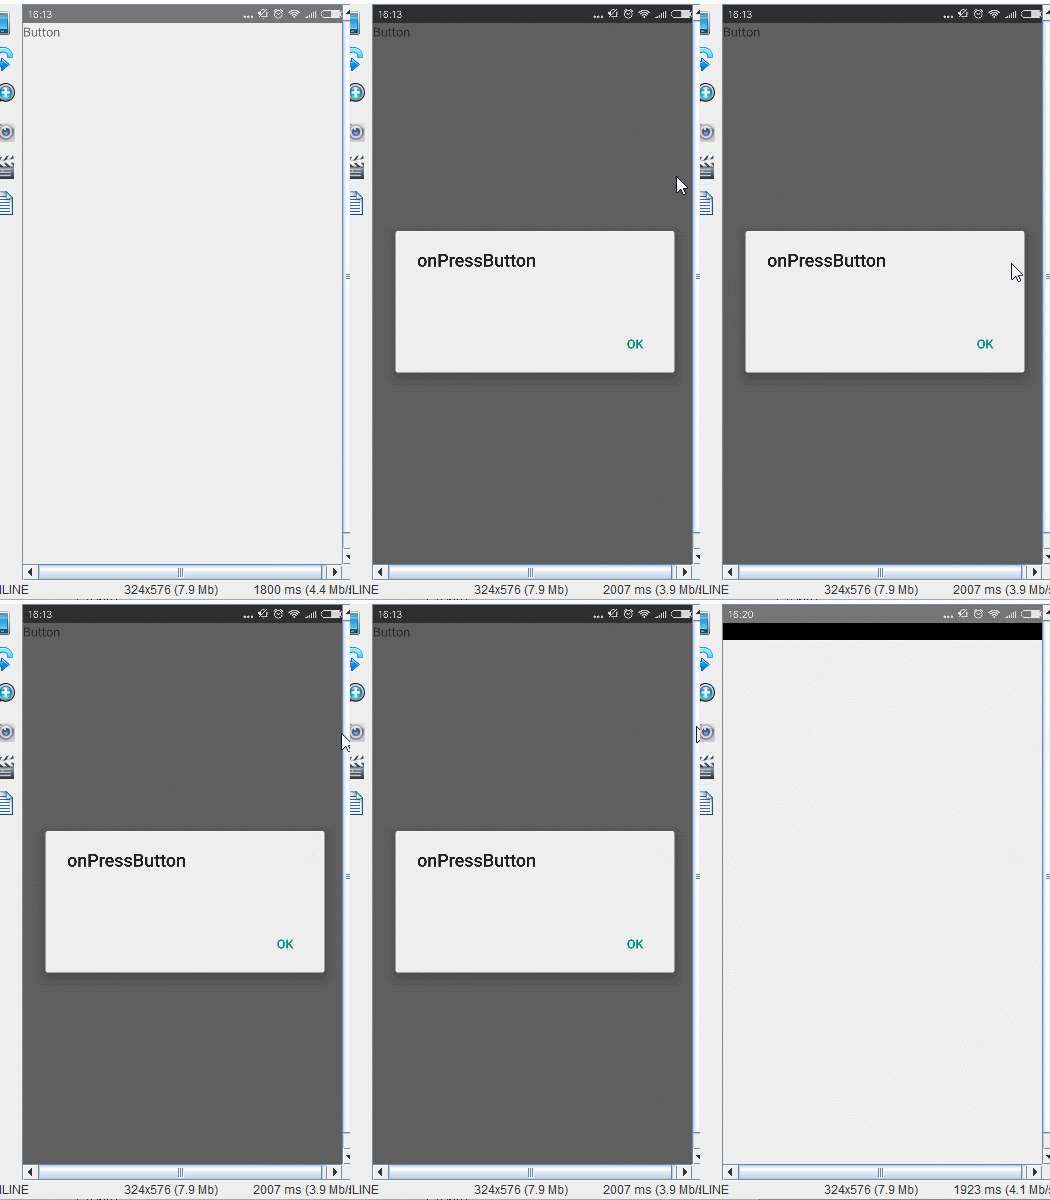
點選Button文字,會呼叫_onPressButton方法,然後彈出提示框。'use strict'; import React,{Component} from 'react'; import {AppRegistry,Text,Alert,TouchableHighlight} from 'react-native'; class MyButton extends Component { _onPressButton(){ Alert.alert("onPressButton"); } render() { return ( <TouchableHighlight onPress={this._onPressButton}> <Text>Button</Text> </TouchableHighlight> ); } } //MyFirstProject AppRegistry.registerComponent('MyFirstProject', () => MyButton);
效果圖:
TouchableHighlight:此元件的背景會在使用者手指按下時變暗
Button字的背景變暗。
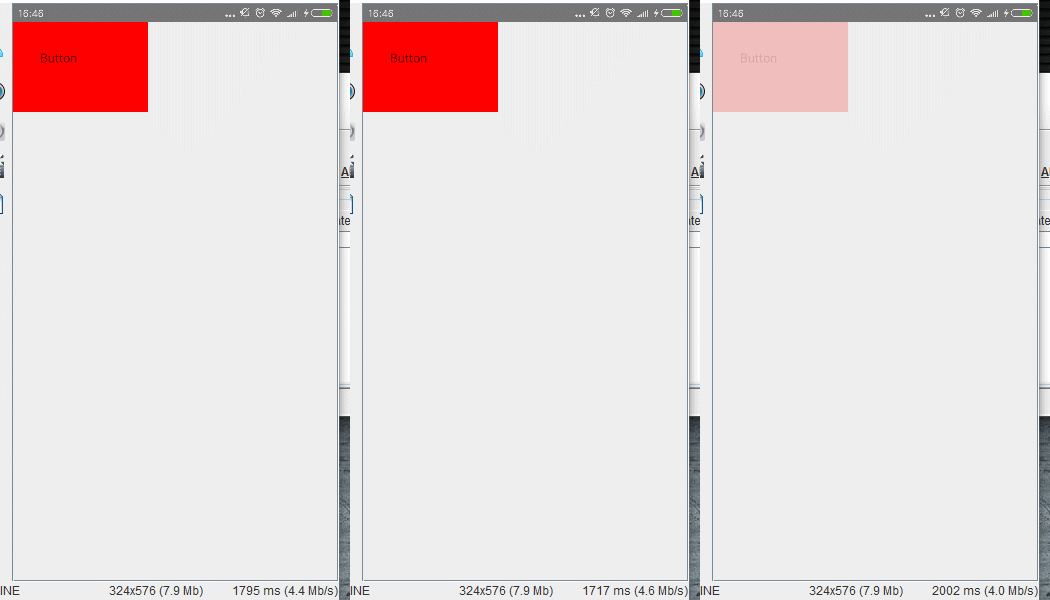
TouchableNativeFeedback:它會在使用者手指按下時形成類似墨水漣漪的視覺效果
效果:
'use strict';
import React,{Component} from 'react';
import {AppRegistry,View,Text,Alert,TouchableNativeFeedback} from 'react-native';
class MyButton extends Component {

    _onPressButton(){
        Alert.alert("onPressButton");
    }
    render() {
        return (
            <TouchableNativeFeedback
                onPress={this._onPressButton}
               >
                <View style={{width: 150, height: 100, backgroundColor: 'red'}}>
                    <Text style={{margin: 30}}>Button</Text>
                </View>
            </TouchableNativeFeedback>
        );
    }
}
//MyFirstProject
AppRegistry.registerComponent('MyFirstProject', () => MyButton);
TouchableOpacity:會在使用者手指按下時降低按鈕的透明度,而不會改變背景的顏色
'use strict';
import React,{Component} from 'react';
import {AppRegistry,View,Text,Alert,TouchableOpacity} from 'react-native';
class MyButton extends Component {

    _onPressButton(){
        Alert.alert("onPressButton");
    }
    render() {
        return (
            <TouchableOpacity
                onPress={this._onPressButton}
               >
                <View style={{width: 150, height: 100, backgroundColor: 'red'}}>
                    <Text style={{margin: 30}}>Button</Text>
                </View>
            </TouchableOpacity>
        );
    }
}
//MyFirstProject
AppRegistry.registerComponent('MyFirstProject', () => MyButton);
TouchableWithoutFeedback:處理點選事件的同時不顯示任何視覺反饋
'use strict';
import React,{Component} from 'react';
import {AppRegistry,View,Text,Alert,TouchableWithoutFeedback} from 'react-native';
class MyButton extends Component {

    _onPressButton(){
        Alert.alert("onPressButton");
    }
    render() {
        return (
            <TouchableWithoutFeedback
                onPress={this._onPressButton}
               >
                <View style={{width: 150, height: 100, backgroundColor: 'red'}}>
                    <Text style={{margin: 30}}>Button</Text>
                </View>
            </TouchableWithoutFeedback>
        );
    }
}
//MyFirstProject
AppRegistry.registerComponent('MyFirstProject', () => MyButton);
pagingEnabled={true}和horizontal={true}一起使用,可以實現分頁效果。pagingEnabled預設是false.
效果:
'use strict';
import React,{Component} from 'react';
import {AppRegistry,ScrollView,Text,Image} from 'react-native';
class IScrolledDownAndWhatHappenedNextShockedMe  extends Component{

    render(){
        return(
            <ScrollView horizontal={true}
                        pagingEnabled={true}>
                <Text style={{fontSize: 96}}>Scroll me plz</Text>
                <Image source={require('./img/lanbojini.jpg')}/>
                <Image source={require('./img/lanbojini.jpg')}/>
                <Image source={require('./img/lanbojini.jpg')}/>
                <Image source={require('./img/lanbojini.jpg')}/>
                <Image source={require('./img/lanbojini.jpg')}/>
                <Text style={{fontSize: 96}}>Scroll me plz</Text>
                <Image source={require('./img/lanbojini.jpg')}/>
                <Image source={require('./img/lanbojini.jpg')}/>
                <Image source={require('./img/lanbojini.jpg')}/>
                <Image source={require('./img/lanbojini.jpg')}/>
                <Image source={require('./img/lanbojini.jpg')}/>
                <Text style={{fontSize: 96}}>Scroll me plz</Text>
                <Image source={require('./img/lanbojini.jpg')}/>
                <Image source={require('./img/lanbojini.jpg')}/>
                <Image source={require('./img/lanbojini.jpg')}/>
                <Image source={require('./img/lanbojini.jpg')}/>
                <Image source={require('./img/lanbojini.jpg')}/>
                <Text style={{fontSize: 96}}>Scroll me plz</Text>
                <Image source={require('./img/lanbojini.jpg')}/>
                <Image source={require('./img/lanbojini.jpg')}/>
                <Image source={require('./img/lanbojini.jpg')}/>
                <Image source={require('./img/lanbojini.jpg')}/>
                <Image source={require('./img/lanbojini.jpg')}/>
            </ScrollView>
        );
    }
}
//MyFirstProject 必須初始化的專案名字
AppRegistry.registerComponent('MyFirstProject',() => IScrolledDownAndWhatHappenedNextShockedMe );


