redis叢集監控
阿新 • • 發佈:2019-02-05
環境要求:Java8+
jdk配置這裡略過
RedisClusterManager 下載地址:https://git.oschina.net/yanfanVIP/RedisClusterManager/releases
附件:systemMonitor-release.tar.gz 收集系統狀態包
附件: RedisManager-Web-1.0.0-SNAPSHOT-beta.tar.gz redis叢集管理包
1、安裝systemMonitor
# tar -zxvf systemMonitor-release.tar.gz
# vi start.sh
#!/bin/sh
website="http://localhost:8080/metric"
ip="192.168.1.107" #這裡的IP要和RedisManager-Web保持一致
java -jar systemMonitor.jar --website=$website --ip=$ip
#sh start.sh #啟動systemMonitor
200
2、安裝RedisManager-Web
#tar -zxvf RedisManager-Web-1.0.0-SNAPSHOT-beta.tar.gz
# sh start.sh #啟動RedisManager-Web
. ____ _ __ _ _
/\\ / ___'_ __ _ _(_)_ __ __ _ \ \ \ \
( ( )\___ | '_ | '_| | '_ \/ _` | \ \ \ \
\\/ ___)| |_)| | | | | || (_| | ) ) ) )
' |____| .__|_| |_|_| |_\__, | / / / /
=========|_|==============|___/=/_/_/_/
:: Spring Boot :: (v1.5.2.RELEASE)
2017-05-08 12:01:30.679 INFO 5505 --- [ main] org.redis.manager.AppStarter : Starting AppStarter v1.0.0-SNAPSHOT on WebServer107 with PID 5505 (/data/software/RedisManager-Web-1.0.0-SNAPSHOT/RedisManager-Web-1.0.0-SNAPSHOT.jar started by root in /data/software/RedisManager-Web-1.0.0-SNAPSHOT)
2017-05-08 12:01:30.682 INFO 5505 --- [ main] org.redis.manager.AppStarter : No active profile set, falling back to default profiles: default
2017-05-08 12:01:30.752 INFO 5505 --- [ main] ationConfigEmbeddedWebApplicationContext : Refreshing org.springframework.boot 訪問: http://192.168.1.107:8080
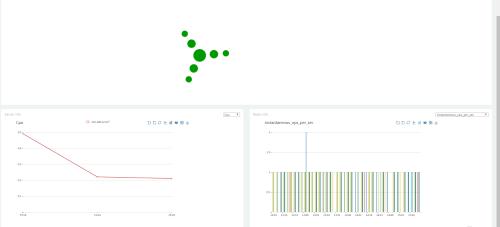
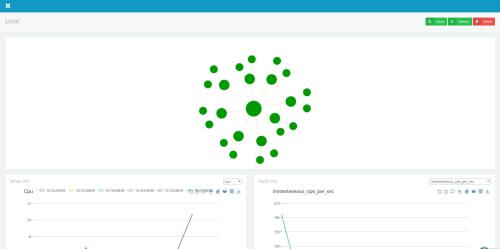
1、叢集監控功能

2、叢集狀態查詢

3、叢集節點管理功能

從節點重新設定主節點

主從切換

槽遷移

4、叢集資料管理

建立叢集1、開啟Manager首頁,點選右上角的Create Cluster2、若沒有在叢集中註冊redis打包檔案,則點選Import Resource,並且上傳Resource

3、若沒有在叢集中註冊Server資訊,則點選Import Server

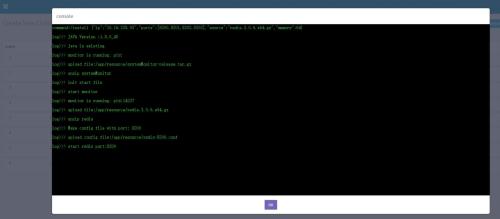
4、點選Install Node, 進行Redis以及monitor的自動化安裝

5、安裝完所有節點後,點選Create Cluster,填寫Master數量,生成叢集

6、查詢新建叢集狀態

資料查詢的方法1、在Manager首頁,點選叢集進入叢集操作介面2、點選右上角的Query按鈕,進入查詢介面3、在搜尋框輸入需要查詢的key,或者使用萬用字元‘*’進行匹配

4、在查詢的key列表中,點選查詢資料詳情

