android studio實現Jni(C/C++)單步除錯方法步驟-標準配置教程
阿新 • • 發佈:2019-02-06
本文主要介紹在android studio下實現jni單步除錯時,所需要的配置及其步驟,這些也是本人經過幾天折騰慢慢實現的,先提供給大家做參考:
1,配置是在mac下android studio實現的,主要是gradle版本以及build.gradle檔案內容設定。
記住:NDK需要事先配置好,我是另外下載的NDK包(Ndk-r10e),配置教程請自己尋找,可以通過android studio的sdk管理工具中下載最新版。
1)主程式app下的build.gradle配置:
apply plugin: 'com.android.model.application'

model {
    def signconf // <-- 重要
    android {
        compilesdkversion = 23
        buildtoolsversion = "23.0.2"

        defaultconfig.with {
            applicationid = "這裡寫程式包名"
            minsdkversion.apilevel = 10
            targetsdkversion.apilevel = 23
            versioncode = 5
            versionname = "1.0"
        }
    }

    android.signingconfigs { // <-- 重要
        create("signrelease") { // <-- 重要
            keyalias = '密匙檔名'
            keypassword = '簽名密碼1'
            storefile = file('簽名檔名.key')
            storepassword = '簽名密碼2'
            storetype = "jks"  // <-- 重要
            signconf = it // <-- 重要
        }
    }

    android.sources {
        main {
            jni {
                source {
                    srcdir 'libs'  //<--so檔案目錄
                }
            }
        }
    }

    compileoptions.with {
        sourcecompatibility = javaversion.version_1_7
        targetcompatibility = javaversion.version_1_7
    }

    //配置so支援
         android.ndk {
        modulename = "allfree-jni"
        ldlibs += "log"
        abifilters += "armeabi"
        abifilters += "armeabi-v7a"
        abifilters += "x86"
        abifilters += "arm64-v8a"
        abifilters += "x86_64"
        abifilters += "mips"
        abifilters += "mips64"
    }

    android.buildtypes {
        release {
            minifyenabled = false
            proguardfiles += file('proguard-rules.pro')
            signingconfig = signconf
        }
        debug {
            minifyenabled = false
            proguardfiles += file('proguard-rules.pro')
            signingconfig = signconf //--重要
        }
    }

}

repositories {
    jcenter()
    mavenCentral()
    maven {
        url "https://raw.githubusercontent.com/umeng/mvn-repo-umeng/master/repository" //這裡引用友盟的sdk,可不加
    }
    maven {
        url "http://repo1.maven.org/maven2/"
    }
}
//依賴庫
dependencies {
    compile fileTree(include: ['*.jar'], dir: 'libs')
    compile 'com.alibaba:fastjson:1.2.4'
    compile 'com.android.support:support-v13:23.1.0'
    compile 'com.android.support:recyclerview-v7:23.1.0'
    compile project(':um_update')
    compile 'com.loopj.android:android-async-http:1.4.9'
    compile 'com.makeramen:roundedimageview:2.1.0'
    compile project(':weiboSDK')
    compile project(':android-ViewPagerIndicator')
}
2)gradle-wrapper.properties配置:
#Wed Dec 23 10:49:59 CST 2015
distributionBase=GRADLE_USER_HOME
distributionPath=wrapper/dists
zipStoreBase=GRADLE_USER_HOME
zipStorePath=wrapper/dists
distributionUrl=https\://services.gradle.org/distributions/gradle-2.5-all.zip
3)全域性build.gradle配置:
buildscript {
    repositories {
        jcenter()
    }
    dependencies {
        //for jni
        classpath 'com.android.tools.build:gradle:1.3.0'//可忽略
        classpath 'com.android.tools.build:gradle-experimental:0.2.0'
    }
}

allprojects {
    repositories {
        jcenter()
    }
}
4)gradle.properties檔案
# Project-wide Gradle settings.

# IDE (e.g. Android Studio) users:
# Gradle settings configured through the IDE *will override*
# any settings specified in this file.

# For more details on how to configure your build environment visit
# http://www.gradle.org/docs/current/userguide/build_environment.html

# Specifies the JVM arguments used for the daemon process.
# The setting is particularly useful for tweaking memory settings.
# Default value: -Xmx10248m -XX:MaxPermSize=256m
# org.gradle.jvmargs=-Xmx2048m -XX:MaxPermSize=512m -XX:+HeapDumpOnOutOfMemoryError -Dfile.encoding=UTF-8

# When configured, Gradle will run in incubating parallel mode.
# This option should only be used with decoupled projects. More details, visit
# http://www.gradle.org/docs/current/userguide/multi_project_builds.html#sec:decoupled_projects
# org.gradle.parallel=true

android.useDeprecatedNdk=true//必須
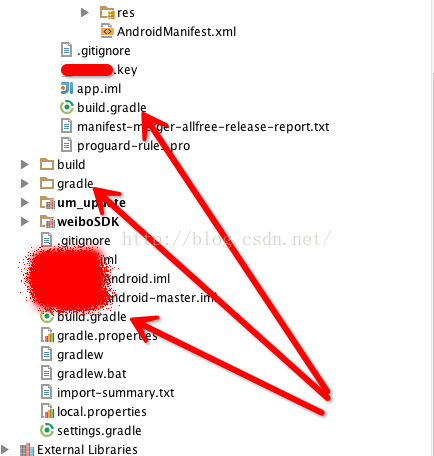
圖1:
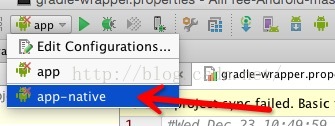
圖2:
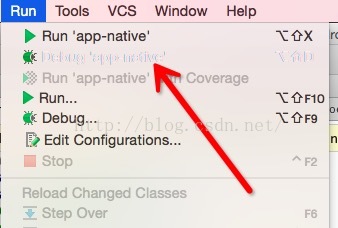
OK,配置完成,然後選擇app-native後,debug-》app-native; 接下來就可以在C或C++檔案中打斷點開啟Jni單步除錯模式了,下面是我的專案截圖:
圖3:
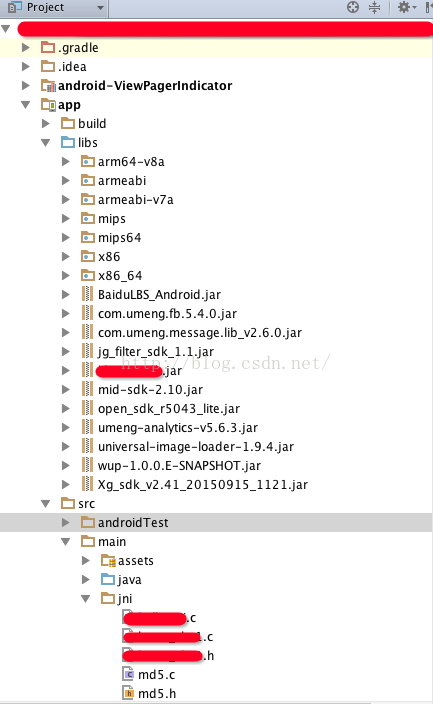
圖4: