自定義上傳元件樣式
阿新 • • 發佈:2019-02-06
寫在最前面
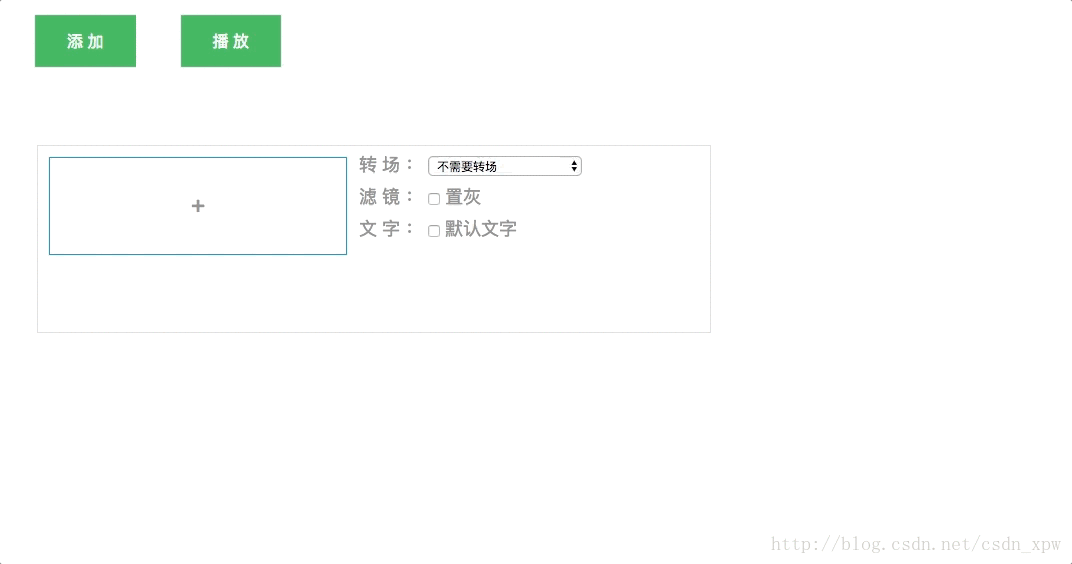
HTML自帶的上傳檔案元件樣式較醜陋。通常需要自定義元件樣式。思路是把上傳元件透明化(隱藏), 然後再自定義一個酷炫元件,點選酷炫元件的時候去模擬點選事件:模擬點選隱藏的元件
簡易demo
code
<html>
<head>
<meta http-equiv="Content-Type" content="text/html; charset=utf-8"/>
<title></title>
<style>
.fileClassDiv {
margin : 8px;
padding: 32px;
border: 1px solid #3089dc;
text-align: center;
font-size: 25px;
width: 232px;
}
.fileClassInput {
filter: alpha(opacity=0);
opacity: 0;
width: 0;
height: 0;
}
</style>
</head>
<script src="https://code.jquery.com/jquery-3.2.1.min.js"></script>
<script>
$(function () {
// + 監聽
$(document).on("click", ".fileClassDiv", function () {
console.log(this);
var fileInputElement = $(this).parent().children(".fileClassInput" );
fileInputElement.trigger("click");
})
});
// 上傳視訊input監聽
$(document).on("change", ".fileClassInput", function () {
// 視訊名字
var videoDivElement = $(this).parent().children(".fileClassDiv");
// 視訊名字回填div
videoTip = $(this).val().substring($(this).val().lastIndexOf("\\") + 1);
videoDivElement.html(videoTip);
});
</script>
<body id="bodyId">
<div class="fileClassDiv">+</div>
<input class="fileClassInput" type="file"/>
</body>
</html>