
android 螢幕適配--------解決方案
阿新 • • 發佈:2019-02-06
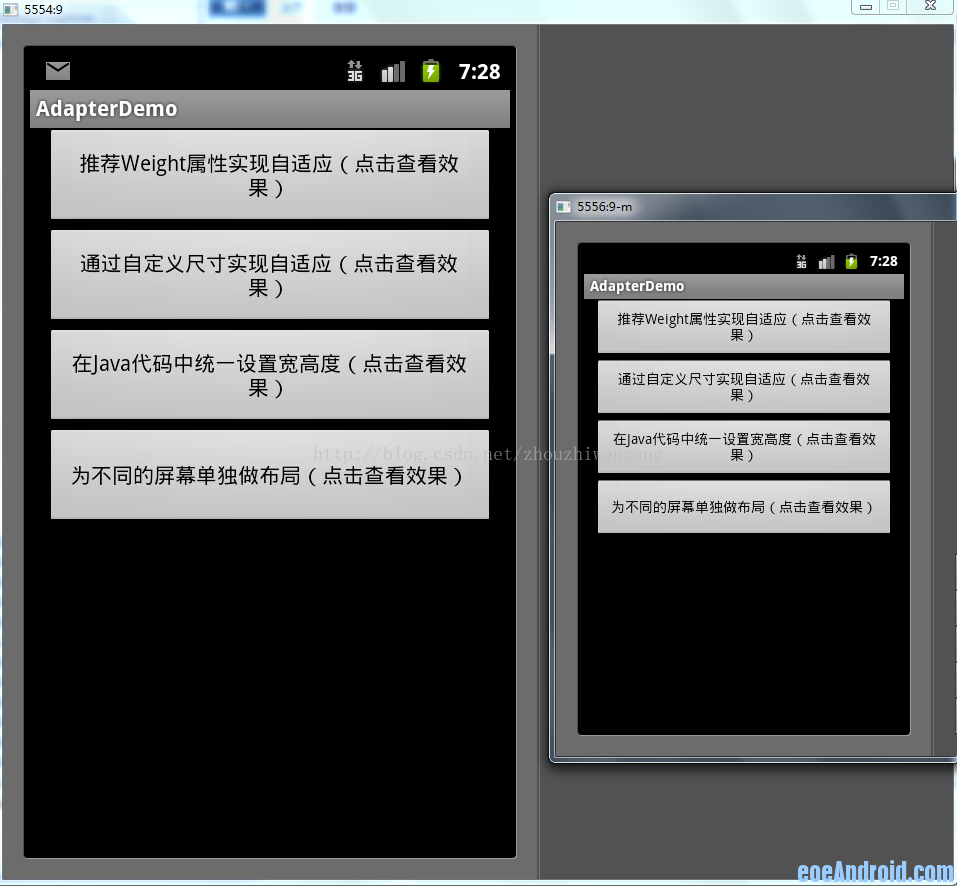
以下是Demo首頁的預覽圖
可以看到,layout_width和layout_height兩個屬性被我封裝成了4個style 根據實際佈局情況,選用當中的一種,不需要自己設定,看過我前一個ActivityGroup的Demo的同學應該非常熟悉了 然後我的Demo的佈局如下(weight_layout.xml)<?xml version="1.0" encoding="utf-8"?> <resources> <!-- 全螢幕拉伸--> <style name="layout_full"> <item name="android:layout_width">fill_parent</item> <item name="android:layout_height">fill_parent</item> </style> <!-- 固定自身大小--> <style name="layout_wrap"> <item name="android:layout_width">wrap_content</item> <item name="android:layout_height">wrap_content</item> </style> <!-- 橫向分佈--> <style name="layout_horizontal" parent="layout_full"> <item name="android:layout_width">0px</item> </style> <!-- 縱向分佈--> <style name="layout_vertical" parent="layout_full"> <item name="android:layout_height">0px</item> </style> </resources>
<?xml version="1.0" encoding="utf-8"?>
<LinearLayout xmlns:android="http://schemas.android.com/apk/res/android"
        style="@style/layout_full"
        android:orientation="vertical">
        <LinearLayout
                style="@style/layout_vertical"
                android:layout_weight="1"
                android:orientation="horizontal">
                 <View
                         style="@style/layout_horizontal"
                         android:background="#aa0000"
                         android:layout_weight="1"/>
                 <View
                         style="@style/layout_horizontal"
                         android:background="#00aa00"
                         android:layout_weight="4"/>
                 <View
                         style="@style/layout_horizontal"
                         android:background="#0000aa"
                         android:layout_weight="3"/>
                 <View
                         style="@style/layout_horizontal"
                         android:background="#aaaaaa"
                         android:layout_weight="2"/>
        </LinearLayout>
        <LinearLayout
                style="@style/layout_vertical"
                android:layout_weight="2"
                android:orientation="vertical">
                <View
                         style="@style/layout_vertical"
                         android:background="#ffffff"
                         android:layout_weight="4"/>
                 <View
                         style="@style/layout_vertical"
                         android:background="#aa0000"
                         android:layout_weight="3"/>
                 <View
                         style="@style/layout_vertical"
                         android:background="#00aa00"
                         android:layout_weight="2"/>
                 <View
                         style="@style/layout_vertical"
                         android:background="#0000aa"
                         android:layout_weight="1"/>

        </LinearLayout>
</LinearLayout>
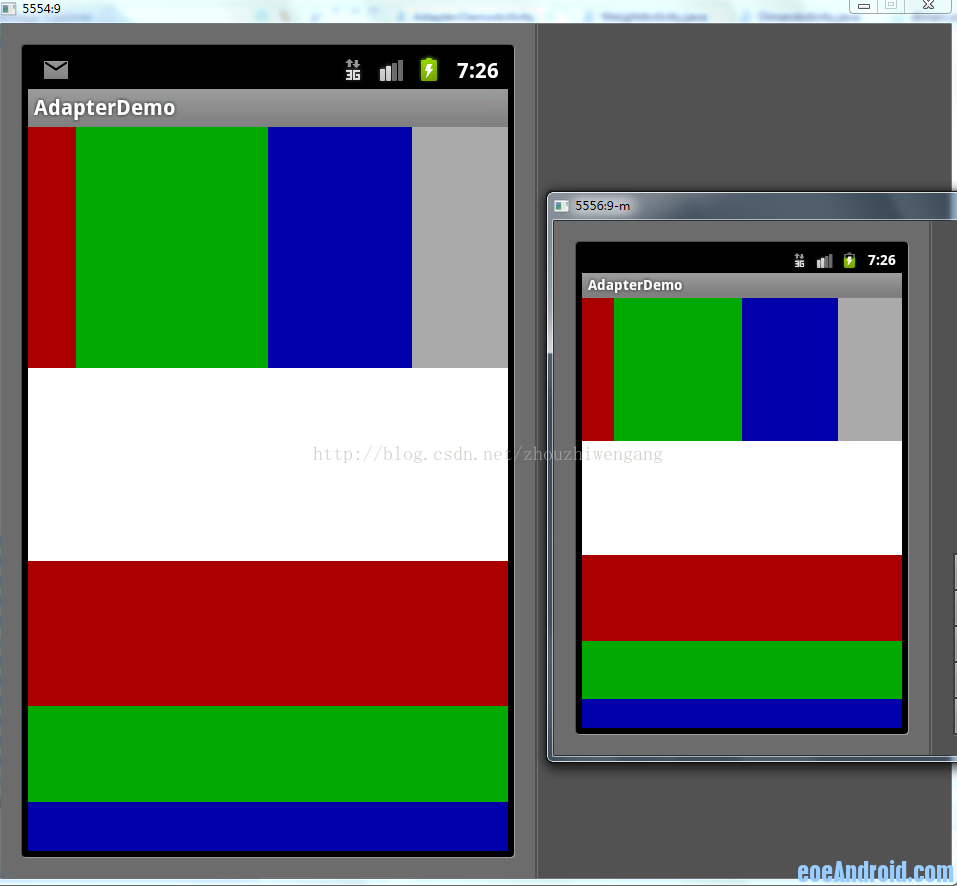
整個介面佈局看起來非常直觀,只是巢狀的邏輯要自己理下。顯示效果如下圖,其中左面一個是480x800的介面,右面的是320x480的介面(後面的圖也如此),可以看出顯示比例和程式碼中完全一致,我就不多說了,大家對照下就能看出來了。
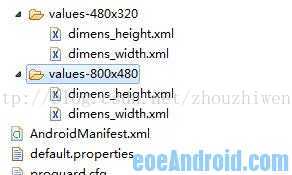
可以看到我定義了兩套尺寸檔案,我們可以看下其中一個檔案
<?xml version="1.0" encoding="utf-8"?>
<resources>
<dimen name="height_1_80">6px</dimen><dimen name="height_2_80">12px</dimen>
<dimen name="height_3_80">18px</dimen><dimen name="height_4_80">24px</dimen>
<dimen name="height_5_80">30px</dimen><dimen name="height_6_80">36px</dimen>
<dimen name="height_7_80">42px</dimen><dimen name="height_8_80">48px</dimen>
<dimen name="height_9_80">54px</dimen><dimen name="height_10_80">60px</dimen>
<dimen name="height_11_80">66px</dimen><dimen name="height_12_80">72px</dimen>
<dimen name="height_13_80">78px</dimen><dimen name="height_14_80">84px</dimen>
<dimen name="height_15_80">90px</dimen><dimen name="height_16_80">96px</dimen>
<dimen name="height_17_80">102px</dimen><dimen name="height_18_80">108px</dimen>
<dimen name="height_19_80">114px</dimen><dimen name="height_20_80">120px</dimen>
<dimen name="height_21_80">126px</dimen><dimen name="height_22_80">132px</dimen>
<dimen name="height_23_80">138px</dimen><dimen name="height_24_80">144px</dimen>
<dimen name="height_25_80">150px</dimen><dimen name="height_26_80">156px</dimen>
<dimen name="height_27_80">162px</dimen><dimen name="height_28_80">168px</dimen>
<dimen name="height_29_80">174px</dimen><dimen name="height_30_80">180px</dimen>
<dimen name="height_31_80">186px</dimen><dimen name="height_32_80">192px</dimen>
<dimen name="height_33_80">198px</dimen><dimen name="height_34_80">204px</dimen>
<dimen name="height_35_80">210px</dimen><dimen name="height_36_80">216px</dimen>
<dimen name="height_37_80">222px</dimen><dimen name="height_38_80">228px</dimen>
<dimen name="height_39_80">234px</dimen><dimen name="height_40_80">240px</dimen>
<dimen name="height_41_80">246px</dimen><dimen name="height_42_80">252px</dimen>
<dimen name="height_43_80">258px</dimen><dimen name="height_44_80">264px</dimen>
<dimen name="height_45_80">270px</dimen><dimen name="height_46_80">276px</dimen>
<dimen name="height_47_80">282px</dimen><dimen name="height_48_80">288px</dimen>
<dimen name="height_49_80">294px</dimen><dimen name="height_50_80">300px</dimen>
<dimen name="height_51_80">306px</dimen><dimen name="height_52_80">312px</dimen>
<dimen name="height_53_80">318px</dimen><dimen name="height_54_80">324px</dimen>
<dimen name="height_55_80">330px</dimen><dimen name="height_56_80">336px</dimen>
<dimen name="height_57_80">342px</dimen><dimen name="height_58_80">348px</dimen>
<dimen name="height_59_80">354px</dimen><dimen name="height_60_80">360px</dimen>
<dimen name="height_61_80">366px</dimen><dimen name="height_62_80">372px</dimen>
<dimen name="height_63_80">378px</dimen><dimen name="height_64_80">384px</dimen>
<dimen name="height_65_80">390px</dimen><dimen name="height_66_80">396px</dimen>
<dimen name="height_67_80">402px</dimen><dimen name="height_68_80">408px</dimen>
<dimen name="height_69_80">414px</dimen><dimen name="height_70_80">420px</dimen>
<dimen name="height_71_80">426px</dimen><dimen name="height_72_80">432px</dimen>
<dimen name="height_73_80">438px</dimen><dimen name="height_74_80">444px</dimen>
<dimen name="height_75_80">450px</dimen><dimen name="height_76_80">456px</dimen>
<dimen name="height_77_80">462px</dimen><dimen name="height_78_80">468px</dimen>
<dimen name="height_79_80">474px</dimen><dimen name="height_80_80">480px</dimen>
</resources><?xml version="1.0" encoding="utf-8"?>
<LinearLayout xmlns:android="http://schemas.android.com/apk/res/android"
android:layout_width="fill_parent"
android:layout_height="fill_parent"
android:orientation="vertical">
<View
android:layout_width="@dimen/width_76_80"
android:layout_height="@dimen/height_10_80"
android:background="#ffcccc"
android:layout_margin="@dimen/width_2_80"/>
<LinearLayout
android:layout_width="fill_parent"
android:layout_height="fill_parent">
<View
android:layout_width="@dimen/width_30_80"
android:layout_height="@dimen/height_50_80"
android:background="#ccccff"
android:layout_margin="@dimen/height_5_80"/>
<LinearLayout
android:layout_width="fill_parent"
android:layout_height="fill_parent"
android:orientation="vertical">
<Button
android:layout_width="@dimen/width_30_80"
android:layout_height="@dimen/height_5_80"
android:background="#ccffcc"
android:layout_marginBottom="@dimen/height_1_80"
android:text="5"/>
<Button
android:layout_width="@dimen/width_30_80"
android:layout_height="@dimen/height_10_80"
android:background="#ccffcc"
android:layout_marginBottom="@dimen/height_1_80"
android:text="10"/>
<Button
android:layout_width="@dimen/width_30_80"
android:layout_height="@dimen/height_15_80"
android:background="#ccffcc"
android:layout_marginBottom="@dimen/height_1_80"
android:text="15"/>
<Button
android:layout_width="@dimen/width_30_80"
android:layout_height="@dimen/height_20_80"
android:background="#ccffcc"
android:text="20"/>
</LinearLayout>
</LinearLayout>
</LinearLayout>
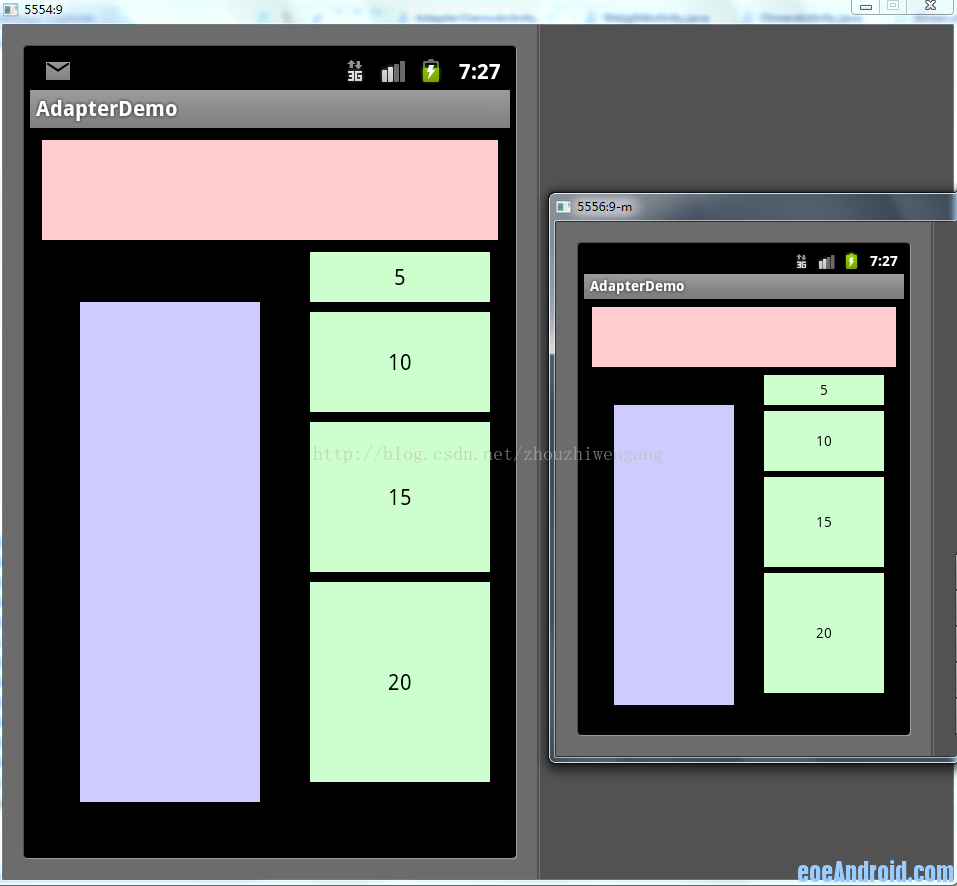
以上是我寫的統一的佈局程式碼,來看下在兩個不同解析度的模擬器上的顯示效果吧(大家注意我的程式碼中有margin這樣的值也用到了自定義尺寸,如果這個margin使用layout_weight來控制的話,無疑要多巢狀一層線性佈局,所以說沒有一個方法是十全十美的,這第2個方法有時候用起來反而還要方便一些)
public class Constant {
        public static int displayWidth;  //螢幕寬度
        public static int displayHeight; //螢幕高度
} DisplayMetrics displayMetrics = new DisplayMetrics();
getWindowManager().getDefaultDisplay().getMetrics(displayMetrics);
Constant.displayWidth = displayMetrics.widthPixels;
Constant.displayHeight = displayMetrics.heightPixels<?xml version="1.0" encoding="utf-8"?>
<LinearLayout xmlns:android="http://schemas.android.com/apk/res/android"
android:orientation="vertical"
android:layout_width="fill_parent"
android:layout_height="fill_parent">
<Button
android:id="@+id/btn1"
android:layout_width="wrap_content"
android:layout_height="wrap_content"
android:background="#ffcccc"
android:text="aaaaaaaa"/>
<Button
android:id="@+id/btn2"
android:layout_width="wrap_content"
android:layout_height="wrap_content"
android:background="#ccffcc"
android:text="bbbbbbbbb"/>
<Button
android:id="@+id/btn3"
android:layout_width="wrap_content"
android:layout_height="wrap_content"
android:background="#ccccff"
android:text="ccccccccc"/>
<Button
android:id="@+id/btn4"
android:layout_width="wrap_content"
android:layout_height="wrap_content"
android:background="#ffffcc"
android:text="dddddddddddddddddd"/>
</LinearLayout>// 第一個按鈕,寬度100%,高度10%
LinearLayout.LayoutParams params = new LinearLayout.LayoutParams(
LayoutParams.FILL_PARENT,
(int) (Constant.displayHeight * 0.1f + 0.5f));
btn1.setLayoutParams(params);
// 第二個按鈕,寬度100%,高度30%
LinearLayout.LayoutParams params2 = new LinearLayout.LayoutParams(
LayoutParams.FILL_PARENT,
(int) (Constant.displayHeight * 0.3f + 0.5f));
btn2.setLayoutParams(params2);
// 第三個按鈕,寬度50%,高度20%
LinearLayout.LayoutParams params3 = new LinearLayout.LayoutParams(
(int) (Constant.displayWidth * 0.5f + 0.5f),
(int) (Constant.displayHeight * 0.2f + 0.5f));
btn3.setLayoutParams(params3);
// 第三個按鈕,寬度70%,高度填滿剩下的空間
LinearLayout.LayoutParams params4 = new LinearLayout.LayoutParams(
(int) (Constant.displayWidth * 0.7f + 0.5f),
LayoutParams.FILL_PARENT);
btn4.setLayoutParams(params4);大家可以看到其實程式碼並不複雜,都能看得懂 下面是效果顯示圖
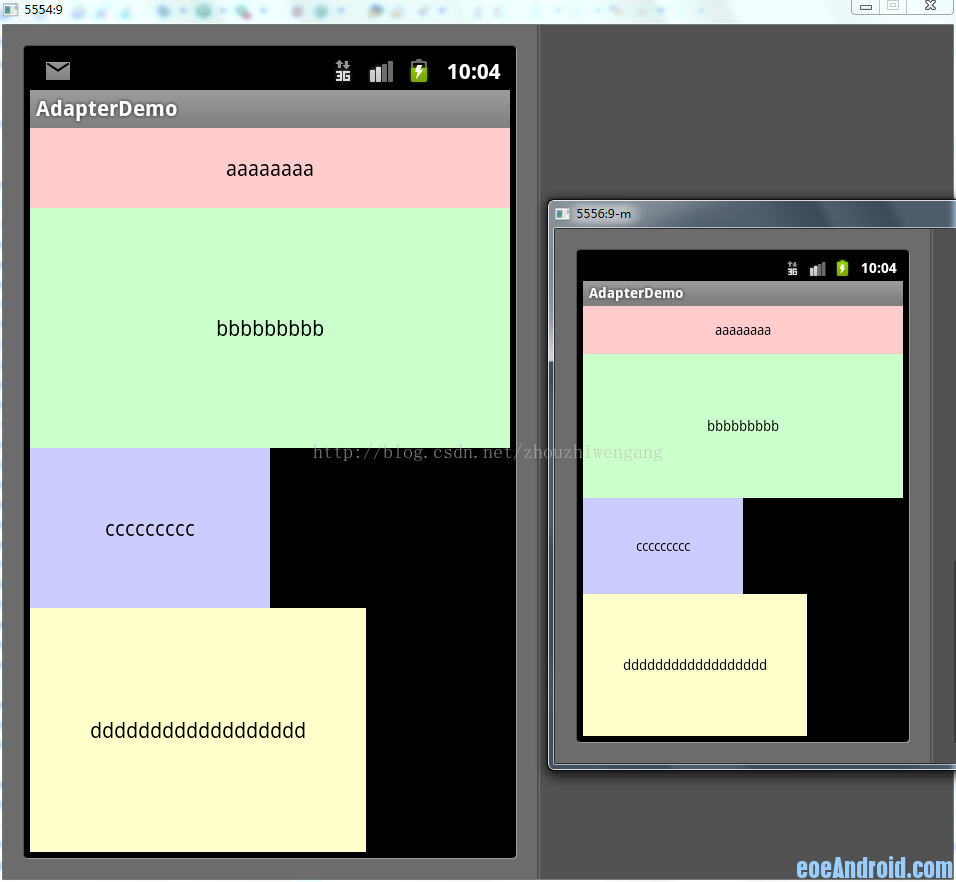 四、多佈局
做為最後的方法,也是最後一個才會考慮的方法,那就是為不同的尺寸介面單獨寫佈局。不到萬不得已不要用這個方法,相信不少人和我一樣都被逼著用過這個方法吧。需要說明的是,橫豎屏切換使用不同佈局也是用這個方法解決的;程式碼我就不上了,給大家看兩張圖吧,一個是同1個佈局的,一個是寫了多佈局的,大家一看就明白了
四、多佈局
做為最後的方法,也是最後一個才會考慮的方法,那就是為不同的尺寸介面單獨寫佈局。不到萬不得已不要用這個方法,相信不少人和我一樣都被逼著用過這個方法吧。需要說明的是,橫豎屏切換使用不同佈局也是用這個方法解決的;程式碼我就不上了,給大家看兩張圖吧,一個是同1個佈局的,一個是寫了多佈局的,大家一看就明白了
補充一下,寫多個佈局的時候,配置檔案一定要加上這段配置程式碼,不然有時可能會出問題
<supports-screens android:largeScreens="true"
android:normalScreens="true" android:anyDensity="true" />


五、其他 以上說的都是多個螢幕顯示相同內容需要考慮的問題,還有一種是在不同的螢幕上顯示內容不同的情況,其實這個問題我們往往是用滾動檢視來解決的,也就是ScrowView;需要注意的是ScrowView中使用layout_weight是無效的,既然使用ScrowView了,就把它裡面的控制元件的大小都設成固定的吧。 此外關於圖片的自適應問題,主要是2點,一個是9patch圖,這個東西大家都要學會去做,不難;不過有些編譯器在識別9patch圖時會出這樣那樣的bug,像我的Eclipse就不認這個,而同一個9patch圖在別的電腦上卻是沒問題的, 第二個要說的是我曾經被困擾的一個問題,對於480x800 和 480x854這兩個尺寸,他們顯示同一個圖片時,總有一個會拉伸(如果9patch可以解決的還好)。其實當初困擾我的是,這兩個尺寸都是hdpi的,以為無法給這兩個螢幕做不同的圖片。後來無意中發現,圖片可以和佈局一樣分多個尺寸的,而不僅僅是根據密度分,也就是說你可以寫這樣的資料夾drawable-hdpi-800x480和drawable-hdpi-854x480,在它們裡面放不同的圖片,這樣圖片也能自適應了。