google authenticator 配置動態密碼登入
阿新 • • 發佈:2019-02-07
測試環境
| 軟體 | 平臺 | 版本 | 說明 |
|---|---|---|---|
| CentOS 7 | linux | CentOS Linux release 7.2.1511 (Core) | 測試服務端 |
| Windows 10 | windows | Windows 10 專業版 64位 (10.0,版本 15063) | 登入客戶端 |
| pam-devel | linux | pam-devel-1.1.8-18.el7.x86_64 | pam驗證 |
| google-authenticator | linux | google-authenticator-1.02 | 動態驗證碼校驗 |
| 身份驗證器 | android | 4.74 | 動態驗證碼生成器 |
| Xshell 5 | windows | xshell 5 (build 0788) | SSH登入測試軟體 |
Google Authenticator 下載地址
- Download android client
linux 使用libpam
- 安裝libpam
#ignore other dependences package
yum install pam-devel ntp- 編譯google authenticator libpam
# pwd /root/src
wget https://github.com - 修改/etc/pam.d/sshd
第一行新增 auth required pam_google_authenticator.so
%PAM-1.0
auth required pam_google_authenticator.so
auth required pam_sepermit.so
auth substack password-auth
- 修改/etc/ssh/sshd_config
修改如下的內容:
ChallengeResponseAuthentication yes
usePAM yes
完了重啟sshd
systemctl restart sshd.service- 生成授權碼
# google authenticator working directory : /usr/local/google-authenticator
/usr/local/google-authenticator/bin/google-authenticator
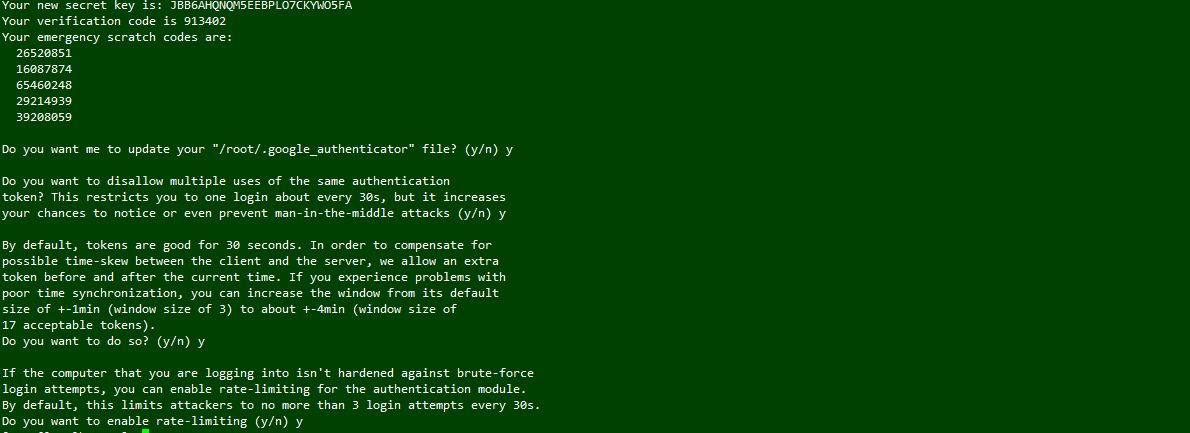
然後一直選擇yes就行了,如下圖:
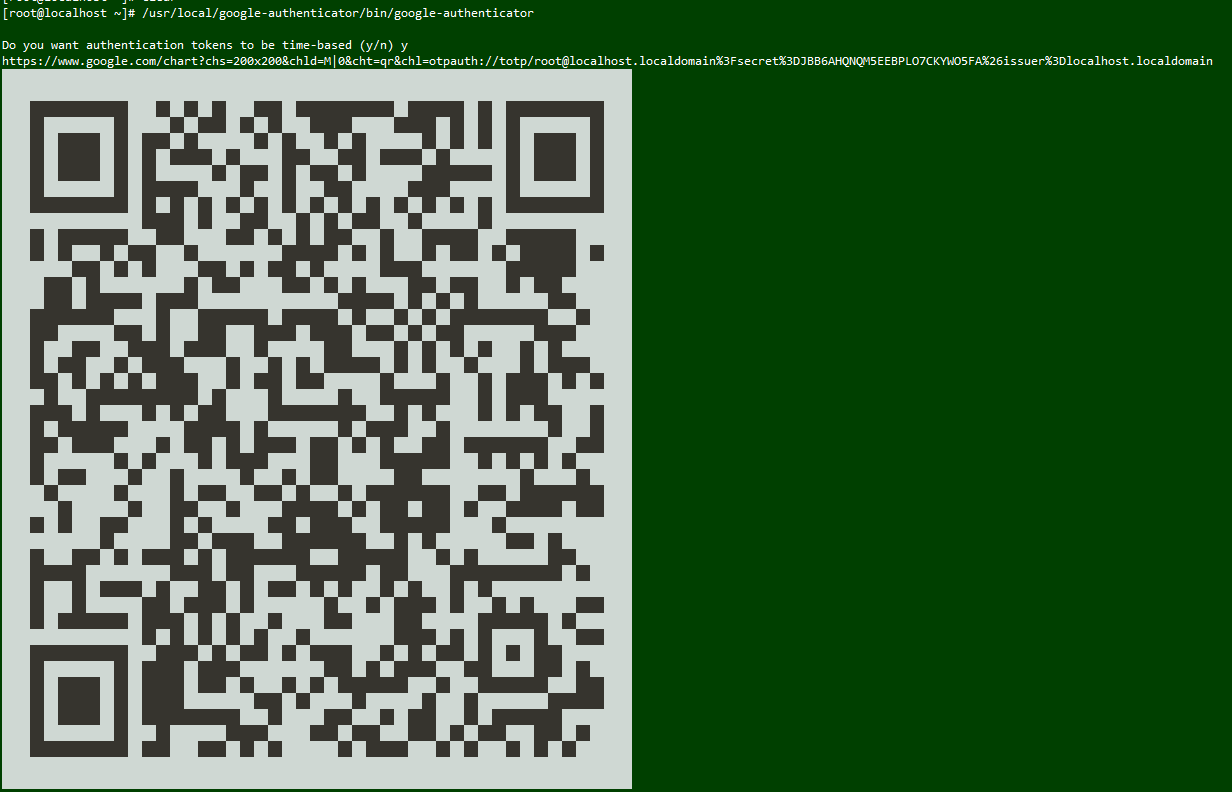
- 二維碼是用Google的身份驗證器掃描的(需要Google play 支援)
- 生成的5個emergency scratch codes 是緊急時候用的,一個只能用一次
身份驗證器新增
身份驗證器地址:
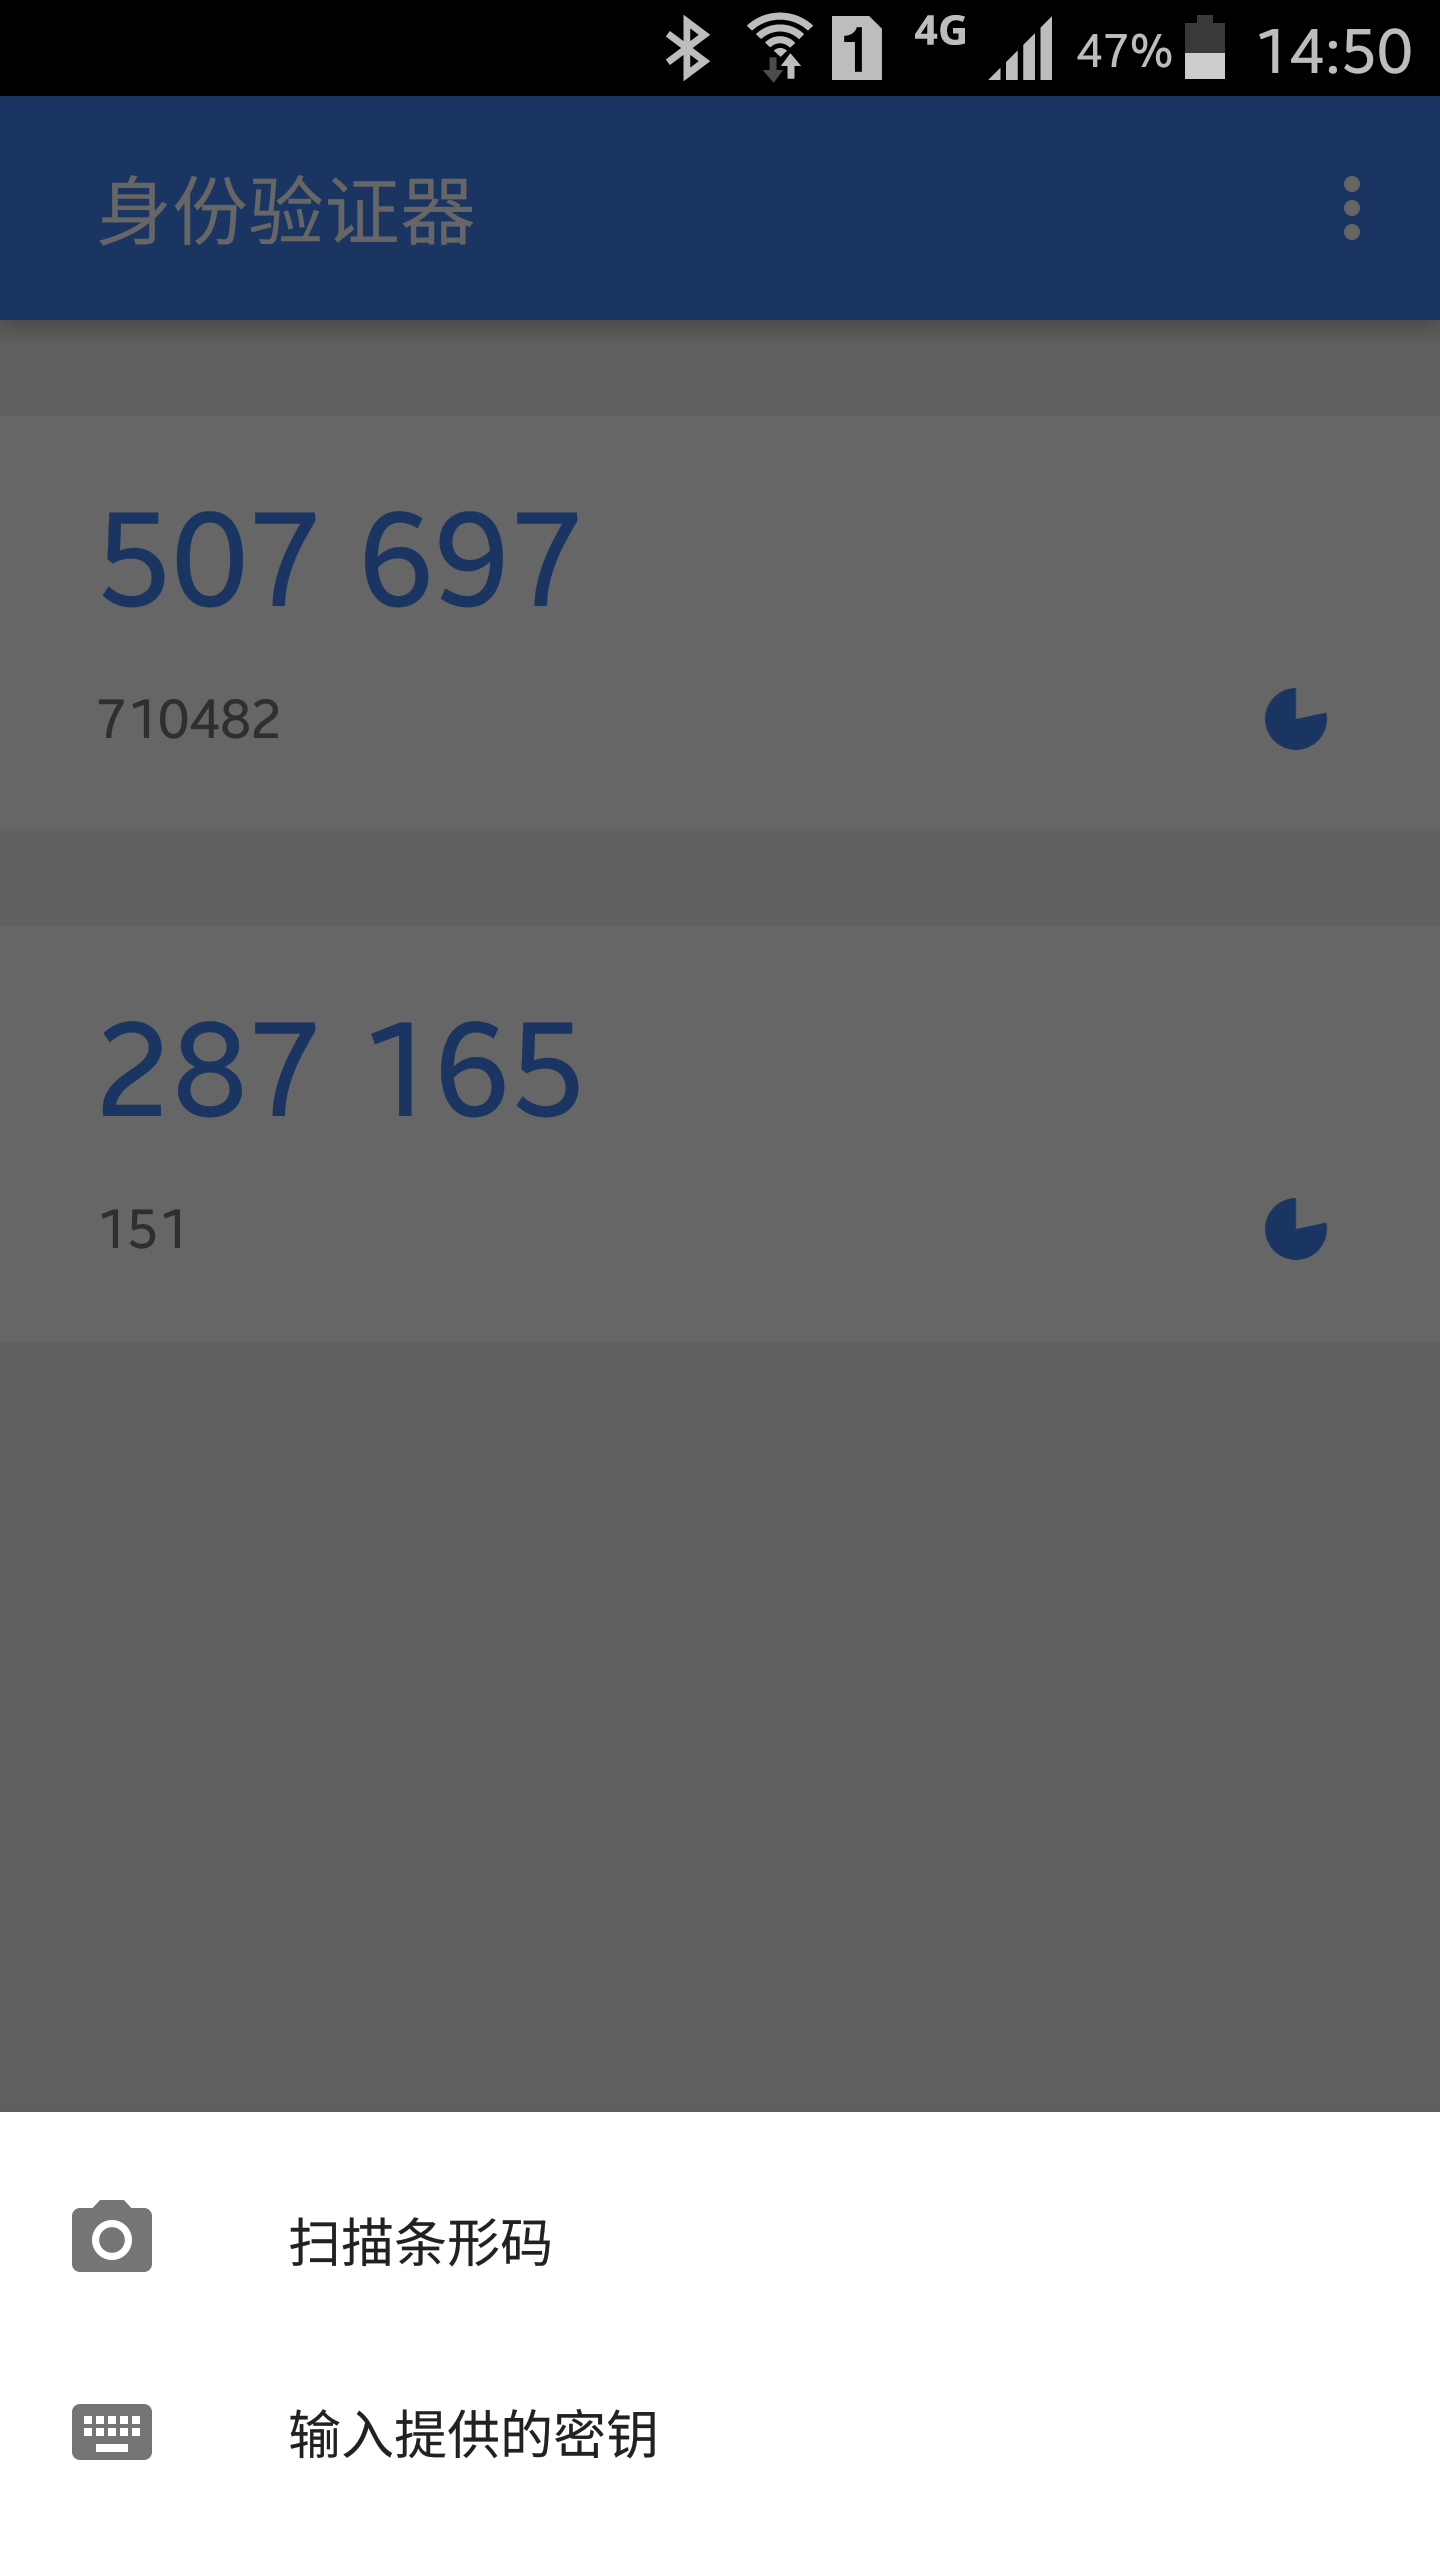
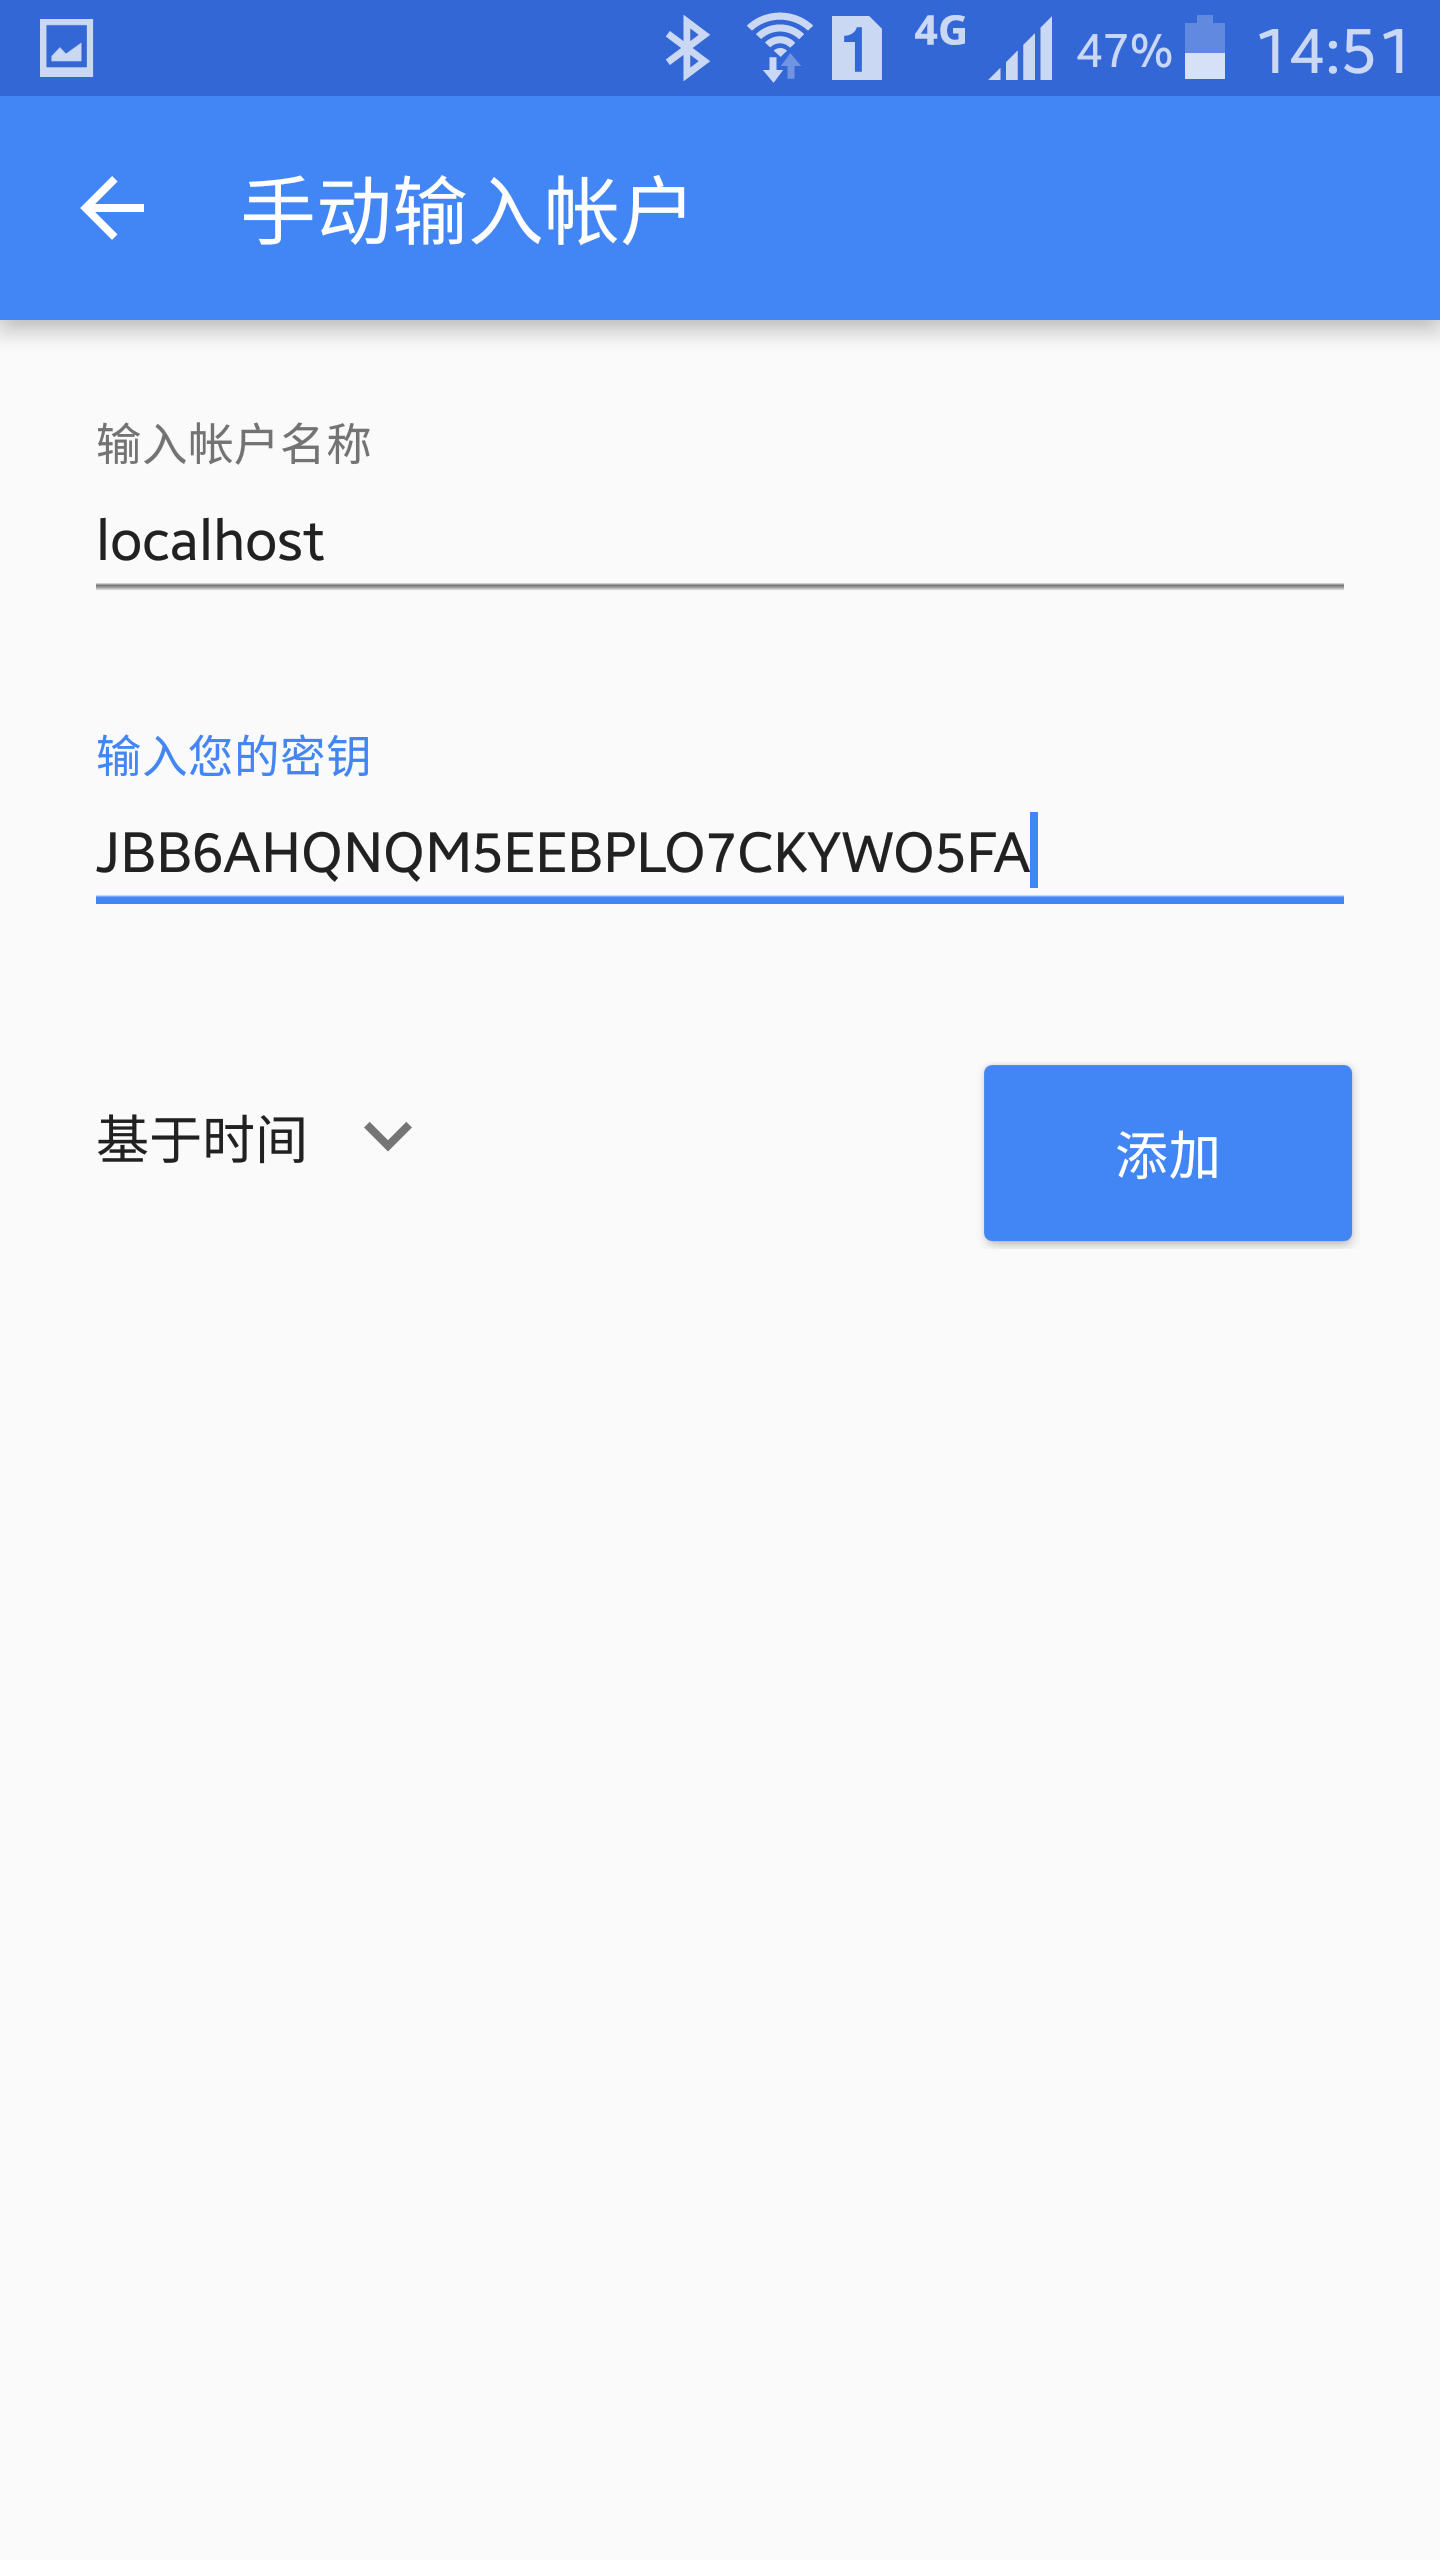
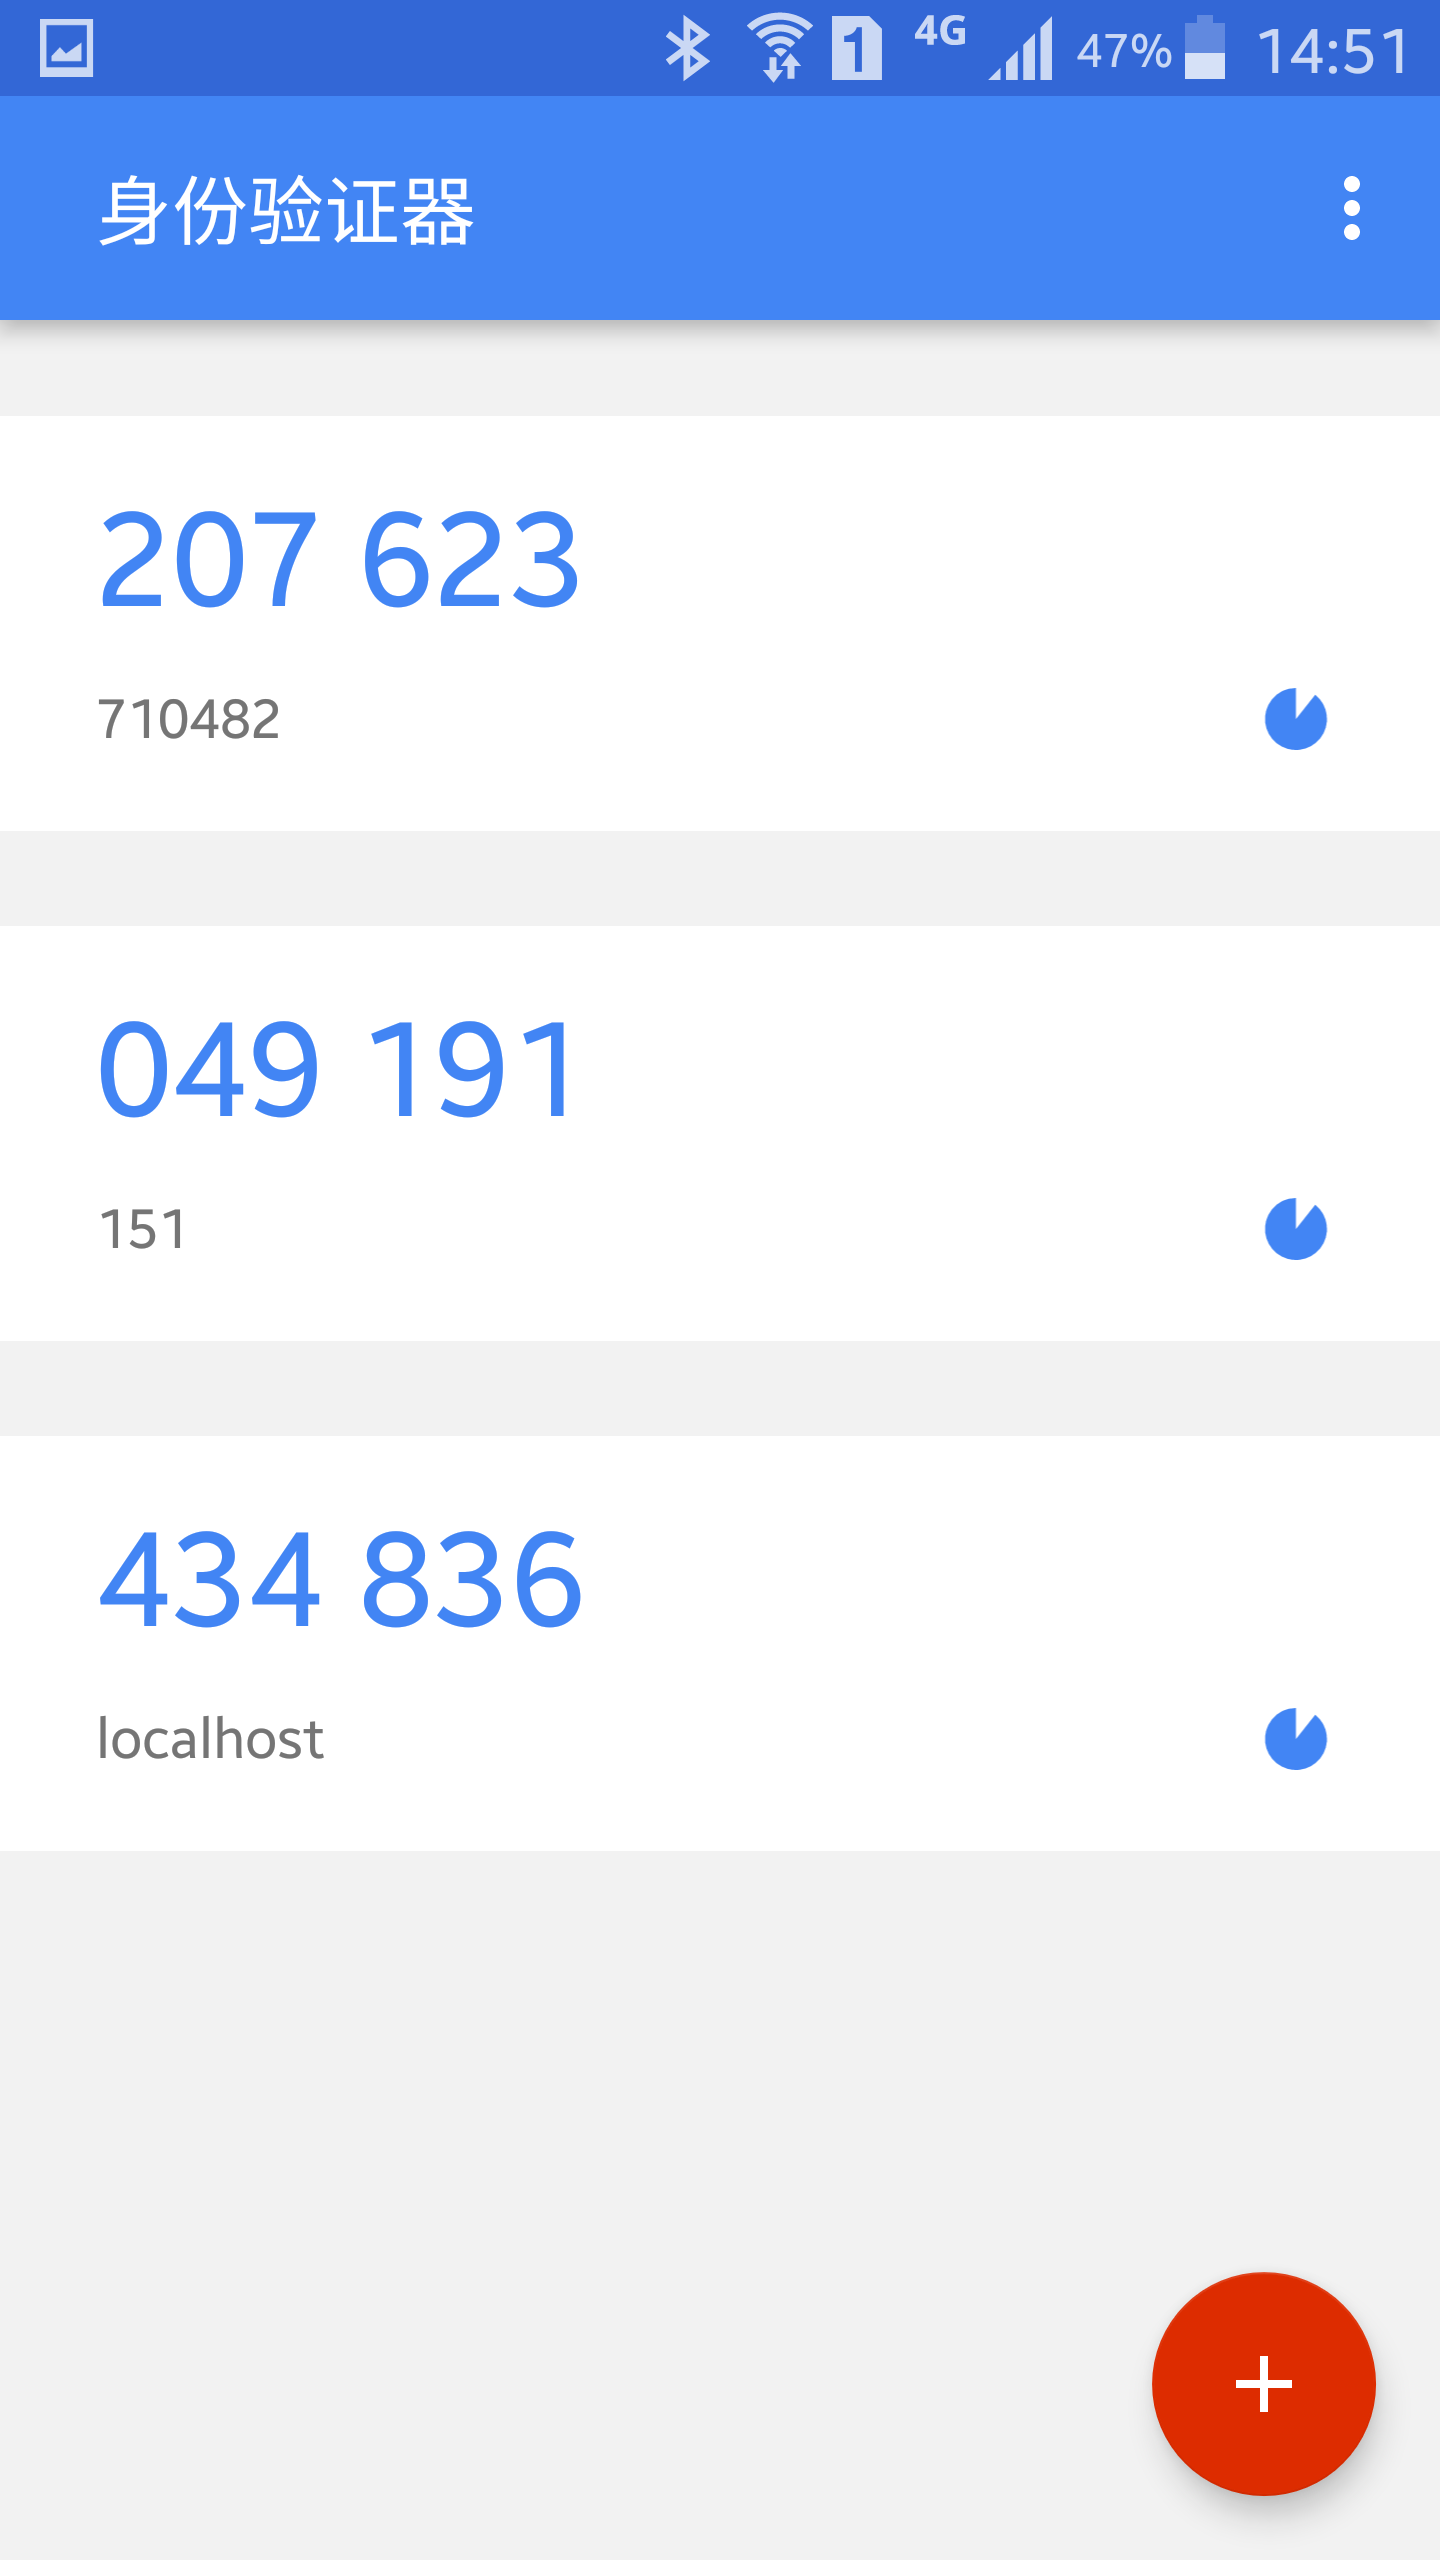
設定身份驗證器如下:
驗證登入
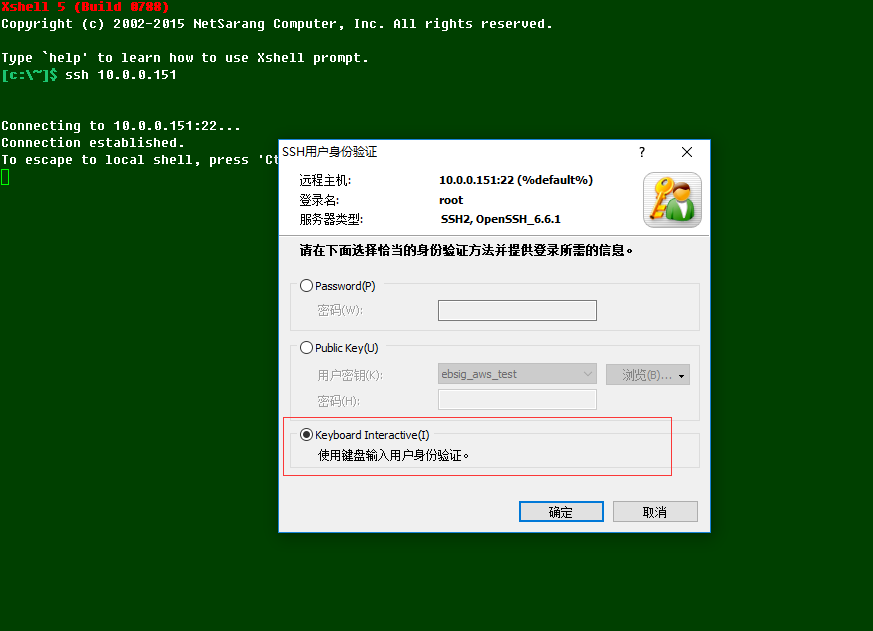
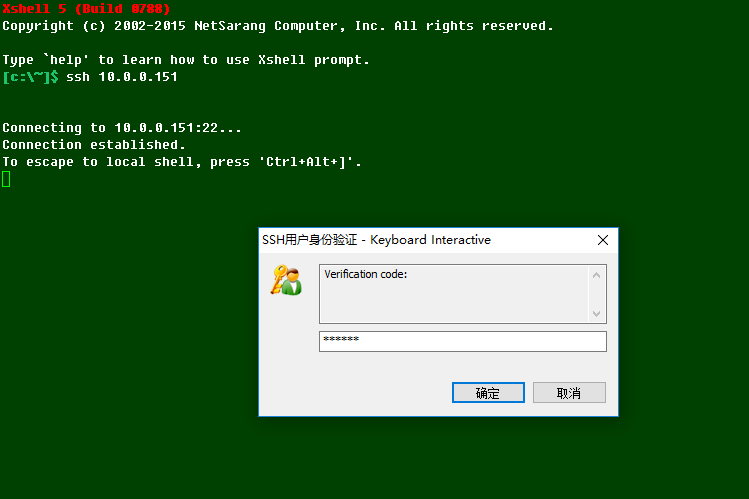
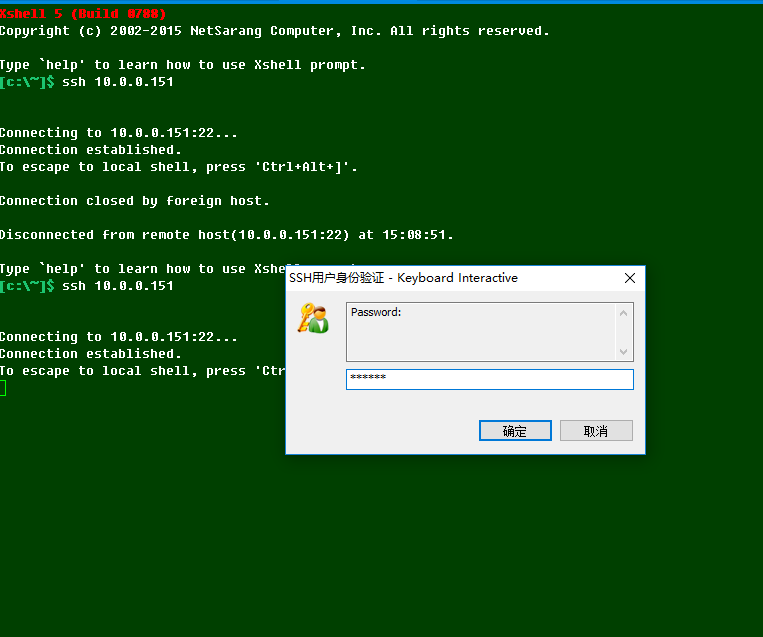
正常情況下,設定了google authenticator登入,是無法通過xshell直接登入,可以按照以下方式進行登入:
