
tensorflow 安裝 和整合到IDEA
阿新 • • 發佈:2019-02-07
一.tensorflow 安裝(參考博文:http://blog.csdn.net/bitcarmanlee/article/details/52749488)
1.依賴:anaconda
2.建立計算環境:
conda create -n tensorflow python=2.7source activate tensorflow pip install --ignore-installed --upgrade https://storage.googleapis.com/tensorflow/linux/cpu/tensorflow-0.8.0rc0-cp27-none-linux_x86_64.whl import tensorflow as tf
hello = tf.constant('Hello, TensorFlow!')
sess = tf.Session()
print sess.run(hello)
6.退出tensorflow:
source deactivate二.整合tensorflow 到ieda
1.安裝 IntelliJIDEA (參考博文:http://www.linuxdiyf.com/linux/19143.html)
(2)減壓tar.gz包到opt資料夾下
(3)進入減壓後的資料夾下的bin執行(啟動idea):
(4)點選右下角的plugins,找到加入python視窗/idea.sh
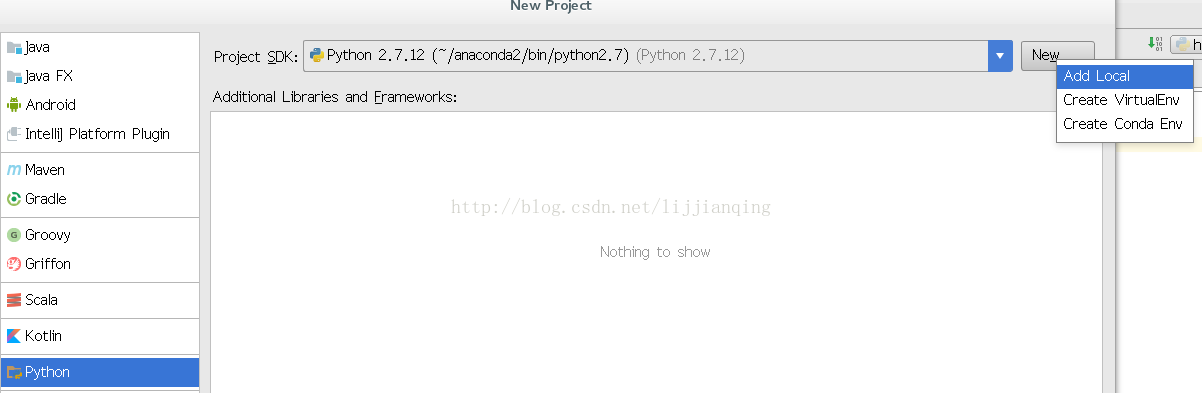
(5)新建test專案整合rensorflow
新增tensorflow 路徑
(注:若不知道tensorflow 路徑,通過以下命令查詢
import tensorflow as tf
tf.__version__
tf.__path__)
新增路徑完成後
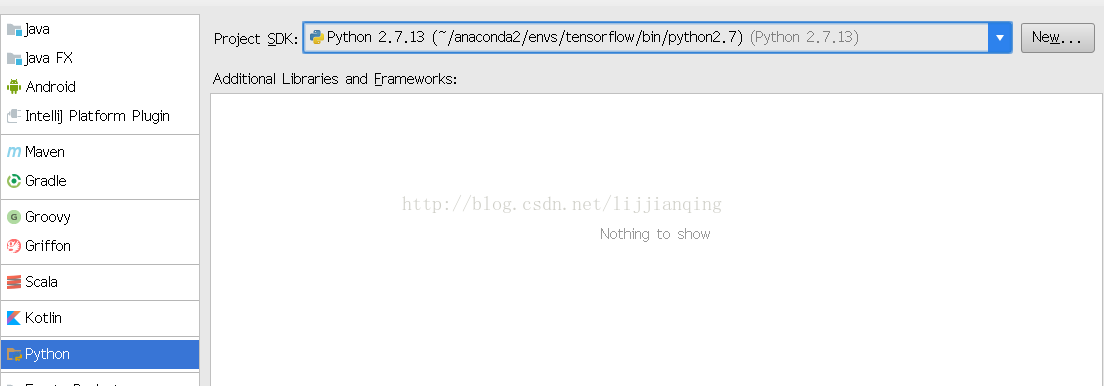
點next,然後建一個測試例子:
import tensorflow as tf
hello = tf.constant('Hello, TensorFlow!')
sess = tf.Session()
print sess.run(hello)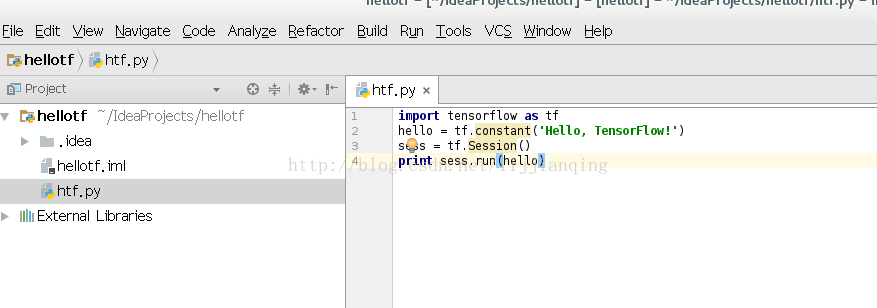
右鍵run htf.py 結果

至此整合完畢!
本文將多個博文成果學習整理,希望可以幫助到剛入手的同學們。