
httpClient傳送https請求
阿新 • • 發佈:2019-02-07
前言
我們知道現在的http請求應用的越來越廣泛,最常見的場景就是瀏覽器作為http請求的客戶端,請求http服務端。在瀏覽器傳送請求時,會封裝請求行,請求頭,請求體資訊,那我們在用java程式碼模擬時,也需要帶上http請求的這些相關資訊。java自帶的java.net包是關於java的網路方面的包,但是沒有完全的封裝好的方法,而org.apache.httpcomponents下的httpclient包封裝了完備的進行http請求的方法。本文也是基於這個包進行的論述
get請求模擬
使用httpclient請求的步驟是:
1.建立預設的httpclient客戶端
// 建立預設的httpclient客戶端
CloseableHttpClient client = HttpClients.createDefault();
2.通過請求的url初始化一個HttpGet請求
// 通過請求的url初始化一個HttpGet請求
HttpGet get = new HttpGet("http://www.baidu.com");
3.通過客戶端來執行請求
// 通過客戶端來執行請求
CloseableHttpResponse response = client.execute(get);
4.處理返回的結果
// 獲得響應行
System.out.println(response.getStatusLine().toString());
// 獲得響應頭 Header[] headers = response.getAllHeaders(); for(Header header : headers ){ System.out.println(header.getName() +" : "+header.getName()); }
// 獲得響應體
HttpEntity e = response.getEntity();
System.out.println(EntityUtils.toString(e,"UTF-8"));
post請求模擬
post請求與get請求類似,只是在傳遞引數過程中稍有不同。
1.建立預設的httpClient客戶端
// 建立預設的httpclient客戶端
CloseableHttpClient client = HttpClients.createDefault();
2.通過請求的url初始化一個httpPost
// 通過請求的url初始化一個HttpGet請求
HttpPost httpPost = new HttpPost("http://localhoost/test");
3.引數設定
// 設定頭部引數
httpPost.addHeader("Content-Type", "application/json;charset=UTF-8");
httpPost.addHeader("Accept", "application/json");
// 引數設定
JSONObject obj = new JSONObject();
obj.put("param1", "1");
obj.put("param2", "2");
// 解決中文亂碼問題
StringEntity stringEntity = new StringEntity(obj.toString(), "UTF-8");
stringEntity.setContentEncoding("UTF-8");
httpPost.setEntity(stringEntity);
4.通過客戶端來執行請求
CloseableHttpResponse response = client.execute(httpPost);5.處理返回結果
System.out.println(response);https請求
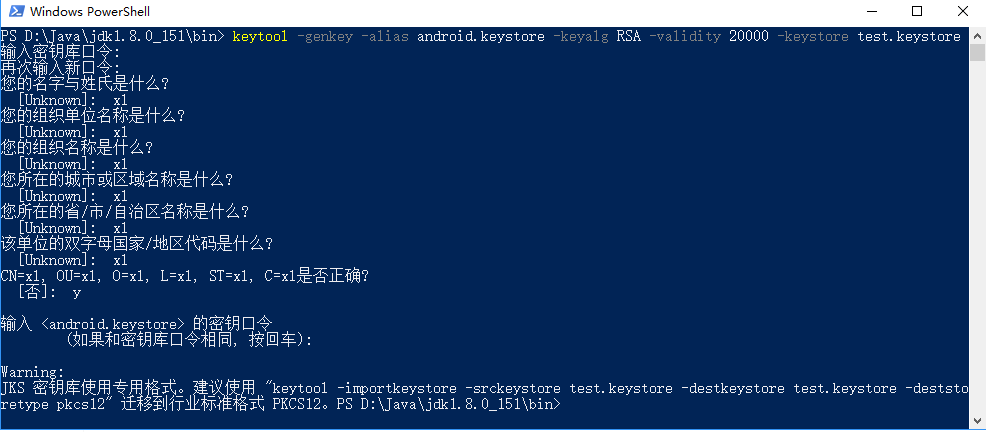
上面的post請求是基於http傳輸的,如果要基於https,首先需要建立keystore。可以利用jdk自帶的keytool工具來生成
與上面的區別主要在於:
1.要通過keystore檔案和密碼來初始化SSLContext
// 初始化SSLContext
SSLContext sslcontext = custom("D:\\test.keystore","123456");
public static SSLContext custom(String keyStorePath, String keyStorepass){
SSLContext sc = null;
FileInputStream instream = null;
KeyStore trustStore = null;
try {
trustStore = KeyStore.getInstance(KeyStore.getDefaultType());
instream = new FileInputStream(new File(keyStorePath));
trustStore.load(instream, keyStorepass.toCharArray());
// 相信自己的CA和所有自簽名的證書
sc = SSLContexts.custom().loadTrustMaterial(trustStore, new TrustSelfSignedStrategy()).build();
} catch (KeyStoreException | NoSuchAlgorithmException| CertificateException | IOException | KeyManagementException e) {
e.printStackTrace();
} finally {
try {
instream.close();
} catch (IOException e) {
}
}
return sc;
}2.設定協議http和https對應的處理socket連結工廠的物件
        Registry<ConnectionSocketFactory> socketFactoryRegistry = RegistryBuilder.<ConnectionSocketFactory>create()
            .register("http", PlainConnectionSocketFactory.INSTANCE)
            .register("https", new SSLConnectionSocketFactory(sslcontext))
            .build();
        PoolingHttpClientConnectionManager connManager = new PoolingHttpClientConnectionManager(socketFactoryRegistry);
        HttpClients.custom().setConnectionManager(connManager);
3.建立自定義的httpclient物件
CloseableHttpClient httpclient = HttpClients.custom().setConnectionManager(connManager).build();