
IDEA spring-boot簡單實現國際化
阿新 • • 發佈:2019-02-10
一、建立springboot專案
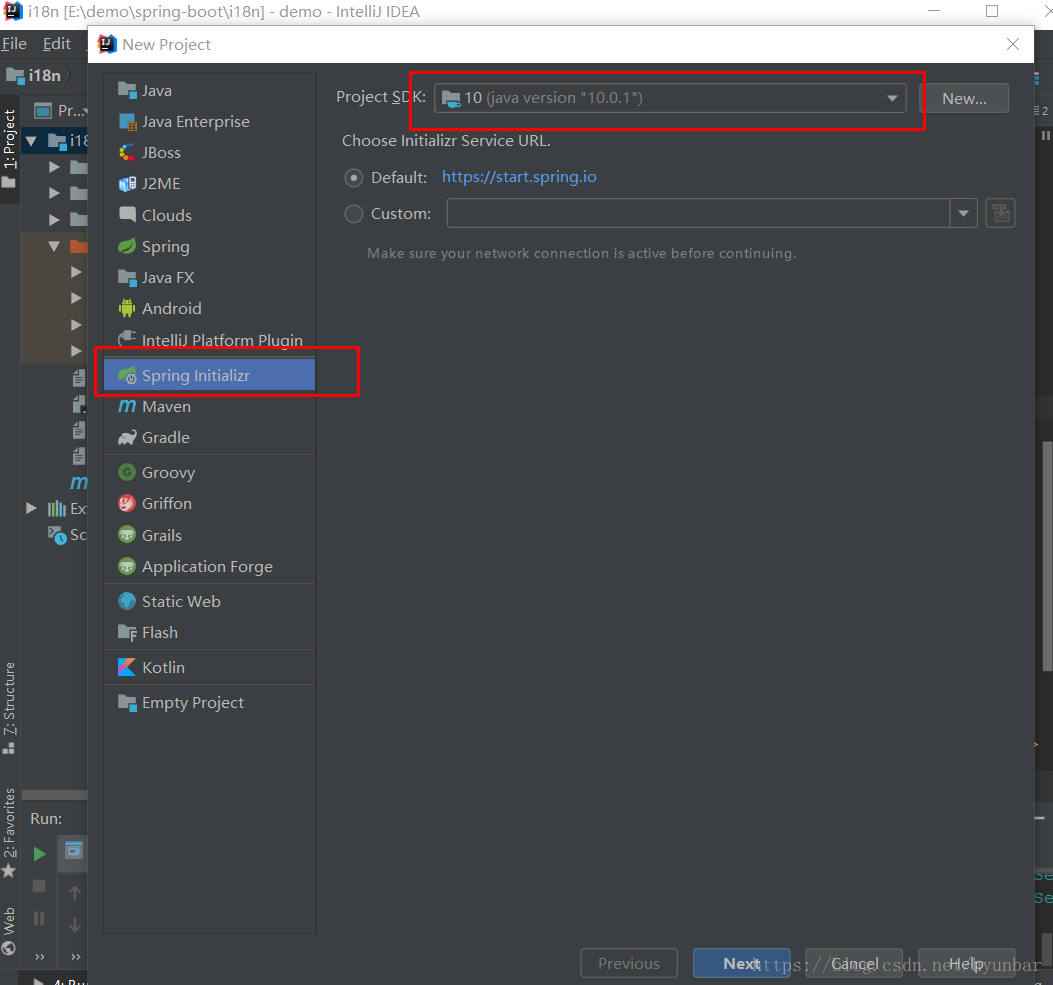
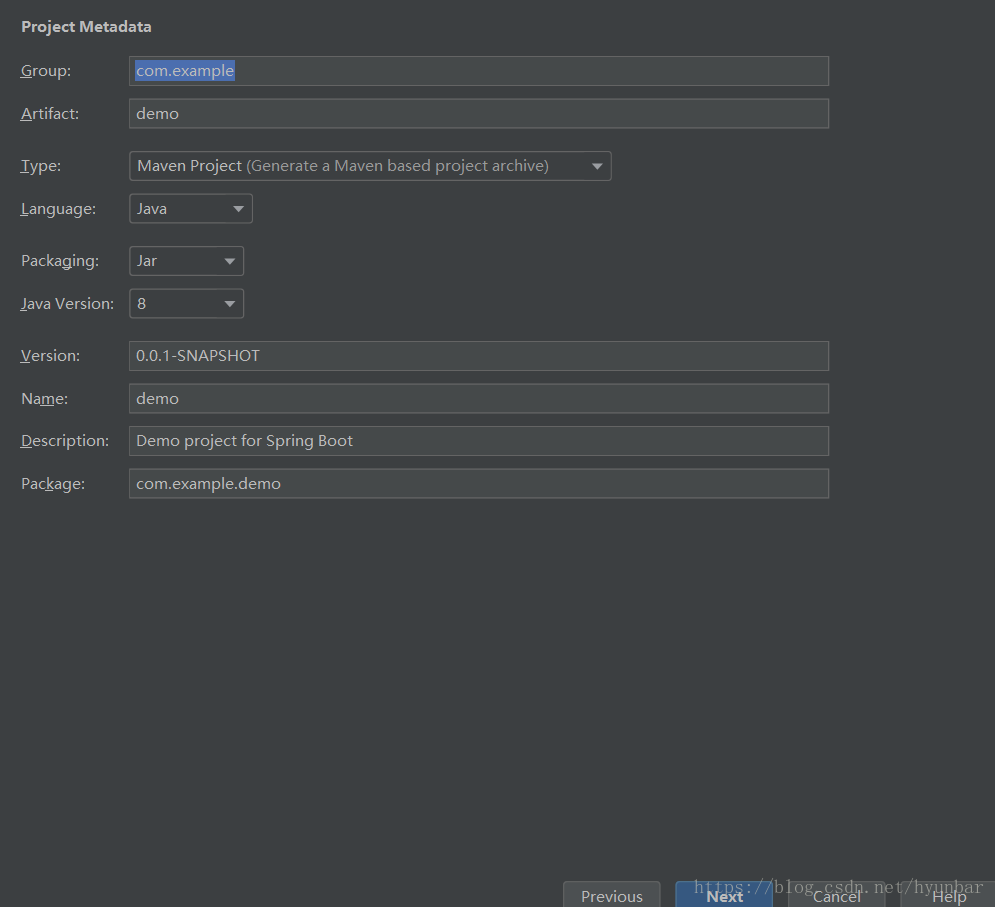
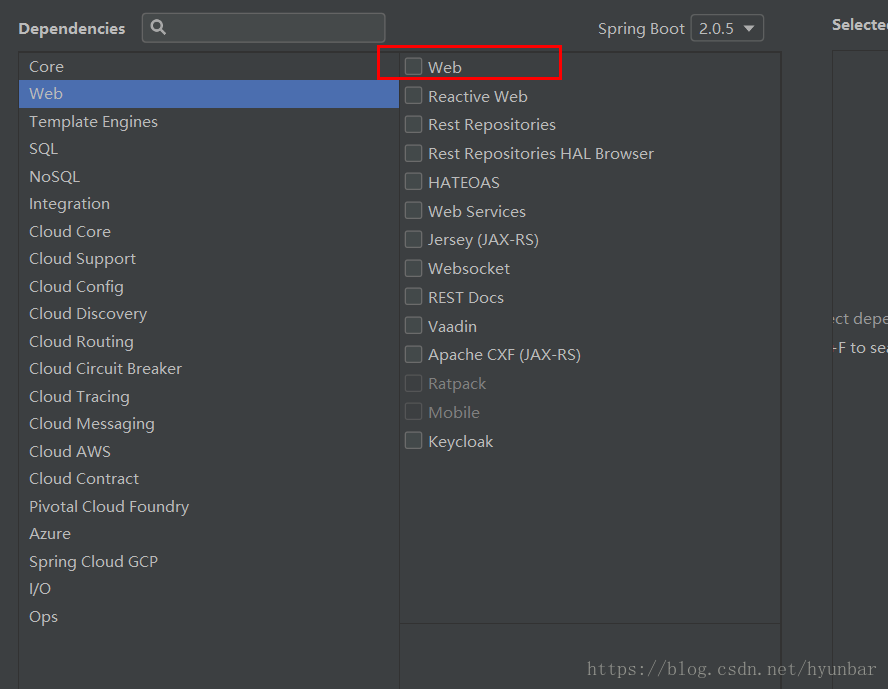
選擇web模組
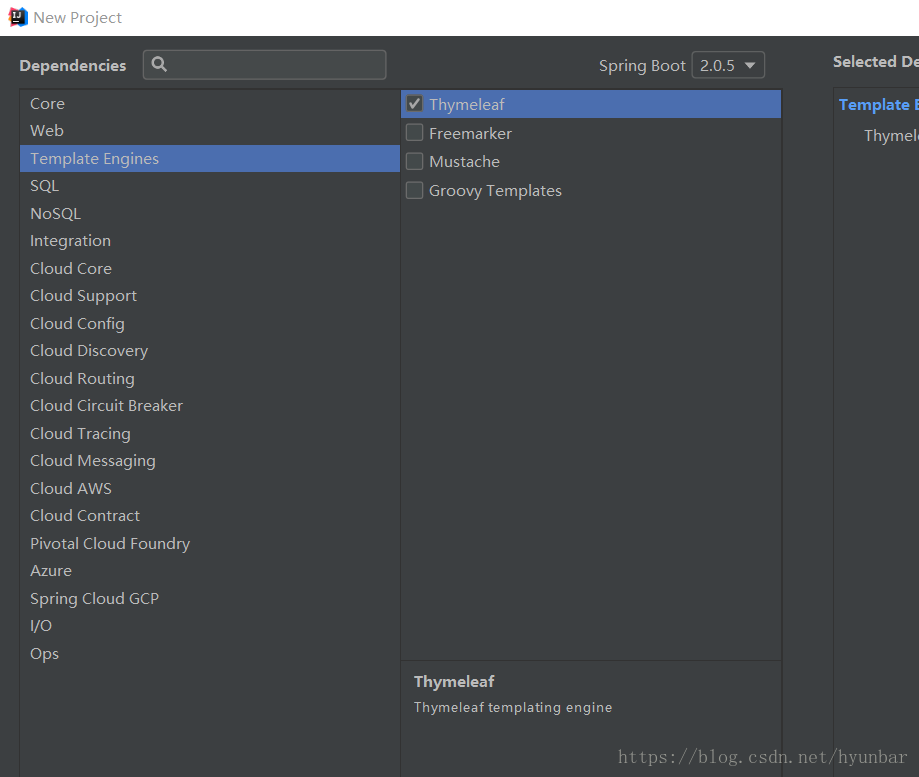
模板引擎選擇 Thymeleaf,也可以自己在pom檔案中自己引用
二、新增Jquery,和Bootstrap
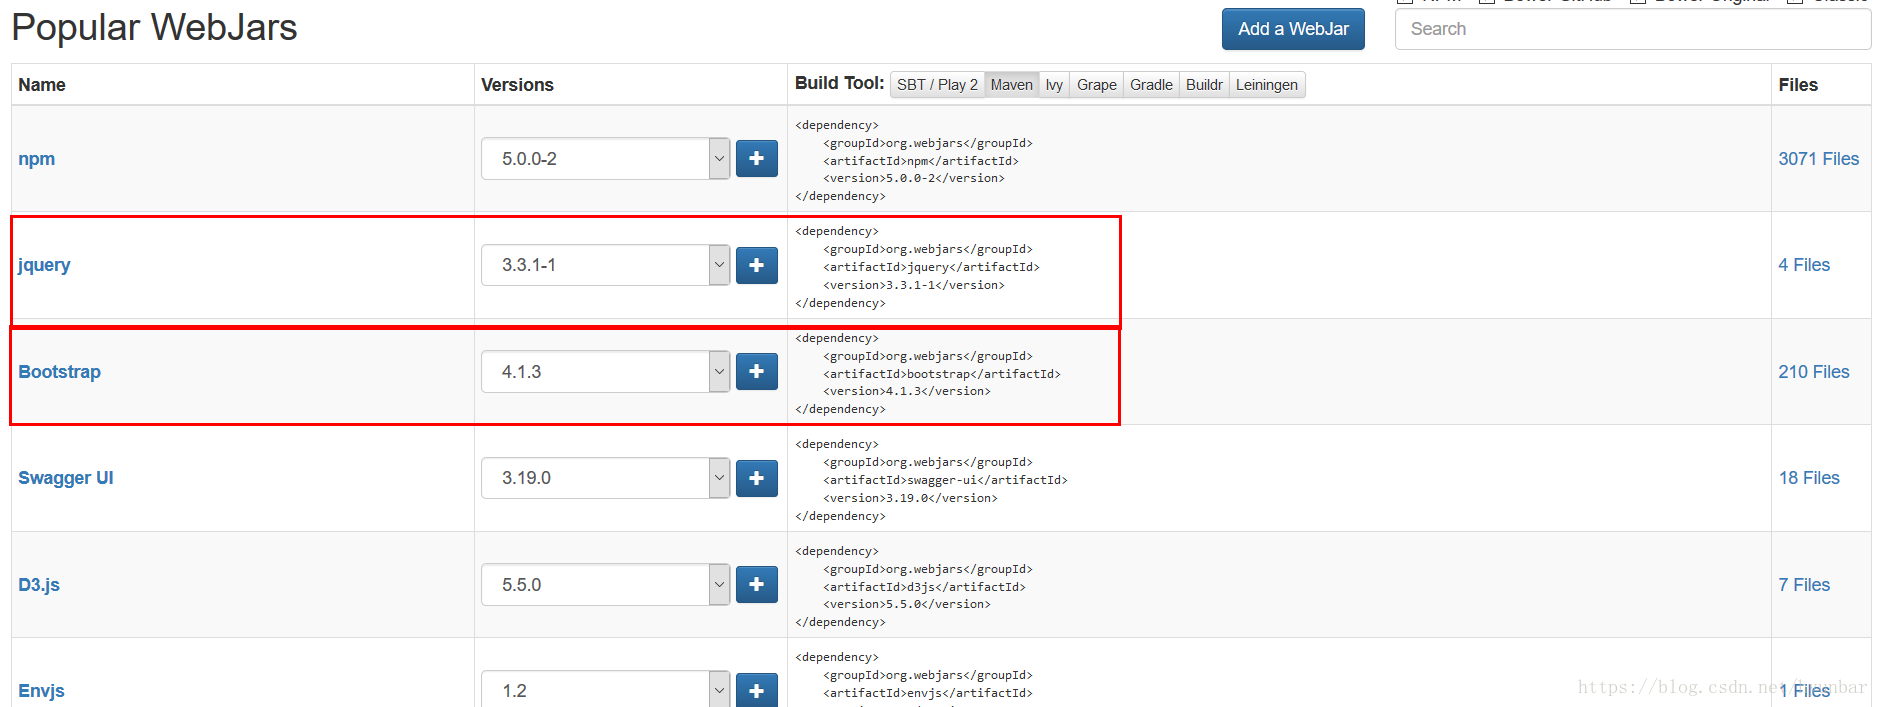
百度搜索webjar,進入官網
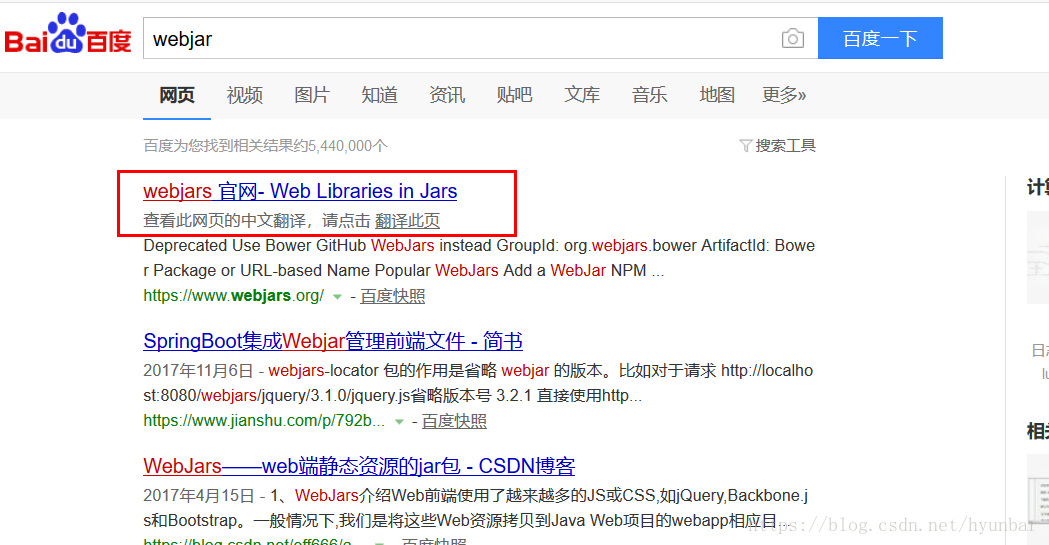
把依賴拷貝下來放在pom檔案中,當然可以選擇自己要的版本
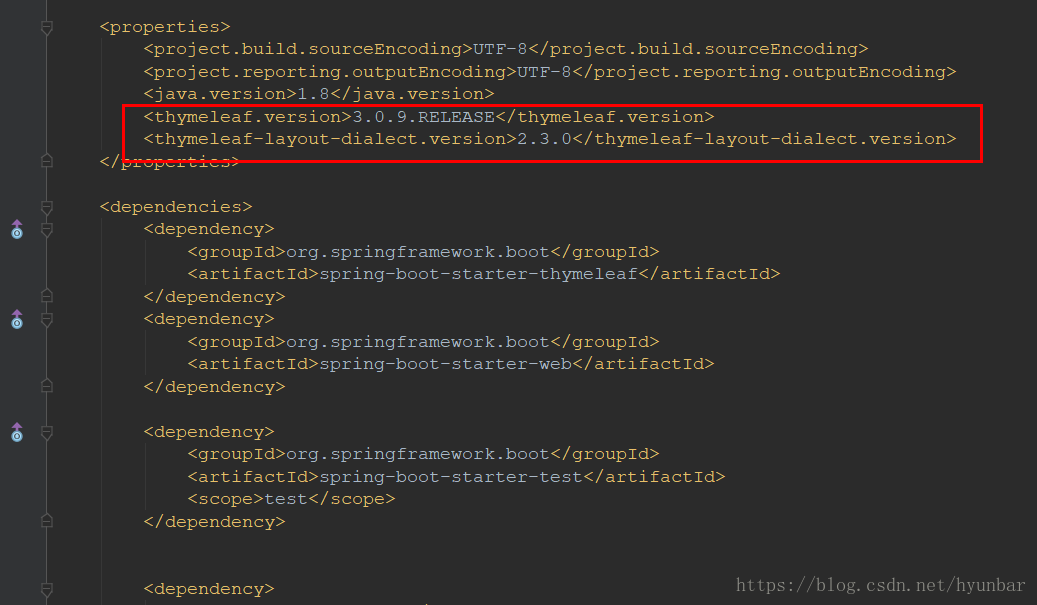
可以設定thymeleaf的版本
thymeleaf-layout是佈局的功能
thymeleaf-layout只有2.0以上的版本才支援thymeleaf 3.0
三、Java類,及修改預設配置,註冊元件
新建三個包
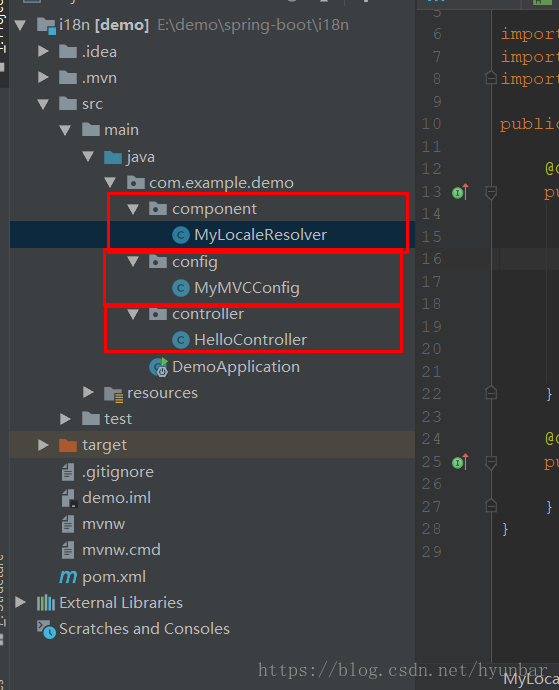
1. component包新建MyLocaleResolver類
用來重寫預設國際化設定,可以通過點選中文,Englist來轉換,而且不會受瀏覽器語言的限制
public class MyLocaleResolver implements LocaleResolver {

    @Override
    public Locale resolveLocale(HttpServletRequest httpServletRequest) {
	   //獲取我們自己傳入的引數
        String parameter = httpServletRequest.getParameter("l");
        //如果沒有傳入,就返回預設的
        Locale locale  = Locale.getDefault();
        if(!StringUtils.isEmpty(parameter)){
             String[] split = parameter.split("_");
             locale= new Locale(split[0],split[1]);
        }
        return locale;
    }

    @Override
    public void setLocale(HttpServletRequest httpServletRequest, HttpServletResponse httpServletResponse, Locale locale) {

    }
}
2. config包新建MyMVCConfig
來修改一下mvc的一些基本配置,修改登入頁的位置
@Configuration
public class MyMVCConfig extends WebMvcConfigurerAdapter {
    @Bean//將元件註冊到容器中
    public WebMvcConfigurerAdapter webMvcConfigurerAdapter(){
      WebMvcConfigurerAdapter adapter = new  WebMvcConfigurerAdapter(){

          @Override
          public void addViewControllers(ViewControllerRegistry registry){

              //瀏覽器傳送 /,/index.html最後都會到login
              registry.addViewController( "/").setViewName("login");
              registry.addViewController( "/index.html").setViewName("login");
          }
      };
      return  adapter;
    }
    //註冊我們自己寫的國際化設定
    @Bean//必須的
    public LocaleResolver localeResolver(){
        return  new MyLocaleResolver();
    }
}
3. 在controller包中新建HelloController
寫我們自己的控制器程式碼
註釋的方法 可以忽略
//此處一定是Controller,如果是RestController,或者加上@ResponseBody,只能返回文字
@Controller
public class HelloController {
//也可以在這裡寫一個方法配置login頁,不用寫2中的webMvcConfigurerAdapter
//    @RequestMapping({"/","login.html"})
//    public String login(){
//        return "Login";
//    }


    @ResponseBody
    @RequestMapping("/hello")
    public String hello(){
        return "Hello World";
    }

//    @RequestMapping("/success")
//    public String success(Model model){
//        //classpath:/templates/success.html
//        //map.put("hello","快出來");
//        model.addAttribute("hello","粗來");
//        return "success";
//    }
    @RequestMapping("/success")
    public String success(Map<String,Object> map){
        map.put("hello","原來是@RestController的問題");
        return "success";
    }
}
四、寫resources
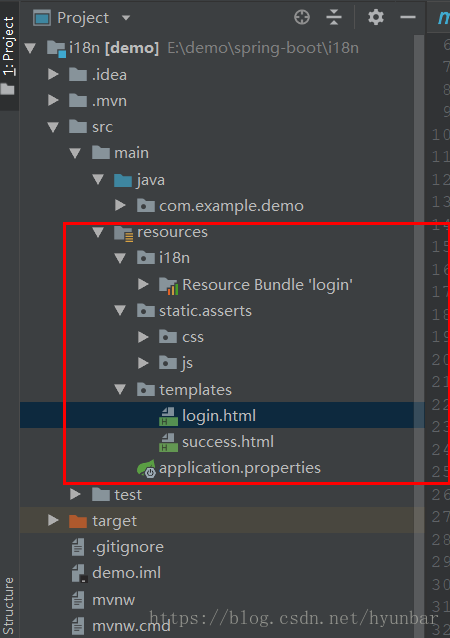
- 在static中新建asserts資料夾,把bootstrap的js和css放在裡面
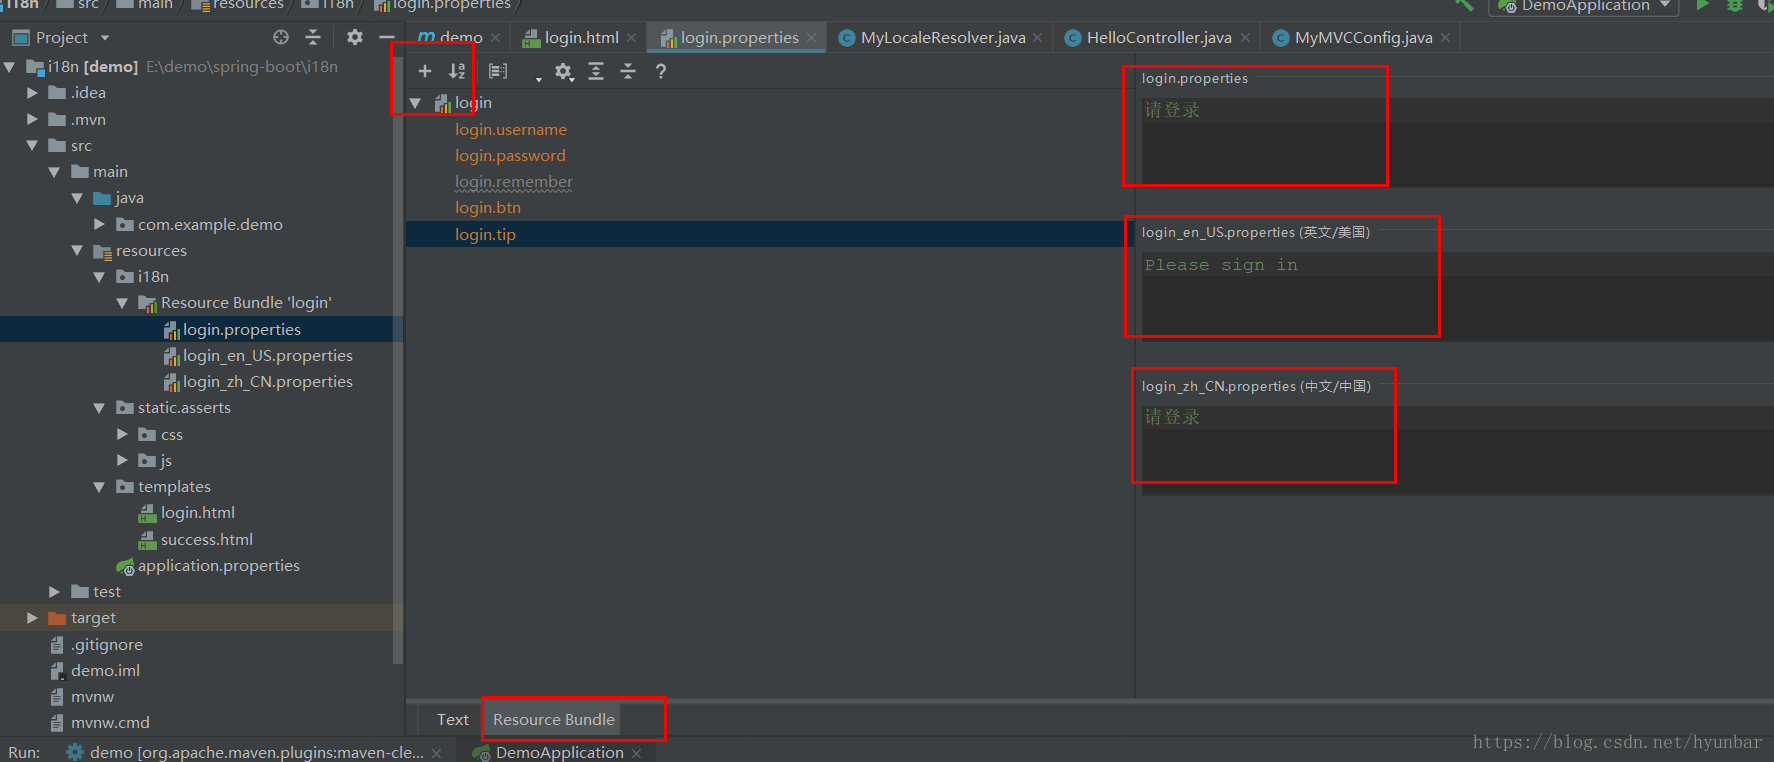
- 在i18n中新建->Resource Bundle->叫做login
新建三個properties檔案,第一個就是預設的
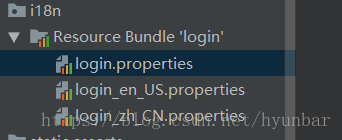
隨便選一個進去,選擇Resource Bundle,然後新建一個自己需要的,後面就會有預設,中文,英文的,自己新增OK
4. bootstrap中登陸頁面考進來
全部程式碼如下:
裡面該有的解釋都有
thymeleaf都是th:+ 屬性來設定
<!doctype html>
//引入名稱空間 可以 對thymeleaf 提示
<html lang="en" xmlns:th="http://www.thymeleaf.org">
<head>
<meta charset="utf-8">
<meta name="viewport" content="width=device-width, initial-scale=1, shrink-to-fit=no">
<meta name="description" content="">
<meta name="author" content="">
//這個我沒有弄
<link rel="icon" href="../../../../favicon.ico">
<title>Signin Template for Bootstrap</title>
<!-- Bootstrap core CSS -->
//這個在我們 引用的bootstrap外部庫裡面,從webjar開始
<link href="asserts/css/bootstrap.min.css" th:href="@{/webjars/bootstrap/4.1.3/css/bootstrap.css}" rel="stylesheet">
<!-- Custom styles for this template -->
//我們自己的登陸css
<link href="asserts/css/signin.css" th:href="@{/asserts/css/signin.css}" rel="stylesheet">
</head>
<body class="text-center">
<form class="form-signin">
<img class="mb-4" src="https://getbootstrap.com/assets/brand/bootstrap-solid.svg" alt="" width="72" height="72">
//國際化設定
<h1 class="h3 mb-3 font-weight-normal" th:text="#{login.tip}">Please sign in</h1>
//國際化設定
<label for="inputEmail" class="sr-only" th:text="#{login.username}">Email address</label>
//國際化設定
<input type="email" id="inputEmail" class="form-control" placeholder="Email address" th:placeholder="#{login.username}" required autofocus>
//國際化設定
<label for="inputPassword" class="sr-only" th:text="#{login.password}">Password</label>
//國際化設定
<input type="password" id="inputPassword" class="form-control" placeholder="Password" th:placeholder="#{login.password}" required>
<div class="checkbox mb-3">
<label>
//國際化設定
<input type="checkbox" value="remember-me" />[[#{login.remember}]]
</label>
</div>
//國際化設定
<button class="btn btn-lg btn-primary btn-block" type="submit" th:text="#{login.btn}">Sign in</button>
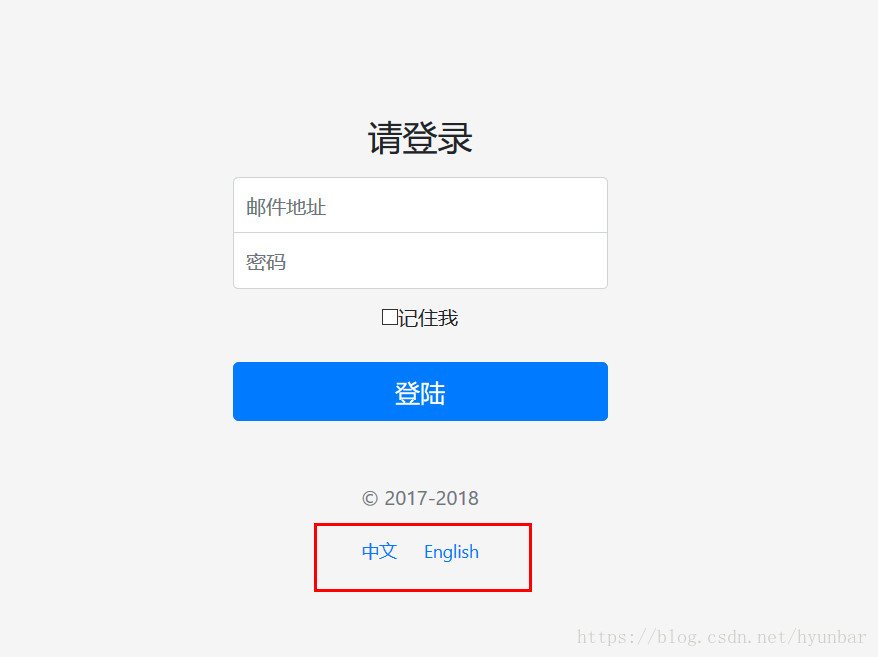
<p class="mt-5 mb-3 text-muted">© 2017-2018</p>
//當點選中文或者Englist的時,會在index.html中加上L的引數,前面在config中我們已經設定了/和/index.html都會到登陸頁面去就是login
<a class="btn btn-sm" th:href="@{/index.html(l='zh_CN')}">中文</a>
<a class="btn btn-sm" th:href="@{/index.html(l='en_US')}">English</a>
</form>
</body>
</html>
五、在application.properties檔案中加入我們寫的i18n
spring.messages.basename=i18n.login
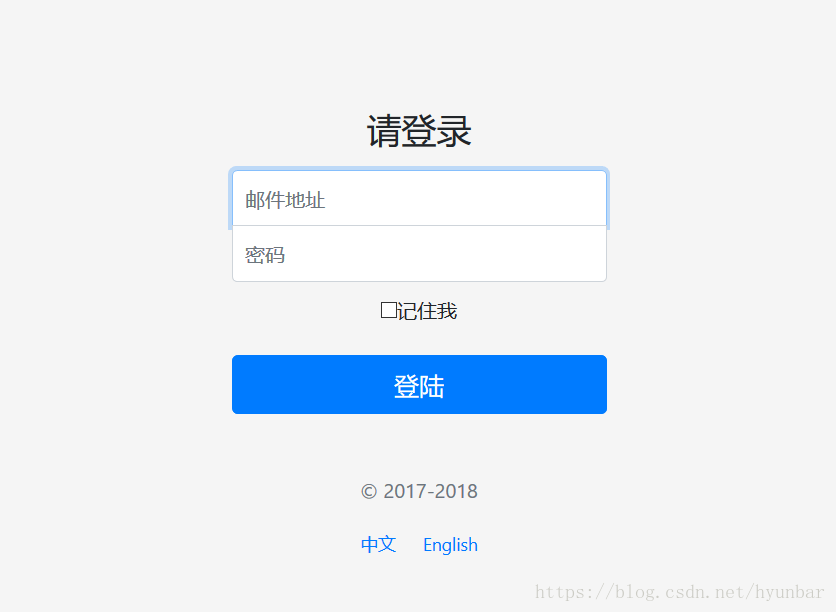
六、測試
預設是中文的,即使把瀏覽器設定為英文,還是顯示中文,
如果要跟隨瀏覽器語言,就把自己寫的MyLocaleResolver去掉,就可以根據瀏覽器語言來切換國際化
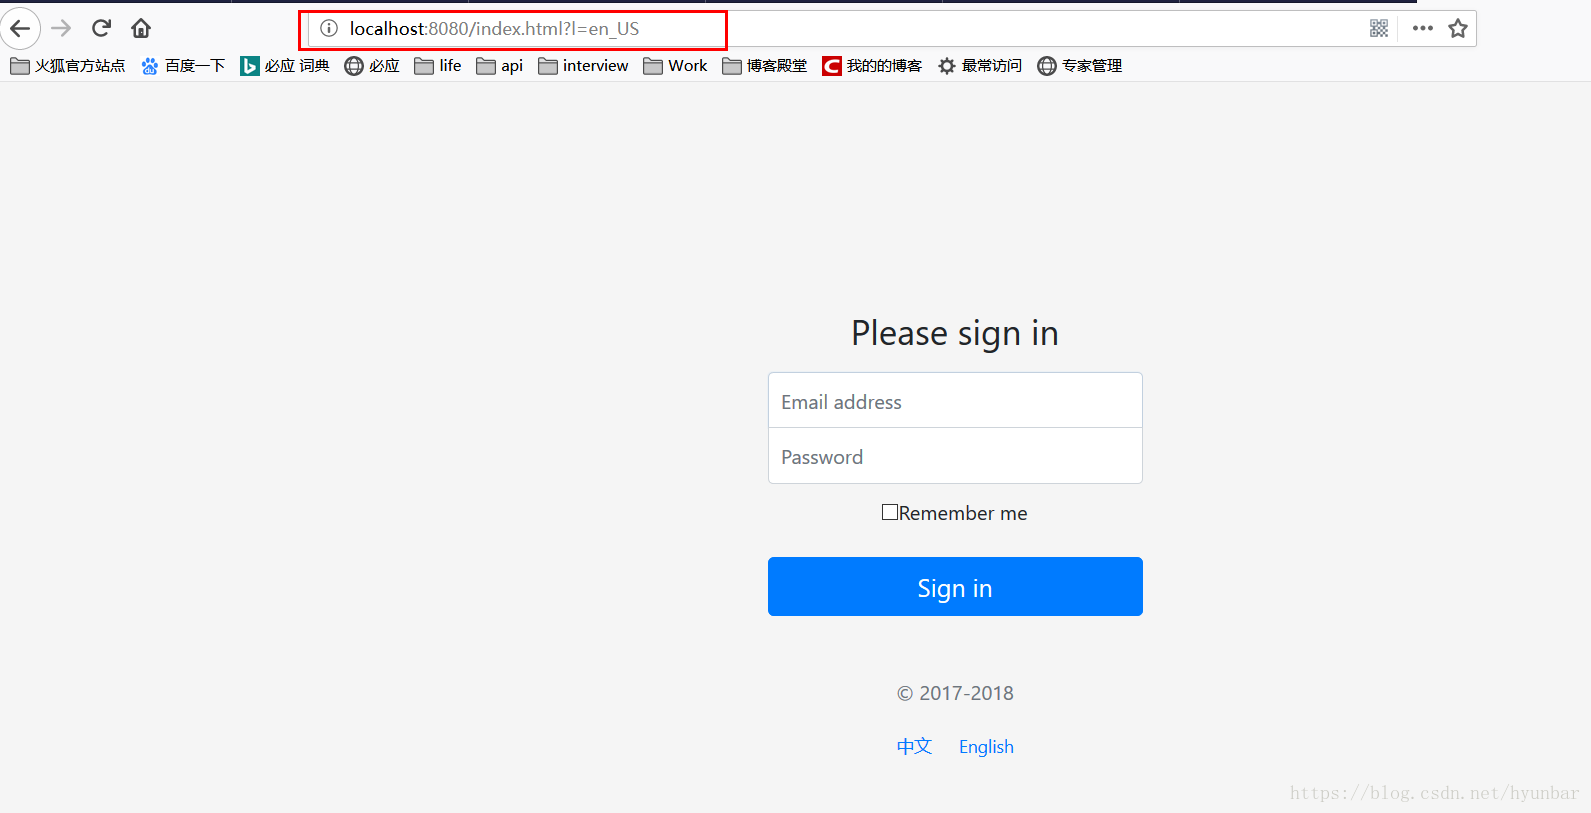
點選英文
注意我們瀏覽器地址的變化,還有那是個L
七、亂碼問題
單個專案設定,setting->後面都一樣
全域性設定,other setting-> File Encodings -> Properties Files ->選擇UTF-8把後面轉換的那個也勾上
