
Gstreamer視訊傳輸測試gst-launch(轉)
gst-inspect和gst-launch是兩個非常使用的小工具
gst-inspect 在開發時用於查詢庫各個外掛element的詳細資訊
gst-launch 用於在終端快速構建一條pipeline用於播放多媒體
-首先注意版本 我的ubuntu奇怪的安裝了兩個版本的gstreamer,而且他們的外掛不共享
- gst-launch-0.10
- gst-launch-1.0
注意 gstreamer0.10與gstreamer1.0中一些外掛的使用,有時不太一樣,用gst-inspect仔細看看
比如videotestsrc外掛
gst-0.1 video/x-raw-yuv
gst-1.0 video/x-raw
gst-launch-0.10 videotestsrc ! ‘video/x-raw-yuv, width=(int)1280, height=(int)720,format=(fourcc)I420’ ! nv_omx_h264enc ! qtmux ! filesink location=test.mp4 -e
gst-launch-1.0 videotestsrc ! ‘video/x-raw, format=(string)I420, width=(int)640, height=(int)480’ ! omxh264enc ! ‘video/x-h264, streamformat=(string)byte-stream’ ! h264parse ! qtmux ! filesink location=test.mp4 -e
攝像頭影象測試 採集影象並顯示
gst-launch-1.0 v4l2src ! xvimagesink
根據攝像頭 ,有的可能不能顯示影象
- gst-launch 構建通道
- v4l2src 採集視訊 的外掛
- xvimagesink 顯示採集影象的sink外掛ximagesink和xvimagesink 兩者都是用來x桌面用來顯示視訊影象的sink外掛,但支援的格式不同。
ximagesink支援rgb格式,不支援yuv格式;xvimagesink支援yuv等多種格式
gst-launch-0.10 videotestsrc pattern=ball ! ffmpegcolorspace ! autovideosink
顯示測試測試視訊 一個滾動的雪球
注意版本
gst-launch v4l2src device=/dev/video0 ! ffmpegcolorspace ! ximagesink
顯示video0採集的影象,並顯示出來
ffmpegcolorspace 用於顏色轉換的外掛 轉換多種顏色格式的過濾器,攝像頭裝置視訊資料通常使用YUV顏色格式,而顯示器通常使用RGB顏色格式
我們也可以通過設定一些引數來設定顯示效果如尺寸,幀率等
##gstreamer 1.0 測試 捕獲 顯示
gst-launch-1.0 v4l2src device=/dev/video0 ! video/x-raw,width=1280,height=720 - 1
- 2
gst-launch-0.10 v4l2src ! video/x-raw-yuv,width=352,height=288 ! xvimagesink- 1
gst-launch v4l2src device=/dev/video0 ! 'video/x-raw-yuv,width=320,height=240,framerate=30/1' ! ffmpegcolorspace ! ximagesink- 1
視訊採集 ! 設定尺寸320*240 幀率 30 fps ! 顏色轉換 ! 螢幕顯示
同時顯示兩路
gst-launch v4l2src device=/dev/video0 ! ‘video/x-raw-yuv,width=320,height=240,framerate=30/1’ ! ffmpegcolorspace ! ximagesink
v4l2src device=/dev/video1 ‘video/x-raw-yuv,width=320,height=240,framerate=30/1’ ! ffmpegcolorspace ! ximagesink
網路傳輸測試
1 . 先不用攝像頭,先通過系統測試影象進行測試
傳送端傳送 測試雪球的視訊
gst-launch-1.0 videotestsrc pattern=ball ! x264enc ! rtph264pay ! udpsink host=127.0.0.1 port=5600
encode a test video source to H264 – RTP傳送
可以用mNetAssist網路除錯助手 檢視地址設為127.0.0.1 port:5600 可以監聽到資料
//接收端 另開一個埠 接收視訊
gst-launch-1.0 udpsrc port=5600 caps='application/x-rtp, media=(string)video, clock-rate=(int)90000, encoding-name=(string)H264' ! rtph264depay ! avdec_h264 ! autovideosink fps-update-interval=1000 sync=false

//監聽埠5600-- 解碼 --播放視訊- 1
- 2
- 3
- 4
2 .(利用本地127.0.0.1 地址在一臺電腦上測試) 測試通過UDP網路傳送 RTP視訊流
傳送端
gst-launch-0.10 v4l2src ! video/x-raw-yuv,width=352,height=288 ! x264enc ! rtph264pay ! udpsink host=127.0.0.1 port=5600
獲取視訊–H.264編碼–傳輸
接收端
//本地地址127.0.0.1 5600埠監聽  接收視訊
gst-launch-1.0 udpsrc port=5600 caps='application/x-rtp, media=(string)video, clock-rate=(int)90000, encoding-name=(string)H264' ! rtph264depay ! avdec_h264 ! autovideosink fps-update-interval=1000 sync=false- 1
- 2
3 .(Internet網路測試 ) 測試通過UDP網路傳送 RTP視訊流
傳送端 TK1 掛載C920 攝像頭 連線路由 IP 192.168.0.10*
接收端 PC 連線校園網 IP 172.20.59.13*
//傳送端
gst-launch-0.10 v4l2src  device=/dev/video0  !  video/x-raw-yuv,width=352,height=288 !  x264enc ! rtph264pay ! udpsink host=172.20.59.13* port=5000

//注意幾個關鍵的點 video/x-raw-yuv x264enc rtph264pay- 1
- 2
- 3
- 4
//接收端
 gst-launch-1.0 udpsrc port=5000 caps='application/x-rtp, media=(string)video, clock-rate=(int)90000, encoding-name=(string)H264' ! rtph264depay ! avdec_h264 ! autovideosink fps-update-interval=1000 sync=false
- 1
- 2
- 3
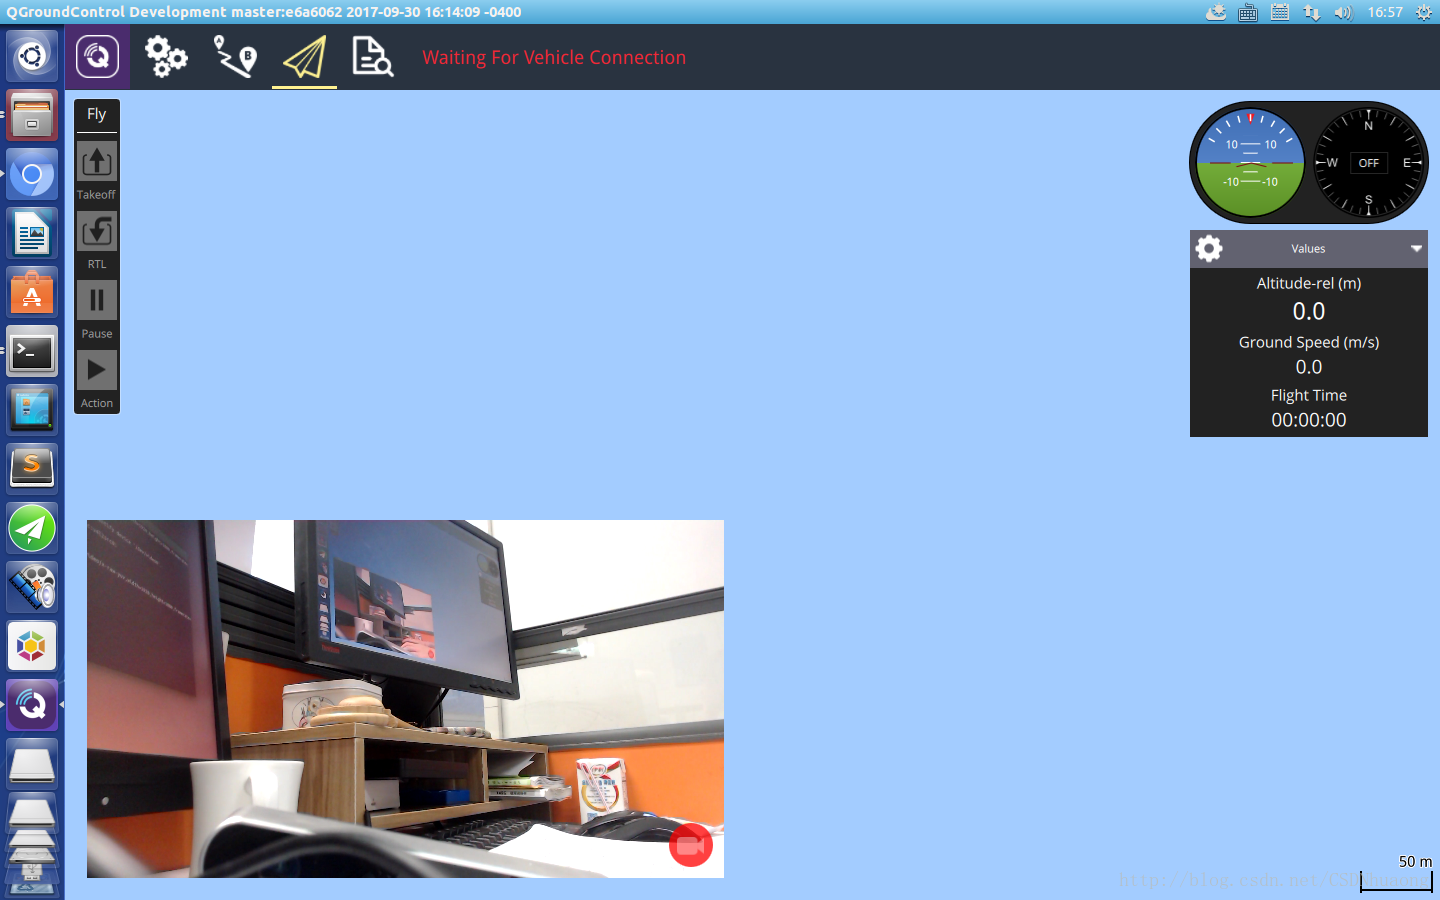
4 .(Qground 地面站視訊傳輸測試)
* 測試通過TK1採集C920 視訊,利用gstreamer 通過UDP網路傳送給 另一網路端的Qground Control 地面站 *
大前提
- TK1端 安裝gstreamer工具
- PC端 先安裝gstreamer工具軟體,然後再自己編譯Qground control
開啟Qground control station 檢視 General –> Video Source 有UDP Video source / RTSP Video source / TCP-MPEG2 Vdieo String 這樣才算編譯成功
傳送端不變
gst-launch-1.0 videotestsrc pattern=ball ! x264enc ! rtph264pay ! host=172.20.59.13* port=5000
【測試視訊 Qground 所在PC IP 埠為QGC監聽埠】
gst-launch-0.10 v4l2src device=/dev/video0 ! video/x-raw-yuv,width=352,height=288 ! x264enc ! rtph264pay ! udpsink host=172.20.59.13* port=5000
【C920採集的視訊】
接收端
開啟QGround Control 軟體 設定General Video Source 為UDP Video source 埠為5000
效果圖
具體利用gstreamer設計自已的圖傳 並整合到Qground Control地面站,請看這篇博文。
5.使用NVIDIA硬體加速
傳送端我們採用的是NVIDIA Jetson TK1,對於多媒體本身有硬體加速引擎openMAX,
NVIDIA accelerated encode
gst-launch-0.10 -e videotestsrc ! ‘video/x-raw-yuv, width=(int)640, height=(int)480, format=(fourcc)YUY2’ ! nvvidconv ! ‘video/x-nvrm-yuv, format=(fourcc)I420’ ! nv_omx_h264enc ! rtph264pay pt=96 ! udpsink host=172.20.**.25 port=5000
【測試視訊 Qground 所在PC IP 埠為QGC監聽埠】gst-launch-0.10 -e v4l2src device=”/dev/video0” ! ‘video/x-raw-yuv, width=(int)640, height=(int)480, format=(fourcc)YUY2’ ! nvvidconv ! ‘video/x-nvrm-yuv, format=(fourcc)I420’ ! nv_omx_h264enc ! rtph264pay pt=96 ! udpsink host=172.20.**.25 port=5000
【C920採集的視訊】
簡單的視訊傳輸鏈路Sample usage chain:
(發) Camera -> gstreamer --[RTP stream (UDP)]--> wifibroadcast_tx

(傳) --//--[ RADIO ]--//-->

(收) wifibroadcast_rx --[RTP stream (UDP)]--> gstreamer --> Display- 1
- 2
- 3
- 4
- 5
使用NVIDIA TX1進行gstreamer測試
//***注意 TX1 自帶一個CSI介面的camera, 如果只有一個攝像頭 預設他會掛載在 /dev/video0
//如果在使用中接入(開機後) UVC-CAMERA,那麼uav-camera會被掛載到/dev/video1
//如果在開機前就接入了UVC-CAMERA,那麼uav-camera會被掛載到/dev/video0,
//這個pipeline把test video 壓縮、儲存為檔案
gst-launch-1.0 videotestsrc ! 'video/x-raw, format=(string)I420,
width=(int)640, height=(int)480' ! omxh264enc ! 'video/x-h264, streamformat=(string)byte-stream' ! h264parse ! qtmux ! filesink location=test.mp4 -e

//omxh264enc 是nvidia開發的用於加速的element
//H.264 Encode (NVIDIA accelerated encode)

//gst-launch-0.10 沒有omxh264enc未加速
v4l2src ! 'video/x-raw, format=(string)I420,width=(int)640, height=(int)480' ! omxh264enc ! 'video/x-h264, stream-format=(string)byte-stream' ! rtph264pay ! udpsink host=192.168.0.101 port=5000

//採集UAV camera資料 壓縮儲存為檔案
gst-launch-1.0 v4l2src ! 'video/x-raw, format=(string)I420,
width=(int)640, height=(int)480' ! omxh264enc ! 'video/x-h264, streamformat=(string)byte-stream' ! h264parse ! qtmux ! filesink location=test.mp4 -e


//採集的uvc_camera資料通過rtp傳送
gst-launch-1.0 v4l2src ! 'video/x-raw, format=(string)I420,\
width=(int)640, height=(int)480' ! omxh264enc ! 'video/x-h264, stream-format=(string)byte-stream' ! rtph264pay ! udpsink host=192.168.0.101 port=5000- 1
- 2
- 3
- 4
- 5
- 6
- 7
- 8
- 9
- 10
- 11
- 12
- 13
- 14
- 15
- 16
- 17
- 18
- 19
- 20
- 21
發射端
For encode logitech c920 camera:
gst-launch-1.0 uvch264src device=/dev/video0 initial-bitrate=6000000 average-bitrate=6000000 iframe-period=1000 name=src auto-start=true \
               src.vidsrc ! queue ! video/x-h264,width=1920,height=1080,framerate=30/1 ! h264parse ! rtph264pay ! udpsink host=localhost port=5600
//wifi broadcast 方式- 1
- 2
- 3
gst-launch-1.0 v4l2src device=/dev/video0 ! video/x-h264,width=1920,height=1080,framerate=24/1 ! h264parse ! rtph264pay ! udpsink host=xxx.xxx.xxx.xxx port=5000- 1
//測試
gst-launch-1.0 u412src device=/dev/video0 initial-bitrate=6000000 average-bitrate=6000000 iframe-period=1000 name=src auto-sta rt=true \ src.vidsrc ! queue !  Video/ h264,width=1920,height=1080,framerate=30/1 ! h264parse ! rtph264pay ! udpsink host=local host port=5600


gst-launch-1.0 u412src device=/dev/video0 initial-bitrate=6000000 average-bitrate=6000000 iframe-period=1000 name=src auto-sta rt=true \ src.vidsrc ! queue ! video/x-h264,width=1920,height=1080,framerate=30/1 ! h264parse ! rtph264pay ! udpsink host=local
host port=5600- 1
- 2
- 3
- 4
- 5
- 6
接收端
To decode:
 gst-launch-1.0 udpsrc port=5600 caps='application/x-rtp, media=(string)video, clock-rate=(int)90000, encoding-name=(string)H264' \
               ! rtph264depay ! avdec_h264 ! clockoverlay valignment=bottom ! autovideosink fps-update-interval=1000 sync=false
//接收廣播- 1
- 2
- 3