
Android Studio中單元測試@Test的使用
阿新 • • 發佈:2019-02-12
如何將一個普通的函式程式設計單元測試?
只需要簡單的一個@Test註解!!!
就拿公司的智慧雲平臺示例吧!
package cn.intelvision;

import org.junit.FixMethodOrder;
import org.junit.Ignore;
import org.junit.Test;
import org.junit.runners.MethodSorters;

import java.io.File;
import java.util.List;

import cn.intelvision.model.Point;
import cn.intelvision.request.face.FaceDetectRequest;
import cn.intelvision.request.face.FaceLandmarkRequest;
import cn.intelvision.response.face.FaceDetectResponse;
import cn.intelvision.response.face.FaceLandmarkResponse;

import static org.junit.Assert.assertEquals;
import static org.junit.Assert.assertNotNull;
import static org.junit.Assert.assertTrue;


@FixMethodOrder(MethodSorters.NAME_ASCENDING)
public class FaceDetectTest extends BaseTest {

    private static String faceId;

    @Test
    public void beforeClass() throws Exception {
        super.beforeClass();
    }

    @Test
    public void test1Detect() {
        FaceDetectRequest request = new FaceDetectRequest();
        //String path = FaceDetectTest.class.getClassLoader().getResource(".").getPath();
        String path = "D:\\";
        File file = new File(path, "test.jpg");
        System.out.println(file.getAbsolutePath());
        assertTrue("image is not exists.", file.exists());
        request.setImg(file);
        String tag = "jordan";
        request.setTag(tag);

        System.out.println(zenoClient);
        assertNotNull(zenoClient);

        FaceDetectResponse response = zenoClient.execute(request);
        assertNotNull(response.getImageId());
        assertEquals(16, response.getImageId().length());
        assertEquals(tag, response.getTag());
        assertNotNull(response.getFaces().get(0).getFaceId());
        assertEquals(16, response.getFaces().get(0).getFaceId().length());
        faceId = response.getFaces().get(0).getFaceId();
        System.out.println("獲取到人臉:" + faceId);
    }

    @Test
    public void test2Landmark() {
        FaceLandmarkRequest landmarkRequest = new FaceLandmarkRequest();
        landmarkRequest.setFaceId(faceId);
        FaceLandmarkResponse landmarkResponse = zenoClient.execute(landmarkRequest);
        List<Point> points = landmarkResponse.getPoints();
        assertEquals(7, points.size());
        for(int i=0; i<points.size(); ++i){
            Point pt = points.get(i);
            System.out.println( "(" + pt.getX() + "," + pt.getY() + ")" );
        }
    }
}
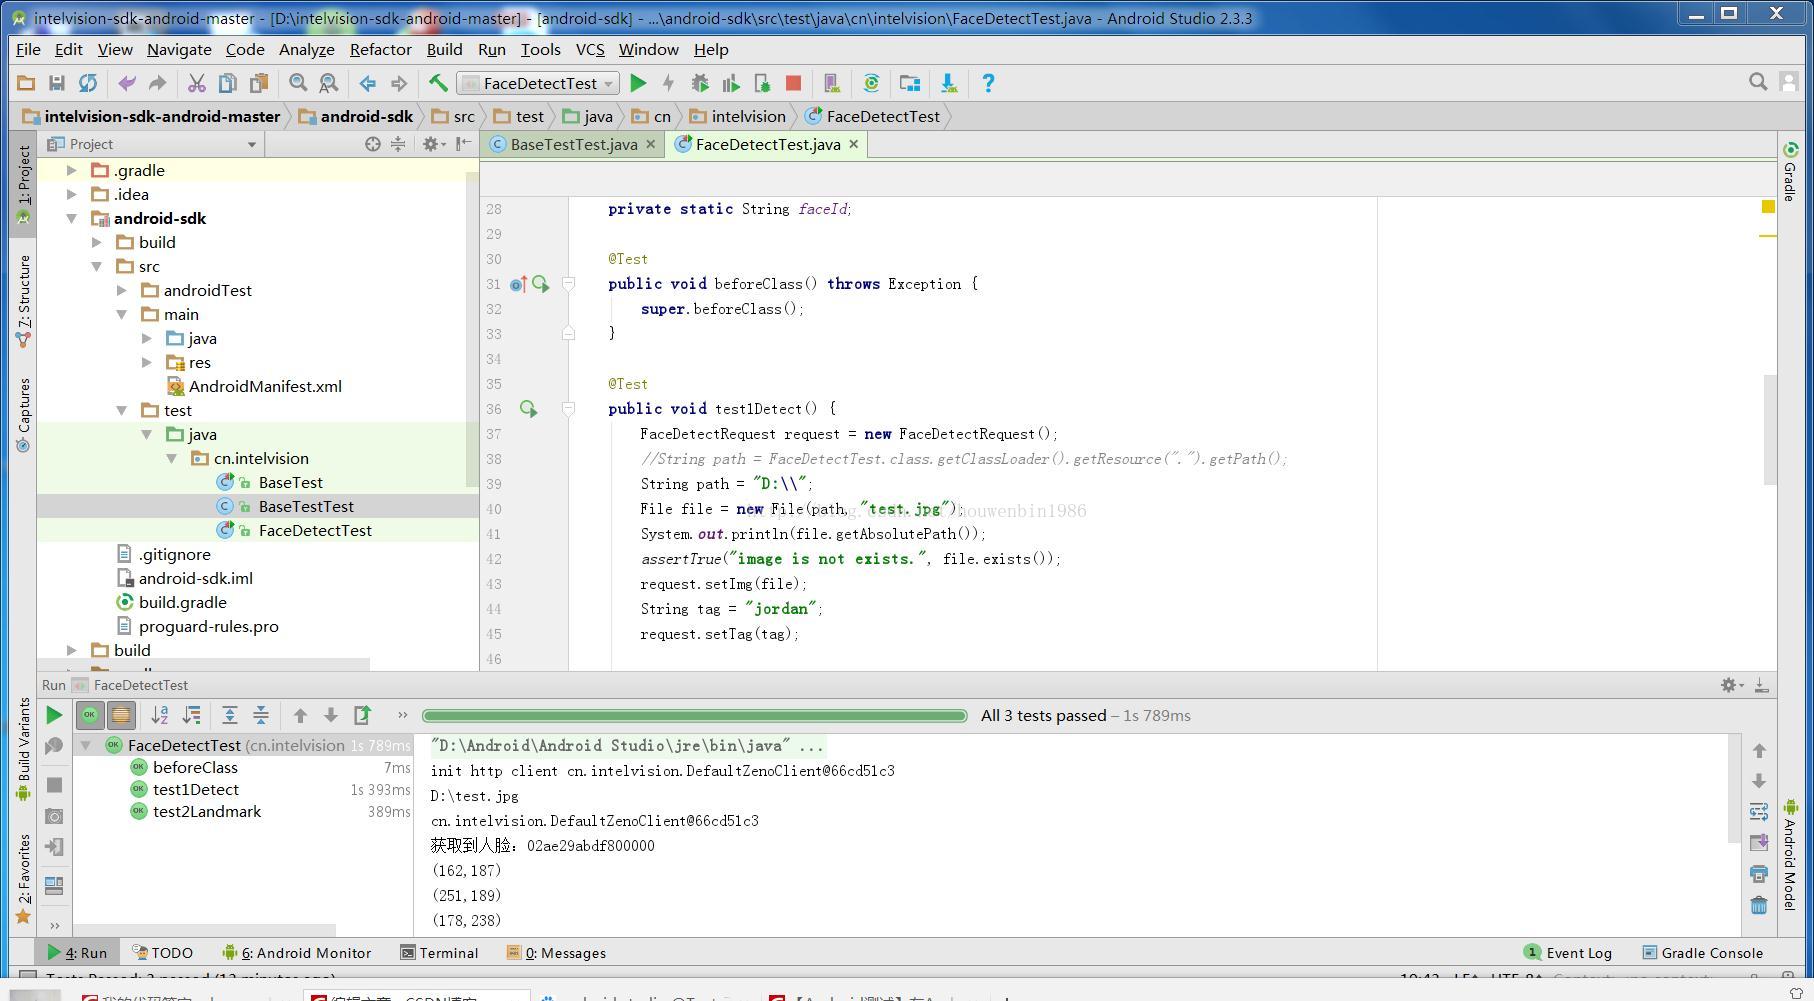
從圖中我們可知,添加了@Test的就變成了雙向箭頭,右鍵和Run/Debug Configuration就可以操作了!!!