
android 使用字型圖示(Icon Font)
阿新 • • 發佈:2019-02-12
介紹
字型圖示是指將圖示做成字型檔案(.ttf),從而代替傳統的png等圖示資源。
使用字型圖示的優點和缺點分別為:
優點:
1. 可以高度自定義圖示的樣式(包括大小和顏色),對於個人開發者尤其適用
2. 可以減少專案和安裝包的大小(特別你的專案中有很多圖片icon時,效果將是M級)
3. 幾乎可以忽略螢幕大小和解析度,做到更好的適配
4. 使用簡單
……
缺點:
1. 只能是一些簡單的icon,不能代替如背景圖、9圖等資源
2. 一些需要文字說明的icon,圖片資源將會是更好的選擇
3. 對設計的要求更高,不同icon可能擁有不同的邊距,這時要切換icon時還要設定大小
4. 由於邊距的存在可能存在無法填滿控制元件的情況
5. 無法在android studio中進行實時預覽
……
字型圖示對大部分專案來說都是一種更好的選擇
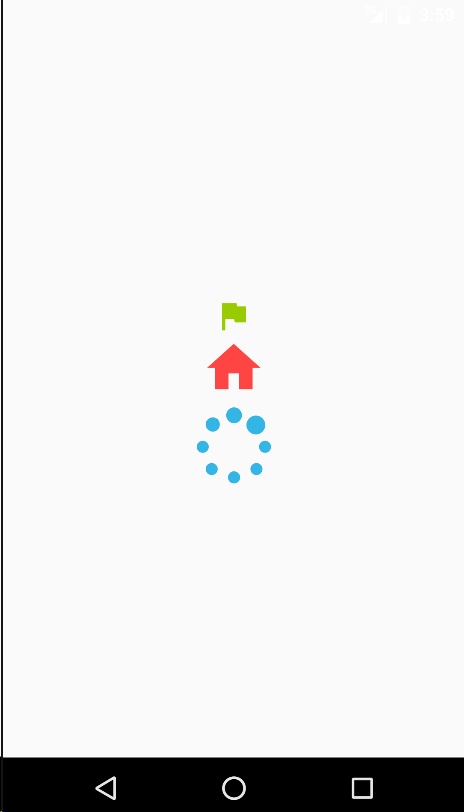
演示
使用
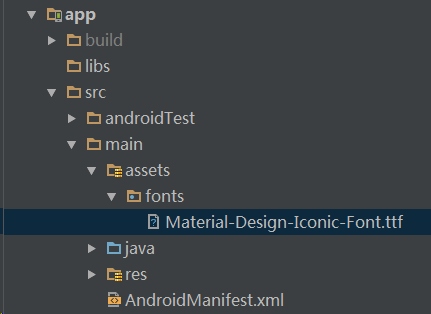
1. 將字型檔案匯入專案中
直接將字型檔案(.ttf)放入assets中
2.在application中初始化TypeFace
注意:android的介面渲染只有16.7ms,在渲染時才載入字型明顯是不明智的選擇,會造成明顯的卡頓,其中最明顯的表現在activity的跳轉會造成較長的時間的延遲。
public class BaseApplication extends Application {
private static BaseApplication instance;
public 記得在AndroidManifest.xml中配置你的application
3. 繼承文字框,自定義圖示控制元件
只需要給圖示控制元件載入application中載入的字型圖示
public class IconView extends TextView {
    public IconView(Context context) {
        super(context);
        init();
    }
    public IconView(Context context, AttributeSet attrs) {
        super(context, attrs);
        init();
    }
    public IconView(Context context, AttributeSet attrs, int defStyleAttr) {
        super(context, attrs, defStyleAttr);
        init();
    }
    private void init() {
//        設定字型圖示
        this.setTypeface(BaseApplication.getInstance().getIconTypeFace());
    }
}
4.在strings中定義各圖示的unicode編碼(使用\u字首)
例如:
    <string name="icon_spniner">\uf3ec</string>
    <string name="icon_flag">\uf162</string>
    <string name="icon_home">\uf175</string>
注意:圖示的unicode編碼由設計師給出,一般在提供字型圖示的網站上也可找到對應的unicode編碼
5.直接在佈局中使用
<?xml version="1.0" encoding="utf-8"?>
<LinearLayout
    xmlns:android="http://schemas.android.com/apk/res/android"
    android:layout_width="match_parent"
    android:layout_height="match_parent"
    android:gravity="center"
    android:orientation="vertical">
    <com.mrw.iconfonttest.IconView
        android:layout_width="wrap_content"
        android:layout_height="wrap_content"
        android:textColor="@android:color/holo_green_light"
        android:textSize="30sp"
        android:text="@string/icon_flag"
        />
    <com.mrw.iconfonttest.IconView
        android:layout_width="wrap_content"
        android:layout_height="wrap_content"
        android:textColor="@android:color/holo_red_light"
        android:textSize="50sp"
        android:text="@string/icon_home"
        />
    <com.mrw.iconfonttest.IconView
        android:layout_width="wrap_content"
        android:layout_height="wrap_content"
        android:textColor="@android:color/holo_blue_light"
        android:textSize="70sp"
        android:text="@string/icon_spniner"
        />
</LinearLayout>
6.執行便可看到文章開頭處的演示頁面