red5 與tomcat整合配置 簡單入門例項
這裡不再介紹什麼是red5了,直接寫配置。
我用的是red5 0.8版,首先從網上下載兩個檔案:red5-war-0.8.0.zip 和 setup-Red5-0.8.0.exe,將red5-war-0.8.0.zip 解壓,得到root.war,
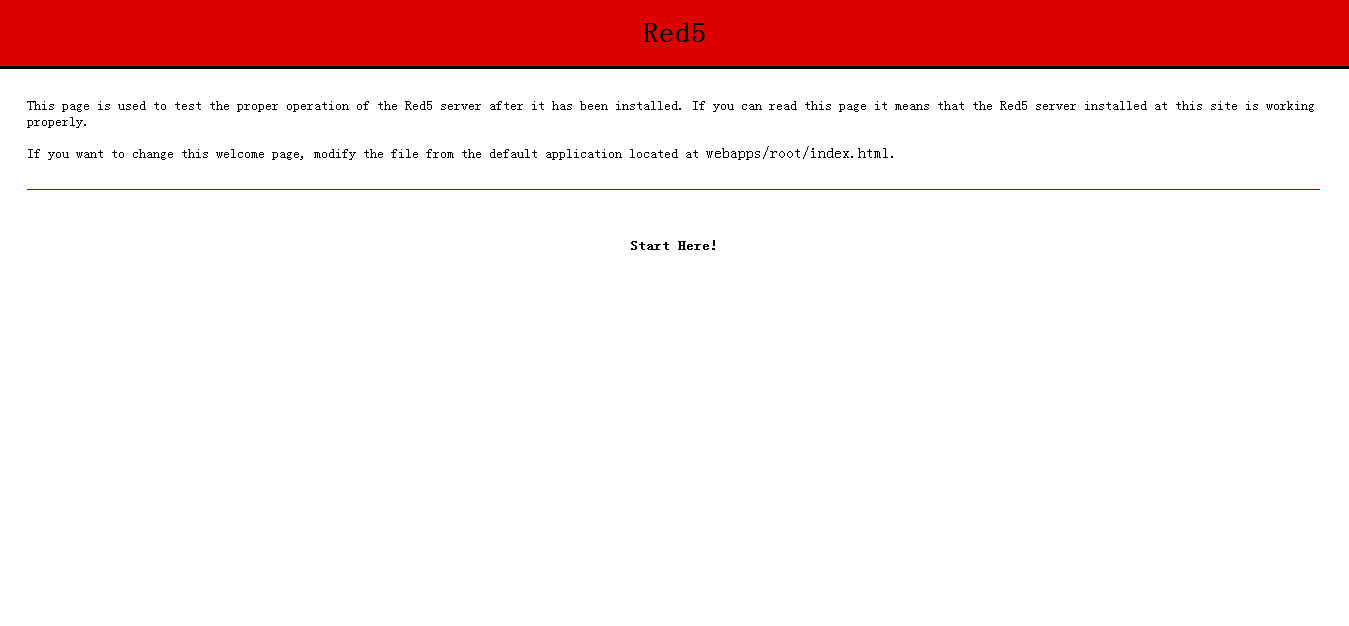
1.將root.war複製到tomcat安裝目錄下的webapps,解壓到root資料夾,替換原來的root資料夾,啟動tomcat,得到red5的測試頁面,red5整合到tomcat完成。
2.安裝 setup-Red5-0.8.0.exe.
3.下面來編寫red5的測試專案。
4.新建Web專案HelloRed5(我是將集成了red5的tomcat配到Myeclipse,在Myeclipse編寫專案
此時,我們專案目錄為:
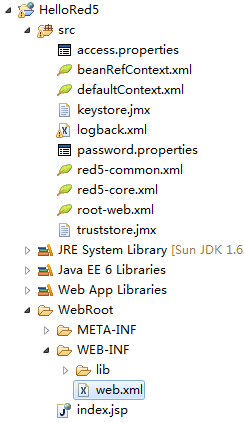
5.然後我們編寫後臺的測試類:
package red5.example.red5server;

import org.red5.server.adapter.ApplicationAdapter;
import org.red5.server.api.IConnection;

public class Application extends ApplicationAdapter {
	public boolean appConnect(IConnection conn, Object[] args) {
		System.out.println(" 連線");
		return true;
	}

	public String change(String str) {
		System.out.println(" 客戶端呼叫伺服器");
		return str.toUpperCase();// 傳入的字串轉換成大寫後返回
	}
}
5.下面我們來修改配置,使專案能成為一個red5的專案釋出。
首先,將web.xml中的
<context-param>
		<param-name>webAppRootKey</param-name>
		<param-value>/</param-value>
	</context-param>
修改為
6.在src目錄下新建一個HelloRed5-web.xml(HelloRed5為專案名),內容為<context-param> <param-name>webAppRootKey</param-name> <param-value>/HelloRed5</param-value> <!-- HelloRed5 為專案名 --> </context-param>
<?xml version="1.0" encoding="UTF-8"?>
<!DOCTYPE beans PUBLIC "-//SPRING//DTD BEAN//EN" "http://www.springframework.org/dtd/spring-beans.dtd">
<beans>

    <bean id="web.context.red5Server" class="org.red5.server.Context">
        <property name="scopeResolver" ref="red5.scopeResolver" />
        <property name="clientRegistry" ref="global.clientRegistry" />
        <property name="serviceInvoker" ref="global.serviceInvoker" />
        <property name="mappingStrategy" ref="global.mappingStrategy" />
    </bean>

   <bean id="web.scope" class="org.red5.server.WebScope"
        init-method="register">
        <property name="server" ref="red5.server" />
        <property name="parent" ref="global.scope" />
         <property name="context" ref="web.context.red5Server" />
        <property name="handler" ref="web.handler.red5Server" />
        <property name="contextPath" value="/HelloRed5" />   <!-- HelloRed5為專案名 -->
       <property name="virtualHosts"
            value="*,localhost, localhost:8080, 127.0.0.1:8080" />
    </bean>

    <bean id="web.handler.red5Server"
       class="red5.example.red5server.Application"/>  <!-- 此處配置的就是前面編寫的測試類 -->
</beans>
然後到root-web.xml中刪除以下內容:
	<bean id="web.scope" class="org.red5.server.WebScope" init-method="register">
		<property name="server" ref="red5.server" />
		<property name="parent" ref="global.scope" />
		<property name="context" ref="web.context" />
		<property name="handler" ref="global.handler" />
		<property name="contextPath" value="/" />
		<property name="virtualHosts" value="*,localhost, localhost:8080, 127.0.0.1:8080" />
</bean>7.到re5-core.xml中找到
	<!-- RTMP Mina Transport -->
	<bean id="rtmpTransport" class="org.red5.server.net.rtmp.RTMPMinaTransport" init-method="start" destroy-method="stop">
		<property name="ioHandler" ref="rtmpMinaIoHandler" />
        <property name="connectors">
            <list>
                <bean class="java.net.InetSocketAddress">
                    <constructor-arg index="0" type="java.lang.String" value="0.0.0.0" />
                    <constructor-arg index="1" type="int" value="1935" />
                </bean>
                <!-- You can now add additional ports and ip addresses
                <bean class="java.net.InetSocketAddress">
                    <constructor-arg index="0" type="java.lang.String" value="0.0.0.0" />
                    <constructor-arg index="1" type="int" value="1936" />
                </bean>
                 -->
            </list>
        </property>
		<property name="receiveBufferSize" value="65536" />
		<property name="sendBufferSize" value="271360" />
		<property name="eventThreadsCore" value="4" />
		<property name="eventThreadsMax" value="8" />
		<property name="eventThreadsQueue" value="-1 " />
		<property name="eventThreadsKeepalive" value="60" />
		<!-- This is the interval at which the sessions are polled for stats. If mina monitoring is not
				enabled, polling will not occur. -->
		<property name="jmxPollInterval" value="1000" />
		<property name="tcpNoDelay" value="true" />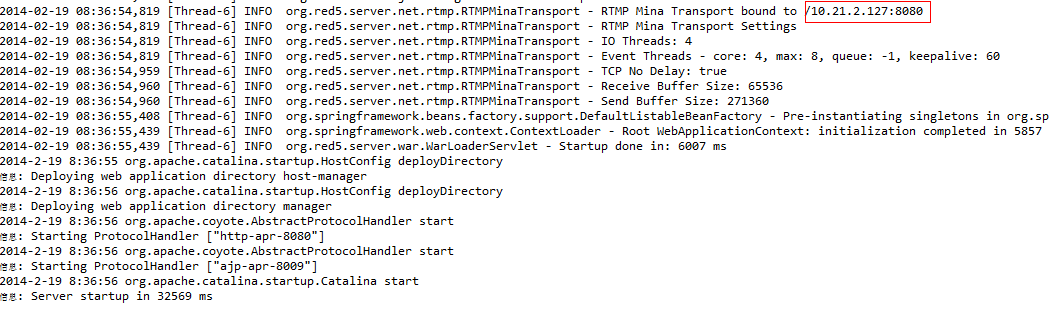
</bean>將其中<constructor-arg index="0" type="java.lang.String" value="0.0.0.0" /> 中的value改為你電腦的IP地址,將其中 <constructor-arg index="1" type="int" value="1935" /> 中的value改為8080,如我的IP地址為10.21.2.127,則我將其修改為:
	<!-- RTMP Mina Transport -->
	<bean id="rtmpTransport" class="org.red5.server.net.rtmp.RTMPMinaTransport" init-method="start" destroy-method="stop">
		<property name="ioHandler" ref="rtmpMinaIoHandler" />
        <property name="connectors">
            <list>
                <bean class="java.net.InetSocketAddress">
                    <constructor-arg index="0" type="java.lang.String" value="10.21.2.127" />
                    <constructor-arg index="1" type="int" value="8080" />
                </bean>
                <!-- You can now add additional ports and ip addresses
                <bean class="java.net.InetSocketAddress">
                    <constructor-arg index="0" type="java.lang.String" value="0.0.0.0" />
                    <constructor-arg index="1" type="int" value="1936" />
                </bean>
                 -->
            </list>
        </property>
		<property name="receiveBufferSize" value="65536" />
		<property name="sendBufferSize" value="271360" />
		<property name="eventThreadsCore" value="4" />
		<property name="eventThreadsMax" value="8" />
		<property name="eventThreadsQueue" value="-1 " />
		<property name="eventThreadsKeepalive" value="60" />
		<!-- This is the interval at which the sessions are polled for stats. If mina monitoring is not
				enabled, polling will not occur. -->
		<property name="jmxPollInterval" value="1000" />
		<property name="tcpNoDelay" value="true" />
	</bean>
8.將專案釋出到tomcat中,如果啟動成功,看到如下提示,則快成功了
9.接著我們編寫客戶端,新建一個flex專案,內容為:
<?xml version="1.0" encoding="utf-8"?>
<mx:Application xmlns:mx="http://www.adobe.com/2006/mxml" layout="absolute"
fontSize="12" backgroundGradientAlphas="[1.0, 1.0]"
backgroundGradientColors="[#FDF9F9, #FDF9F9]" width="442" height="344" creationComplete="init()">
<mx:Script>
<![CDATA[
import mx.controls.Alert;
private var rtmpURL:String="rtmp://10.21.2.127:8080/HelloRed5";
private var conn:NetConnection=new NetConnection();
private var isConnectSuccess:Boolean=false;
/**
* 初始化時,連線到red5
*/
private function init():void{
conn.addEventListener(NetStatusEvent.NET_STATUS,netStatus); //netStatus為回撥函式
conn.connect(rtmpURL);
}
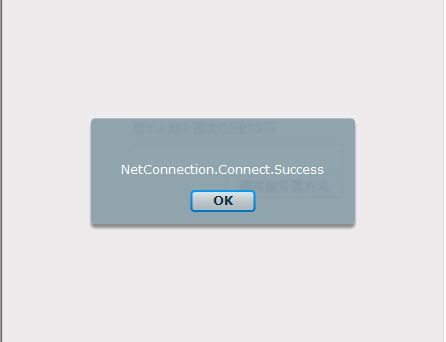
private function netStatus(e:NetStatusEvent):void{
Alert.show(e.info.code);
if(e.info.code=="NetConnection.Connect.Success"){
isConnectSuccess=true;
}
}
private function click(e:MouseEvent):void{
if(!isConnectSuccess){
Alert.show("還沒連線到伺服器");
}
else{
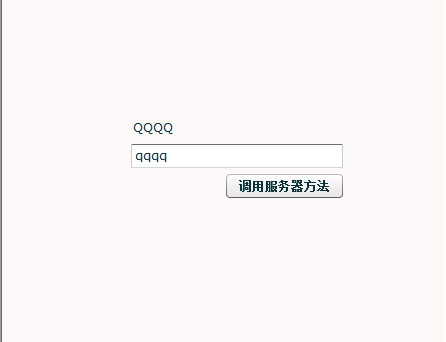
conn.call("change",new Responder(resultFun),str.text);//change 是伺服器端方法名稱,Responder包括對應的處理函式
}
}
private function resultFun(object:String):void{
trace(object);
result.text=object.toString();
}
]]>
</mx:Script>
<mx:Label x="129" y="119" text="顯示從伺服器端返回的字元" id="result" width="160" fontSize="12"/>
<mx:TextInput x="129" y="145" id="str" width="212"/>
<mx:Button x="224" y="175" label="呼叫伺服器方法" click="this.click(event)"/>
</mx:Application>執行後看到以下效果,則成功了: