
工作心得(二)——如何將Nexus本地倉庫和Maven結合起來
這篇文章承接上一篇文章,接下來講如何將Nexus本地倉庫和Maven結合起來,實現maven去本地倉庫中獲取jar包,而不是去中央倉庫;實現將自己的jar包釋出到本地倉庫中,本文只介紹如何搭建這樣的環境,並不講解這種環境的適用範圍。
---------------------------------------------------------------------------------------------------------------------------------------------
1.maven的安裝
1).下載maven
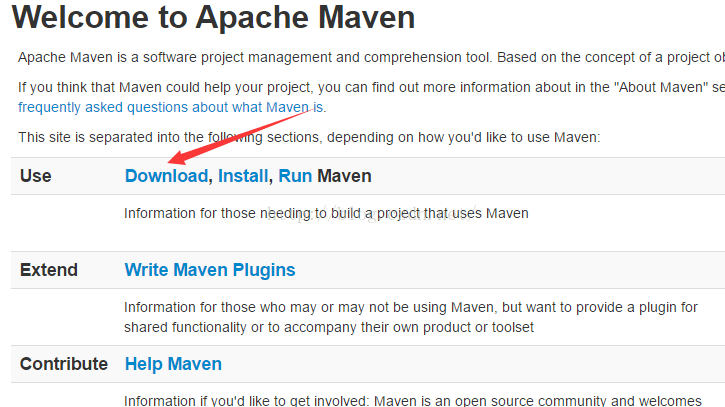
訪問maven官網:http://maven.apache.org/
3.3.9版本。
2).解壓下載的apache-maven-3.3.9-bin.zip,得到apache-maven-3.3.9檔案。
3).配置maven的環境變數
a).新增一個變數M2_HOME 變數的值就是解壓出來的apache-maven-3.3.9的路徑.
b).在新增一個變數M2 變數的值就是%M2_HOME%\bin。
c).在path環境變數中增加:%M2%;
d).在命令提示行中輸入mvn -v 驗證環境變數是否配置成功.
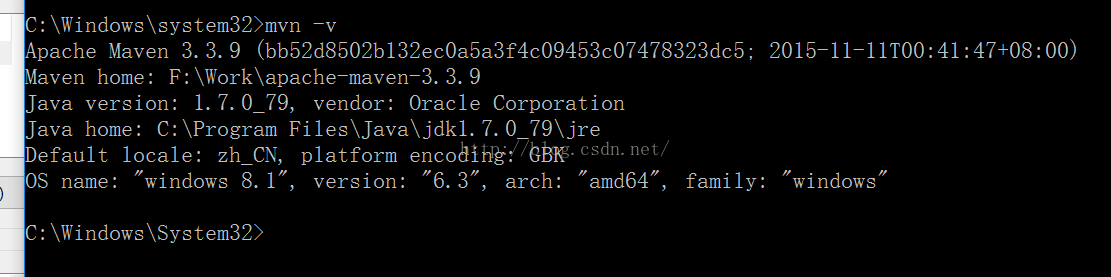
看到上圖的結果表示配置成功。
4).配置maven
apache-maven-3.3.9\conf\settings.xml的配置如下:
2.nexus的配置(前一篇文章已經講述如何安裝nexus)<?xml version="1.0" encoding="UTF-8"?> <settings xmlns="http://maven.apache.org/SETTINGS/1.0.0" xmlns:xsi="http://www.w3.org/2001/XMLSchema-instance" xsi:schemaLocation="http://maven.apache.org/SETTINGS/1.0.0 http://maven.apache.org/xsd/settings-1.0.0.xsd"> <!-- localRepository | The path to the local repository maven will use to store artifacts. | | Default: ${user.home}/.m2/repository --> <!-- 這裡表示本地引用的mavenjar包的路徑,從倉庫上下載的jar包會儲存在這個路徑 --> <localRepository>F:/Work/.m2/repository</localRepository> <pluginGroups> </pluginGroups> <proxies> </proxies> <!-- 這裡配置的是nexus倉庫的賬號密碼資訊 這裡的ID要跟專案中的pom檔案中的配置一致 --> <servers> <server> <id>releases</id> <username>admin</username> <password>admin123 </password> </server> <server> <id>snapshots</id> <username>admin</username> <password>admin123</password> </server> </servers> <!-- 這裡是nexus倉庫的地址 --> <mirrors> <mirror> <!--This is used to direct the public snapshots repo in the profile below over to a different nexus group --> <id>nexus-public-snapshots</id> <mirrorOf>public-snapshots</mirrorOf> <url>http://localhost:8081/nexus/content/groups/public-snapshots</url> </mirror> <mirror> <!--This sends everything else to /public --> <id>nexus</id> <mirrorOf>*</mirrorOf> <url>http://localhost:8081/nexus/content/groups/public</url> </mirror> </mirrors> <profiles> <profile> <id>development</id> <repositories> <repository> <id>central</id> <url>http://central</url> <releases><enabled>true</enabled></releases> <snapshots><enabled>true</enabled></snapshots> </repository> </repositories> <pluginRepositories> <pluginRepository> <id>central</id> <url>http://central</url> <releases><enabled>true</enabled></releases> <snapshots><enabled>true</enabled></snapshots> </pluginRepository> </pluginRepositories> </profile> <profile> <!--this profile will allow snapshots to be searched when activated--> <id>public-snapshots</id> <repositories> <repository> <id>public-snapshots</id> <url>http://public-snapshots</url> <releases><enabled>false</enabled></releases> <snapshots><enabled>true</enabled></snapshots> </repository> </repositories> <pluginRepositories> <pluginRepository> <id>public-snapshots</id> <url>http://public-snapshots</url> <releases><enabled>false</enabled></releases> <snapshots><enabled>true</enabled></snapshots> </pluginRepository> </pluginRepositories> </profile> <profile> <id>jdk-1.7</id> <activation> <activeByDefault>true</activeByDefault> <jdk>1.7</jdk> </activation> <properties> <maven.compiler.source>1.7</maven.compiler.source> <maven.compiler.target>1.7</maven.compiler.target> <maven.compiler.compilerVersion>1.7</maven.compiler.compilerVersion> </properties> </profile> </profiles> <activeProfiles> <activeProfile>development</activeProfile> </activeProfiles> </settings>
訪問 http://localhost:8081/nexus/ 然後點選右上角登陸 初始賬號密碼就是我們上面配置的那個(不是因為配置那個才是這個賬號密碼,而是因為是這個賬號密碼才配置成那樣) admin/admin123.
然後點選左邊的Repositories 在單擊 Central 在下面的標籤中 點選 Configuration
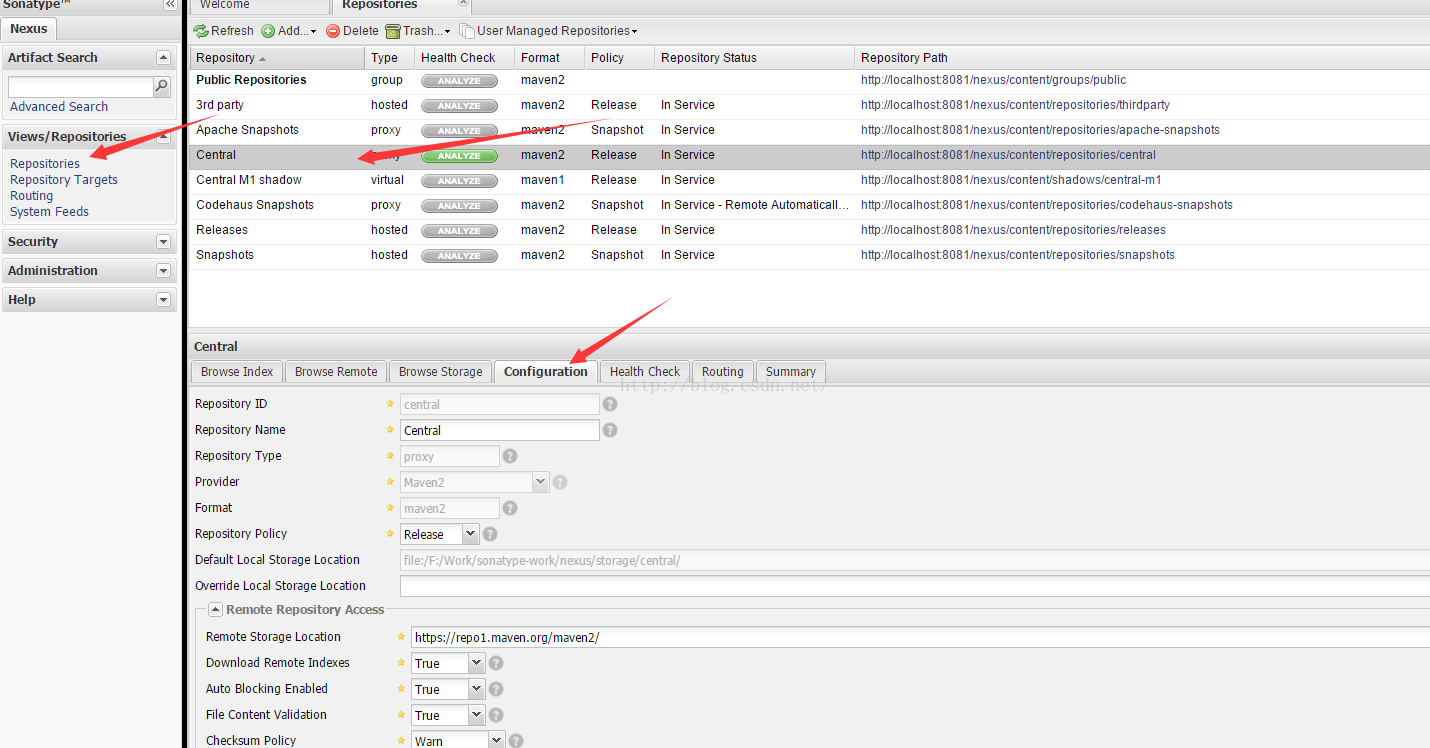
Default Local Storage Location:表示預設的倉庫儲存路徑,這裡儲存了jar包,如果想修改目錄則Override Local Storage Location 輸入框中輸入自定義的目錄。
Download Remote Indexes:設定為ture,表示從中央倉庫去下載索引。
然後右鍵點選 Central repair index(親身試驗,這種方式更新中央倉庫的索引,非常慢,所以還是按照下面的方法來吧).
手動更新索引:
nexus-maven-repository-index.gz
nexus-maven-repository-index.properties
將這三個檔案放到同一個目錄,然後執行在命令列進入這個目錄,執行如下命令:
java -jar indexer-cli-5.1.1.jar -u nexus-maven-repository-index.gz -d indexer
這個過程需要幾分鐘,稍後則會得到一個indexer目錄,大概700多M,將裡面的檔案複製到sonatype-work\nexus\indexer\central-ctx(nexus的工作空間目錄,參考前一篇文章,複製前刪掉本目錄內的檔案)。
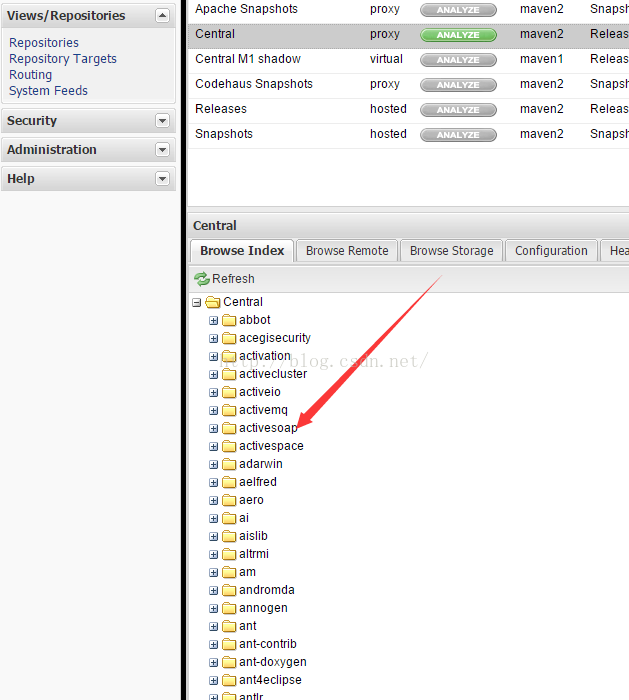
然後再進入nexus頁面,就可以看到索引已經更新成功:
3.驗證maven和nexus是否配置成功
在命令列輸入 mvn help:system 看到build success 則表示配置成功。
4.eclipse的配置
1).首先開啟eclipse選單 windows>preferences>maven
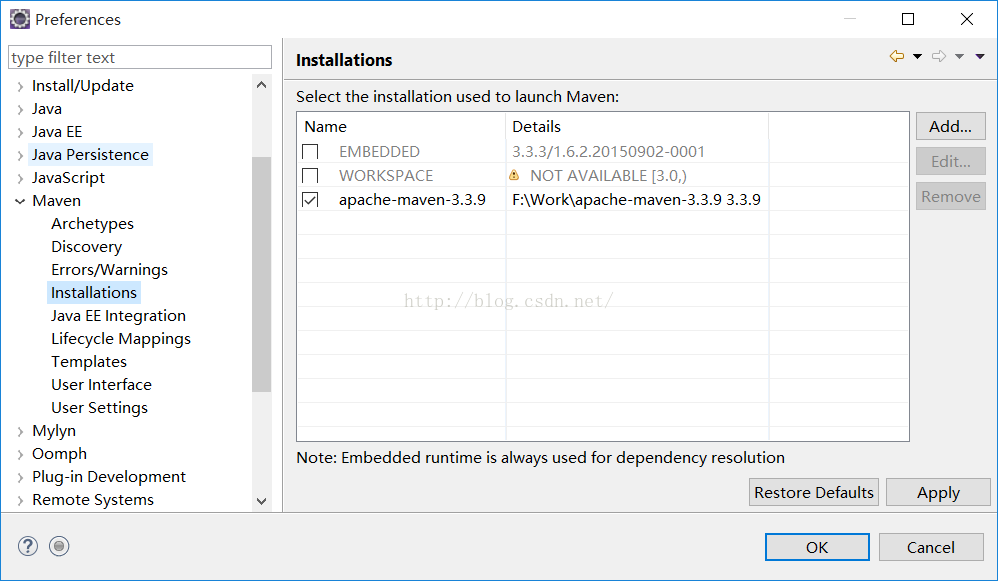
點選add>directory 選擇我們的maven目錄.然後點選finish,在上面介面選擇我們新增的maven.
點選user settings 將其中的setting目錄配置成我們的maven中的settings目錄。
4.建立maven專案
1).新建一個maven專案
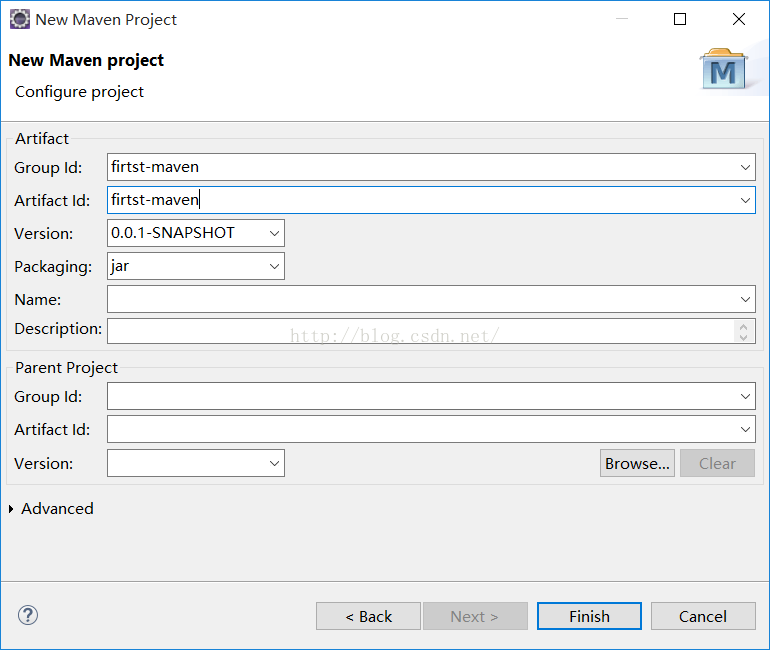
2).pom.xml檔案配置如下
 <build>
		<plugins>
			<!-- 編譯外掛 -->
			<plugin>
				<groupId>org.apache.maven.plugins</groupId>
				<artifactId>maven-compiler-plugin</artifactId>
				<version>3.1</version>
				<configuration>
					<source>1.7</source>
					<target>1.7</target>
					<encoding>${project.build.sourceEncoding}</encoding>
				</configuration>
			</plugin>
			<plugin>
				<groupId>org.apache.maven.plugins</groupId>
				<artifactId>maven-resources-plugin</artifactId>
				<version>2.6</version>
				<configuration>
					<encoding>${project.build.sourceEncoding}</encoding>
				</configuration>
			</plugin>
			<!-- 原始碼外掛 -->
			<plugin>
				<artifactId>maven-source-plugin</artifactId>
				<version>2.4</version>
				<configuration>
					<attach>true</attach>
				</configuration>
				<executions>
					<execution>
						<phase>package</phase>
						<goals>
							<goal>jar-no-fork</goal>
						</goals>
					</execution>
				</executions>
			</plugin>
			<!-- 單元測試外掛 -->
			<plugin>
				<groupId>org.apache.maven.plugins</groupId>
				<artifactId>maven-surefire-plugin</artifactId>
				<version>2.9</version>
				<configuration>
					<skip>true</skip>
				</configuration>
			</plugin>
			<plugin>
				<!-- 釋出外掛 -->
				<groupId>org.apache.maven.plugins</groupId>
				<artifactId>maven-deploy-plugin</artifactId>
				<version>2.5</version>
			</plugin>
			<plugin>
				<!-- 打包外掛 -->
				<groupId>org.apache.maven.plugins</groupId>
				<artifactId>maven-jar-plugin</artifactId>
				<version>2.3.1</version>
			</plugin>
			<plugin>
				<!-- 安裝外掛 -->
				<groupId>org.apache.maven.plugins</groupId>
				<artifactId>maven-install-plugin</artifactId>
				<version>2.3.1</version>
			</plugin>

		</plugins>
	</build>
	<!-- 這裡的id配置同maven settings中的server裡的id相對應 -->
	<distributionManagement>
		<repository>
			<id>releases</id>
			<name>Nexus Release Repository</name>
			<url>http://localhost:8081/nexus/content/repositories/releases/</url>
		</repository>
		<snapshotRepository>
			<id>snapshots</id>
			<name>Nexus Snapshot Repository</name>
			<url>http://localhost:8081/nexus/content/repositories/snapshots/</url>
		</snapshotRepository>
	</distributionManagement>
然後右鍵專案,run as>maven install 看到build success 表示該專案可以正常構建.
3).將專案釋出到nexus倉庫上
開啟命令提示行視窗,進入該專案的路徑

輸入mvn deploy 則可以把該專案釋出到nexus上,釋出到nexus上之後,其他專案就可以引入這個專案到maven中
如果發現build 失敗,可以 mvn deploy -X 檢視詳細構建過程以及錯誤資訊。
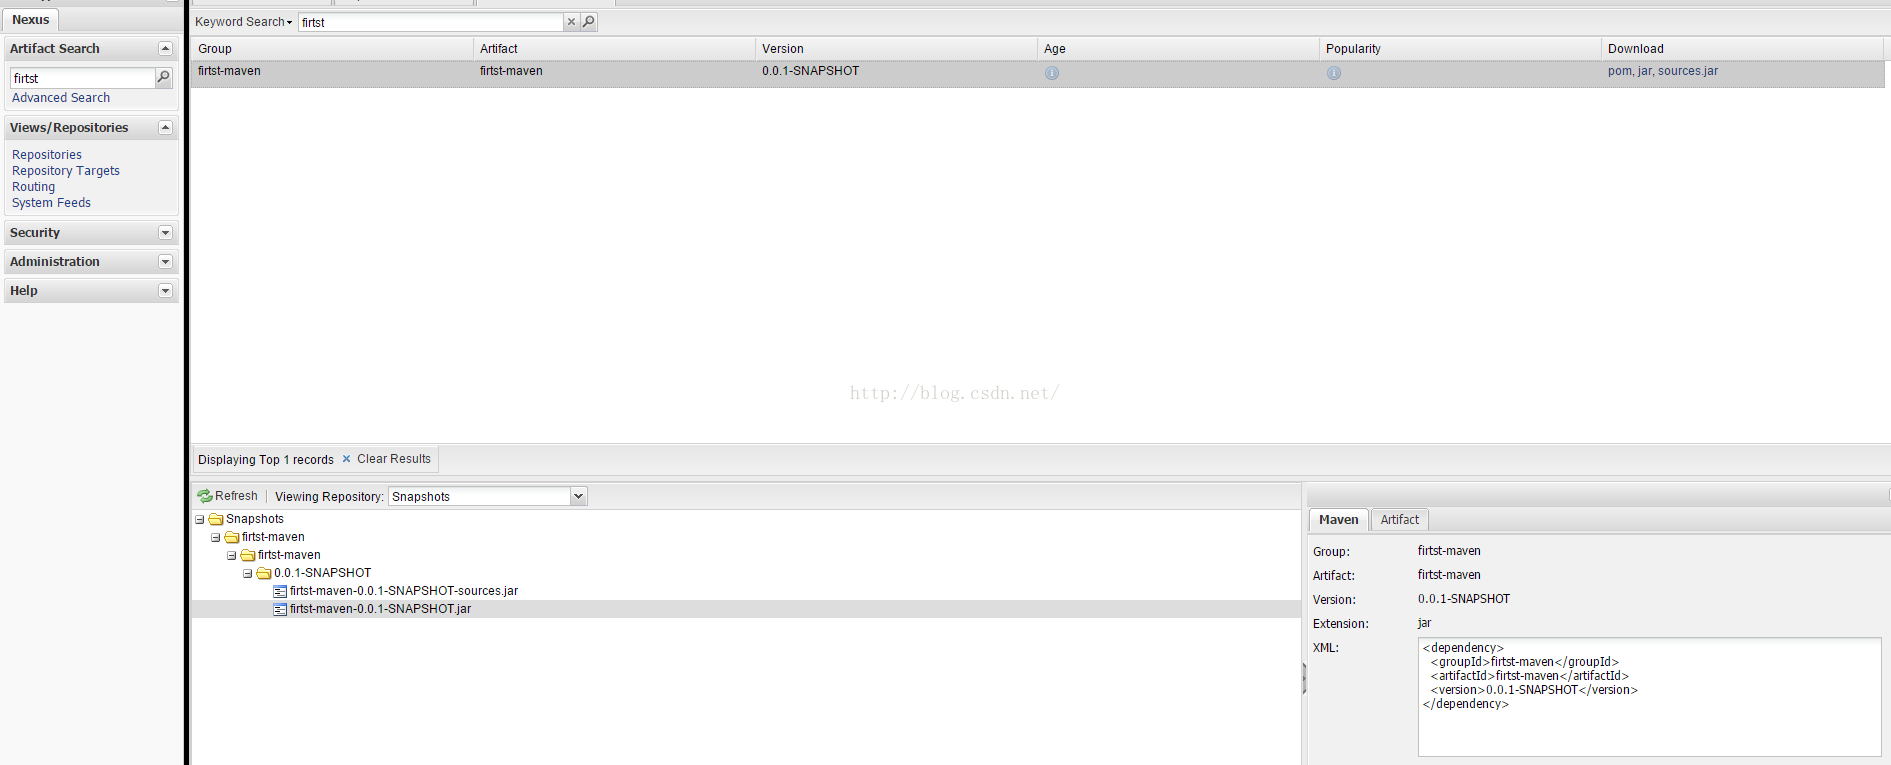
右下角的資訊表示在pom檔案中插入這些內容就可以引入到這個jar包。
文章有點流水化,不過也都是我一步步操作的,如果有什麼不明白的地方歡迎留言。