
iOS【開發熱門遊戲_超級猜圖Demo】
阿新 • • 發佈:2019-02-14
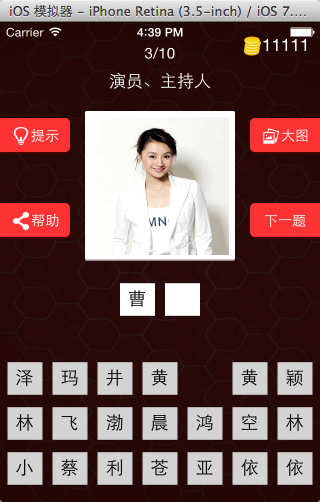
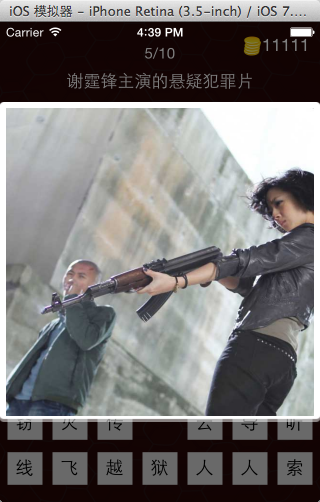
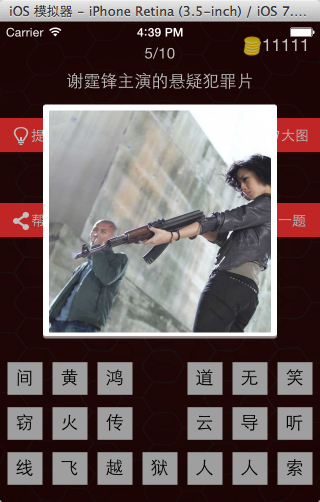
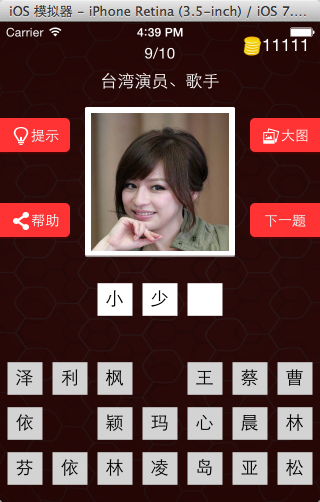
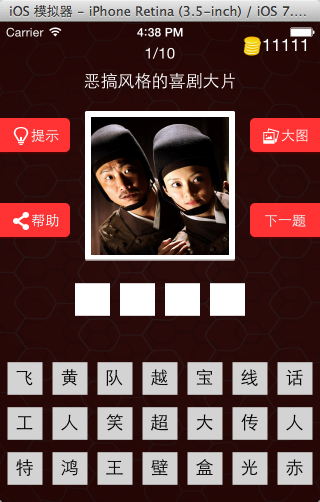
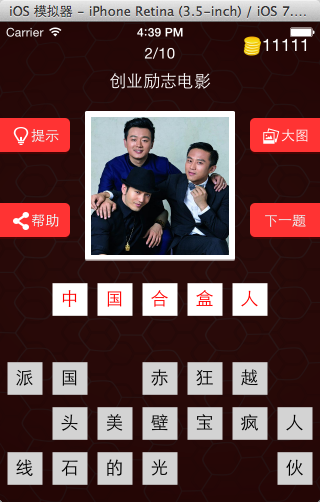
先看效果圖
思路
需求分析
1,搭建介面
1》上半部分,固定的,用Storyboard直接連線(OK)
2》下半部分,根據題目的變化,不斷變化和調整,用程式碼方式實現比較合適(OK)
*備選按鈕區域(OK)
*答案按鈕區域(OK)
2,編寫程式碼
1》大圖,小圖的切換(OK)
2》下一題(OK)
3》備選按鈕的點選,讓文字進入答案區(Ok)
4》判斷對錯勝負(OK)
*勝利:進入下一題(OK)
*失敗:提示使用者重新選擇(OK)
5》答案按鈕的點選(OK)
把答案區的文字回覆到備選區域(Ok)
程式碼
//
// NYViewController.m
// 01-超級猜圖遊戲 字典的程式碼
//
//  NYQuestion.h
//  01-超級猜圖遊戲
//
//  Created by apple on 15-3-21.
//  Copyright (c) 2015年 znycat. All rights reserved.
//

#import <Foundation/Foundation.h>

@interface NYQuestion : NSObject
@property (nonatomic, copy) NSString *answer;
@property (nonatomic, copy) NSString *icon;
@property (nonatomic, copy) NSString *title;
@property (nonatomic, strong) NSArray *options;

-(instancetype)initWithDict:(NSDictionary *)dict;
+(instancetype)questionWithDick:(NSDictionary *)dict;

/**
 *返回所有題目陣列
 */
+(NSArray *)questions;

/**打亂備選文字的陣列*/
-(void)randomOptions;
@end

//
//  NYQuestion.m
//  01-超級猜圖遊戲
//
//  Created by apple on 15-3-21.
//  Copyright (c) 2015年 znycat. All rights reserved.
//

#import "NYQuestion.h"


@implementation NYQuestion

//相當於構造方法(用NSDictionary 字典構造)
-(instancetype)initWithDict:(NSDictionary *)dict
{
    self = [super init];
    if (self) {
        [self setValuesForKeysWithDictionary:dict];
        //讓模型打亂資料
        [self randomOptions];
    }
    return self;
}

//提供類方法來呼叫initWithDict:dict方法,方便呼叫
+(instancetype)questionWithDick:(NSDictionary *)dict
{
    return [[self alloc]initWithDict:dict];


}

/**
 *返回所有題目陣列
 */
+(NSArray *)questions
{
    //array中是檔案中的字典陣列
    NSArray *array = [[NSArray alloc] initWithContentsOfFile:[[NSBundle mainBundle] pathForResource:@"questions.plist" ofType:nil]];
    //初始化一個可以新增的陣列為了存放模型資料
    NSMutableArray *arrayM = [NSMutableArray array];
    for (NSDictionary *dict in array) {
        [arrayM addObject:[self questionWithDick:dict]];
    }


    return arrayM;
}

-(void)randomOptions
{
    //對options做亂序
    self.options = [self.options sortedArrayUsingComparator:^NSComparisonResult(NSString *str1, NSString *str2) {
        int seed = arc4random_uniform(2);
        if (seed) {
            return [str1 compare:str2];
        }else
        {
            return [str2 compare:str1];
        }

    }];
}

@end
上面是全部程式碼,
學習過程首先自己拖介面上半部分,需求裡面寫的很清楚了,
註釋當中寫的相當清楚,每個mark都間隔出來了部分的功能,因為是學習寫的程式碼,所以註釋寫的很全,應該可以看懂。
完成佈局後就開始寫模型字典了。這裡就用到了mvc設計模式,當然這個遊戲中主要用到的時mc view方面並不是那麼多,主要是對設計邏輯的學習與體現。
然後就按照需求來設計學習編寫啦。