
Elasticsearch系列(三)----Elasticsearch5.5.1與外掛安裝
一、下載原始碼
Elasticsearch官網地址:https://www.elastic.co/cn/ ,網上的教程用得比較多是2.x版本的,直到 2016-12 推出了5.x 版本 ,將版本號調為 5.X ,這是為了和Kibana、Beats、Logstash等產品版本號進行統一,Elasticsearch5.x加入了一些新特性,
官網首頁如下:
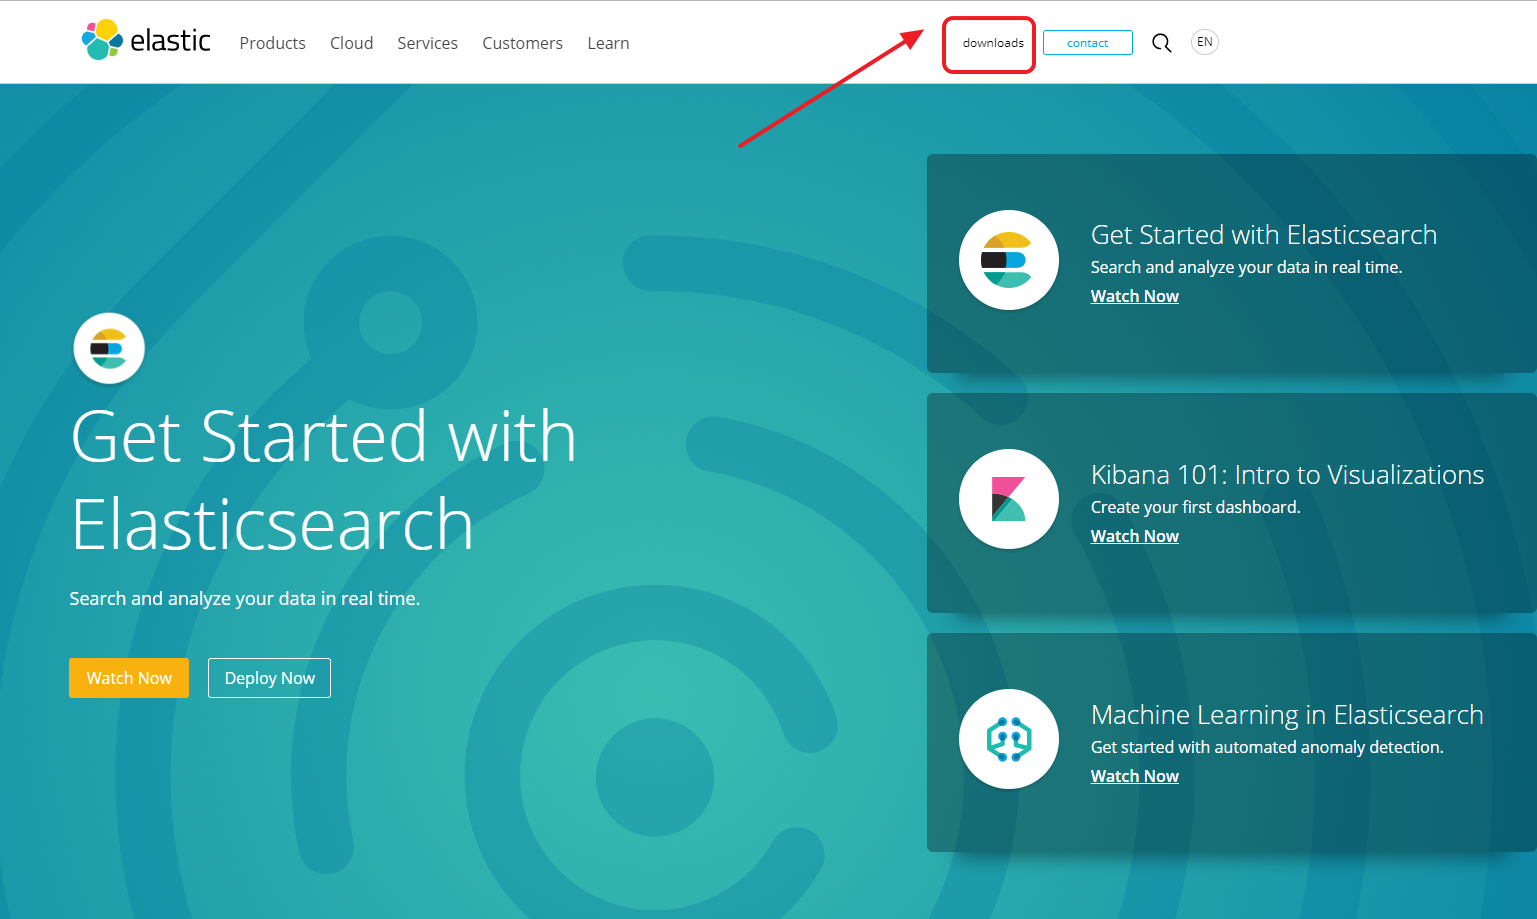
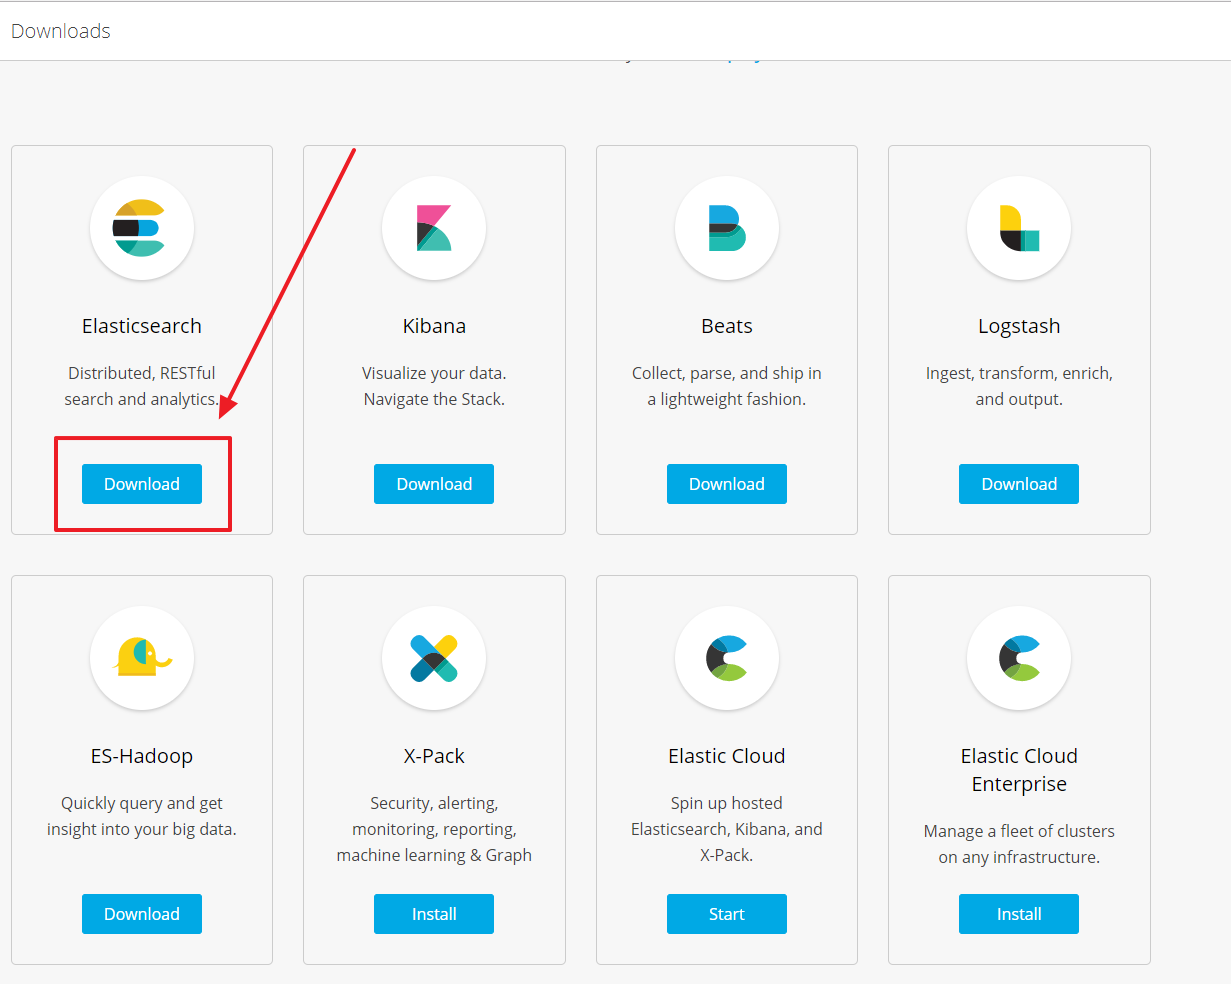
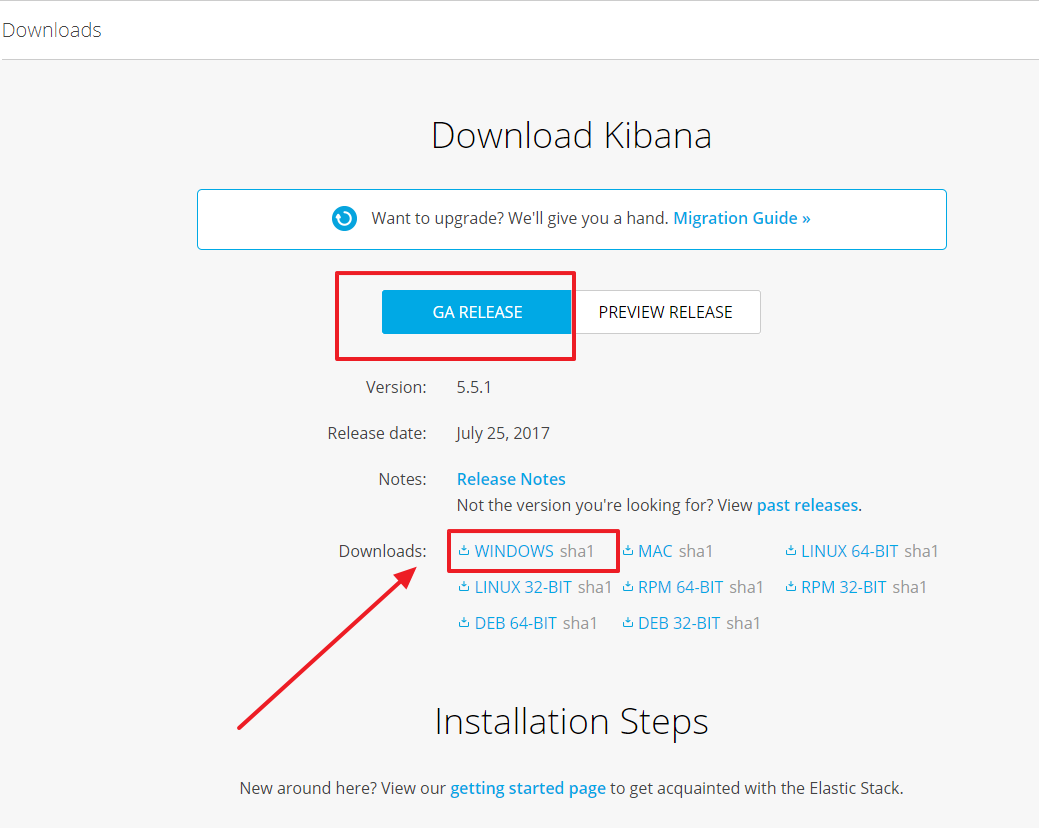
點選"Dowloads"選擇Elasticsearch
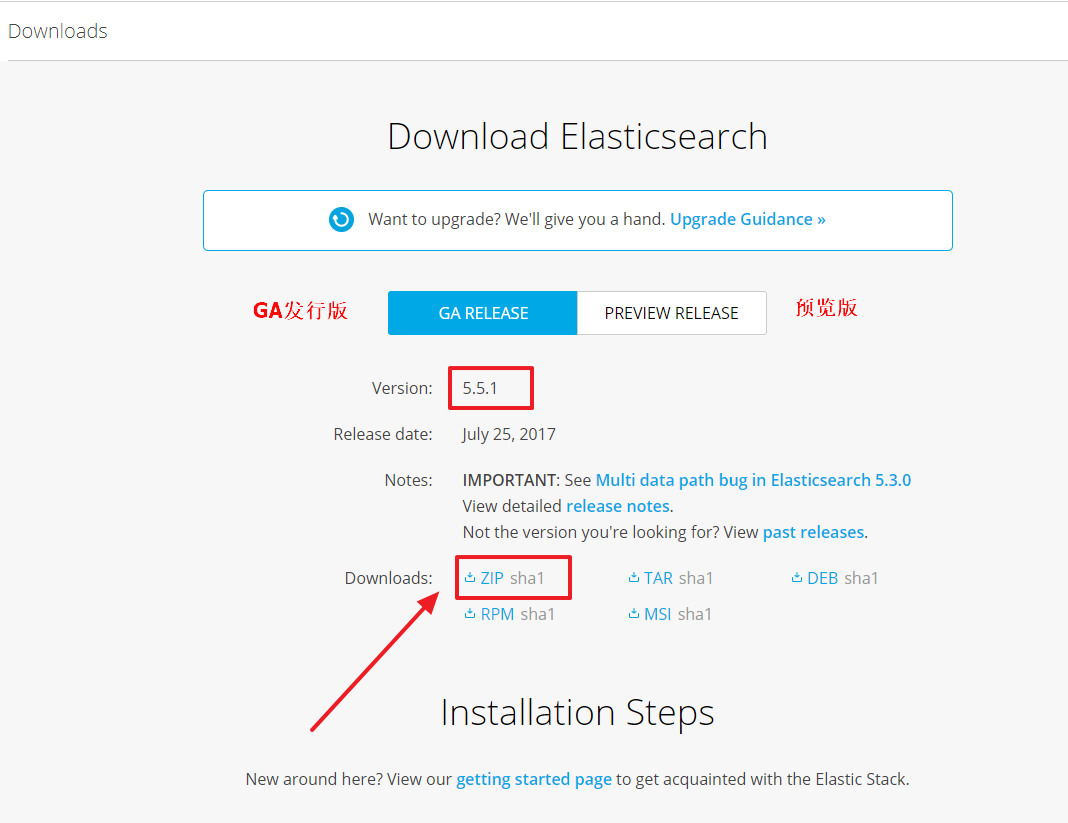
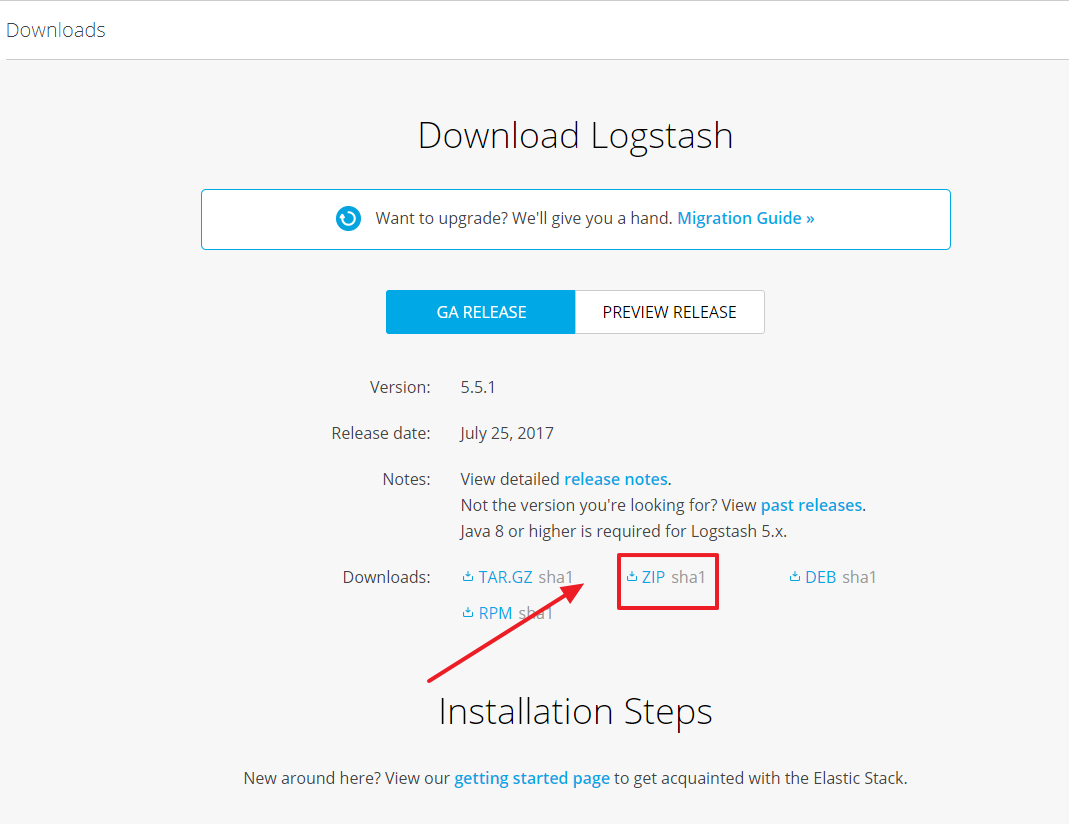
選擇發行版,預設當前版本為5.5.1然後進行下載
二、進行安裝
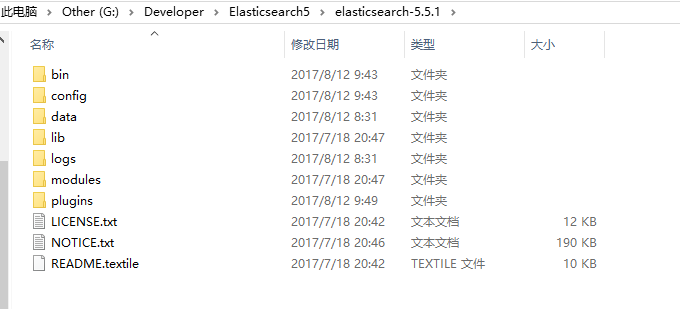
下載下來之後,進行解壓
進入bin目錄下
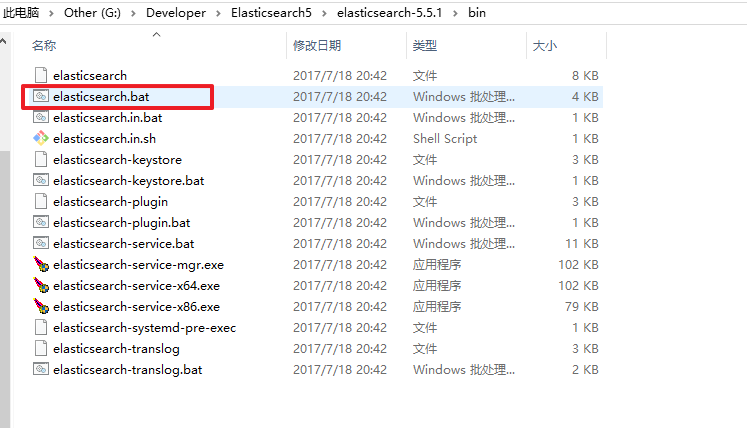
執行elasticsearch.bat進行啟動
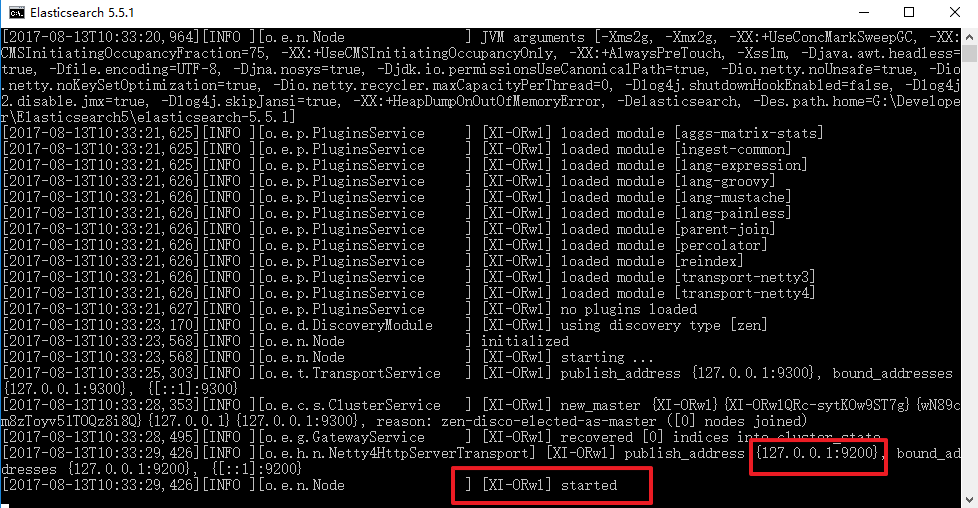
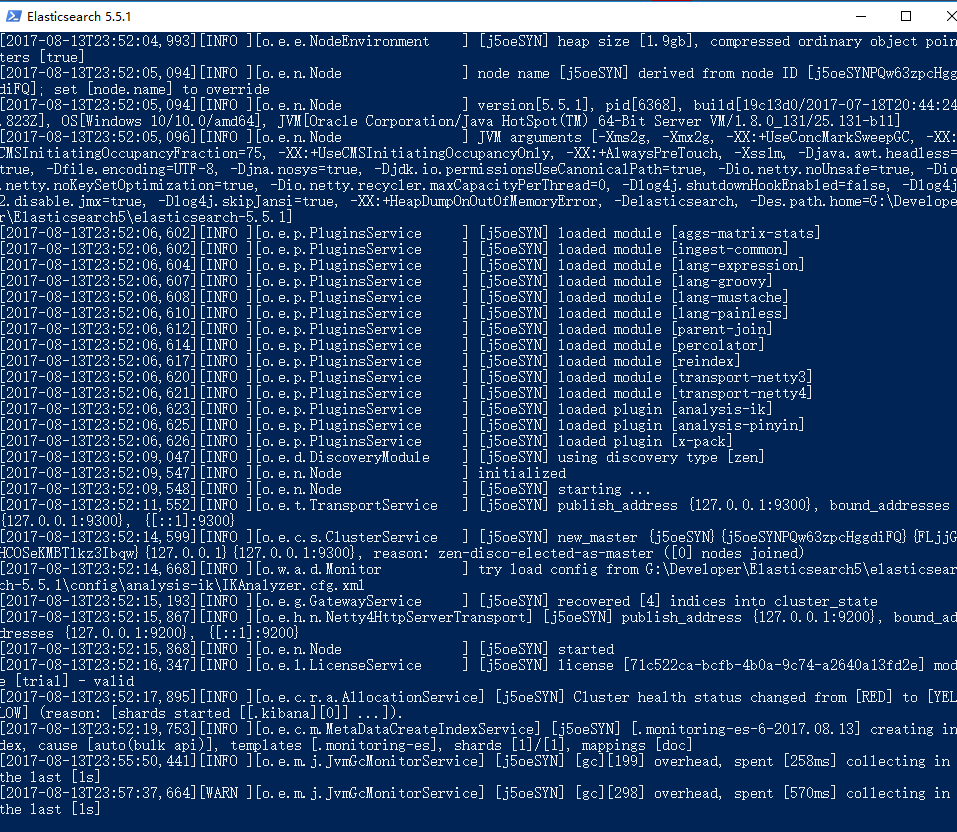
啟動成功,訪問地址為:127.0.0.1:9200,輸出資訊如下
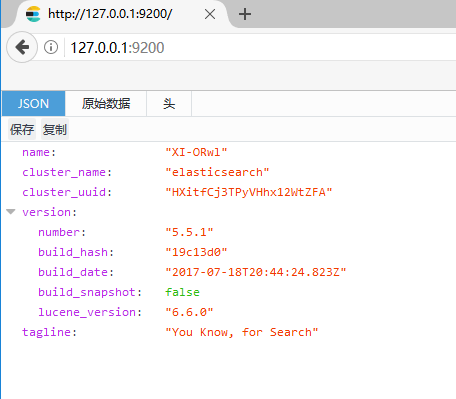
然後訪問這個地址檢視版本等一些資訊,這不是圖形化的介面,操作起來不是很方便,所以希望能有一個視覺化的環境來操作它,可以通過安裝Elasticsearch Head這個外掛來進行管理。
三、外掛安裝
名詞解釋
在剛接觸Elasticsearch的時候,會有很多名詞不能理解,或者不知道其中的關係。其中很多是為不同版本的Elasticsearch而存在的。
Marvel
Marvel外掛:在簇中從每個節點彙集資料。這個外掛必須每個節點都得安裝。
Marvel是Elasticsearch的管理和監控工具,在開發環境下免費使用。它包含了Sense。
Sense
互動式控制檯,使使用者方便的通過瀏覽器直接與Elasticsearch進行互動。
Head
在學習Elasticsearch的過程中,必不可少需要通過一些工具檢視es的執行狀態以及資料。如果都是通過rest請求,未免太過麻煩,而且也不夠人性化。此時,Head外掛可以實現基本資訊的檢視,rest請求的模擬,資料的檢索等等。
X-pack
x-pack是elasticsearch的一個擴充套件包,將安全,警告,監視,圖形和報告功能捆綁在一個易於安裝的軟體包中,也是官方推薦的。
Kibana
kibana是一個與elasticsearch一起工作的開源的分析和視覺化的平臺。使用kibana可以查詢、檢視並與儲存在elasticsearch索引的資料進行互動操作。使用kibana能執行高階的資料分析,並能以圖表、表格和地圖的形式檢視資料。
kibana使得理解大容量的資料變得非常容易。它非常簡單,基於瀏覽器的介面使我們能夠快速的建立和分享顯示elasticsearch查詢結果實時變化的儀表盤。
在Elasticsearch 5版本之前,一般都是通過安裝Kibana,而後將Marvel、Hand等各種功能外掛新增到Kibana上使用。在Elasticsearch 5版本之後,一般情況下只需要安裝一個官方推薦的X-pack擴充套件包即可。
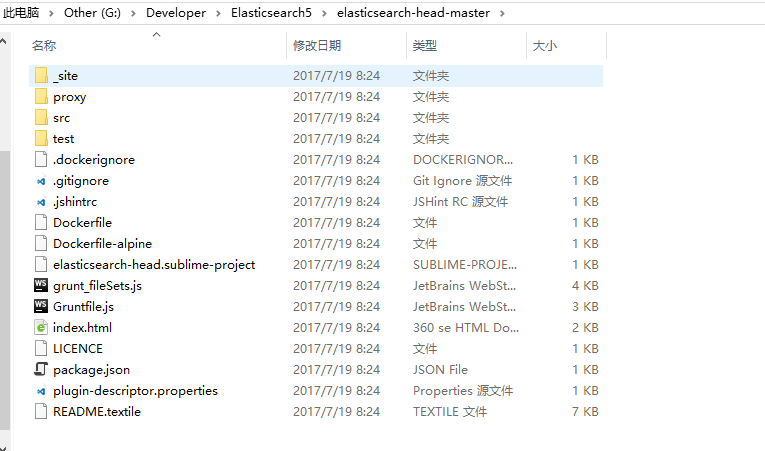
1)Elasticsearch Head
Elasticsearch Head是叢集管理、資料視覺化、增刪改查、查詢語句視覺化工具,在最新的ES5中安裝方式和ES2以上的版本有很大的不同,在ES2中可以直接在bin目錄下執行plugin install xxxx 來進行安裝,但是在ES5中這種安裝方式變了,要想在ES5中安裝Elasticsearch Head必須要安裝NodeJs,然後通過NodeJS來啟動Head。具體安裝步驟如下:
安裝NodeJS之後,使用npm安裝grunt
npm install -g grunt -cli
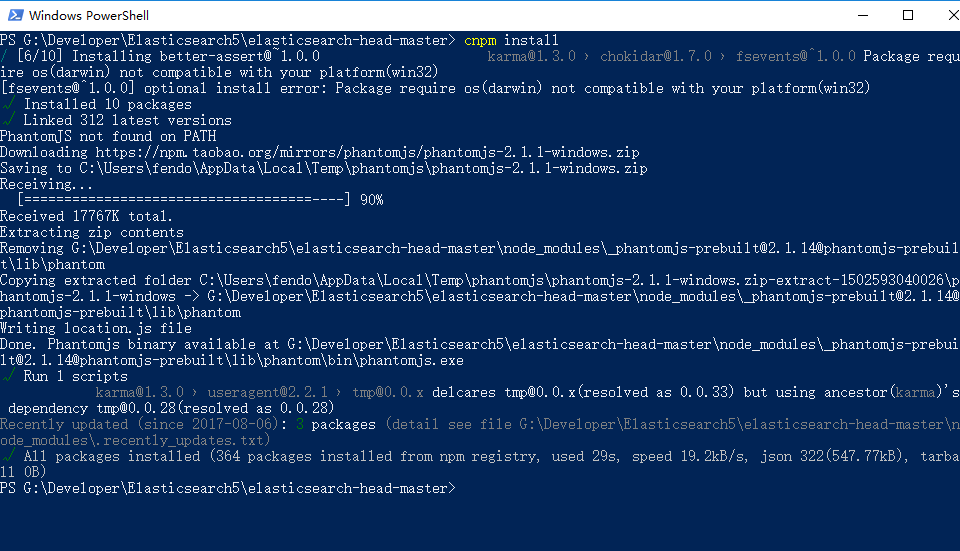
然後在目錄下執行
cnpm install
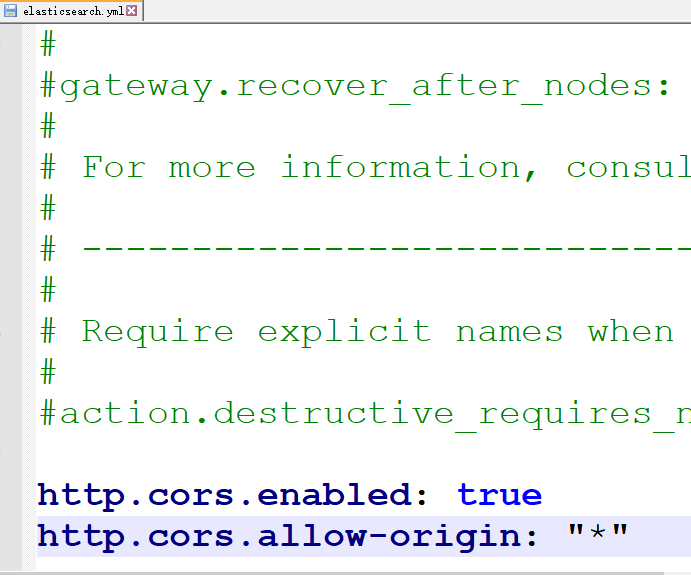
安裝好之後,還要修改Elasticsearch配置檔案,編輯elasticsearch-5.5.1/config/elasticsearch.yml,加入以下內容:
編輯elasticsearch-head-master檔案下的Gruntfile.js,修改伺服器監聽地址,增加hostname屬性,將其值設定為*。
以下兩種配置都是OK的
# Type1
connect: {
        hostname: '*',
        server: {
                options: {
                        port: 9100,
                        base: '.',
                        keepalive: true
                }
        }
}
# Type 2
connect: {
        server: {
                options: {
                        hostname: '*',
                        port: 9100,
                        base: '.',
                        keepalive: true
                }
        }
}
編輯elasticsearch-head-master/_site/app.js,修改head連線es的地址,將localhost修改為es的IP地址
# 原配置
this.base_uri = this.config.base_uri || this.prefs.get("app-base_uri") || "http://localhost:9200";

this.base_uri = this.config.base_uri || this.prefs.get("app-base_uri") || "http://YOUR-ES-IP:9200";注意:如果ES是在本地,就不要修改,預設就是localhost
在啟動elasticsearch-head之前要先啟動elasticsearch,在elasticsearch-head-master/目錄下,執行啟動命令:
grunt server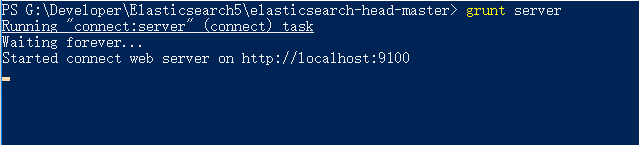
然後訪問:127.0.0.1:9100這個地址

2)安裝Kiabna
Kibana是一個為 ElasticSearch 提供的資料分析的 Web 介面。可使用它對日誌進行高效的搜尋、視覺化、分析等各種操作。
Kiabna的介紹可查考官方的說明:https://www.elastic.co/cn/products/kibana
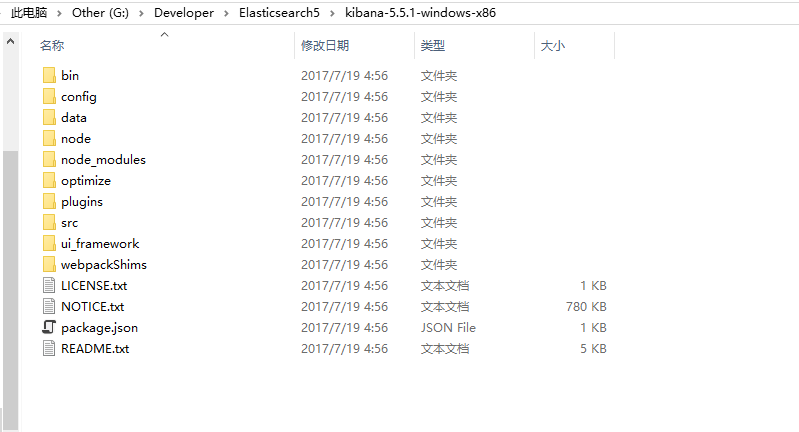
下載下來,解壓如下
修改config / kibana.yml檔案,加入以下內容:
server.port: 5601
server.name: "kibana"
server.host: "127.0.0.1"
elasticsearch.url: "http://127.0.0.1:9200" 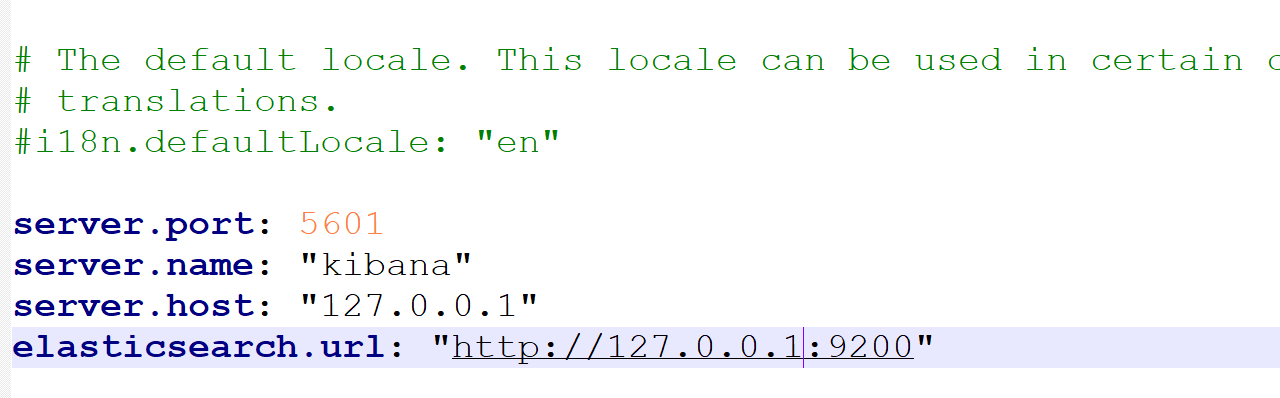
然後執行bin目錄下的kibana.bat啟動服務
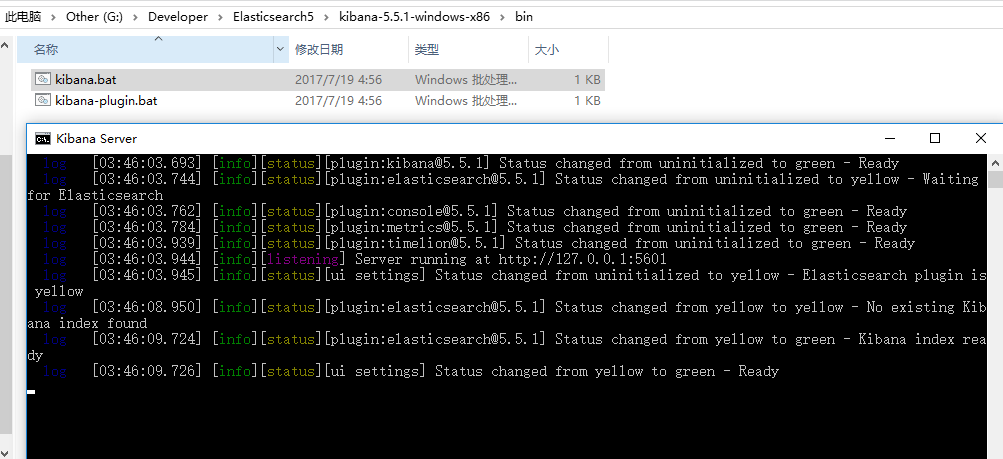
瀏覽器訪問地址:http://127.0.0.1:5601/
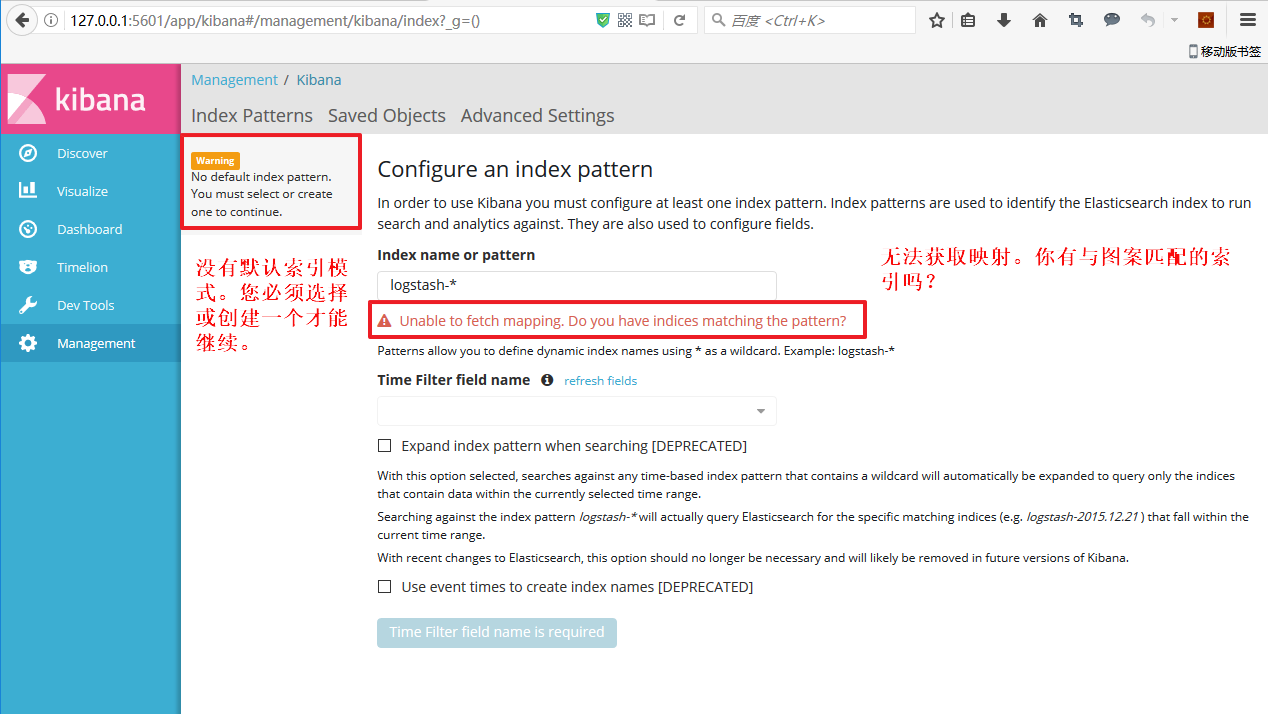
出現警告
Unable to fetch mapping. Do you have indices matching the pattern? 不管怎麼弄,都是提示上面的錯誤!!!最後在網上找到中說法是,沒有往Elasticsearch中插入資料所引起的:
在上面的兩個網址中找到了解決方法:
在Sense中執行以下資料就可以了
PUT /logstash-2017.08.13
{
  "mappings": {
    "log": {
      "properties": {
        "geo": {
          "properties": {
            "coordinates": {
              "type": "geo_point"
            }
          }
        }
      }
    }
  }
}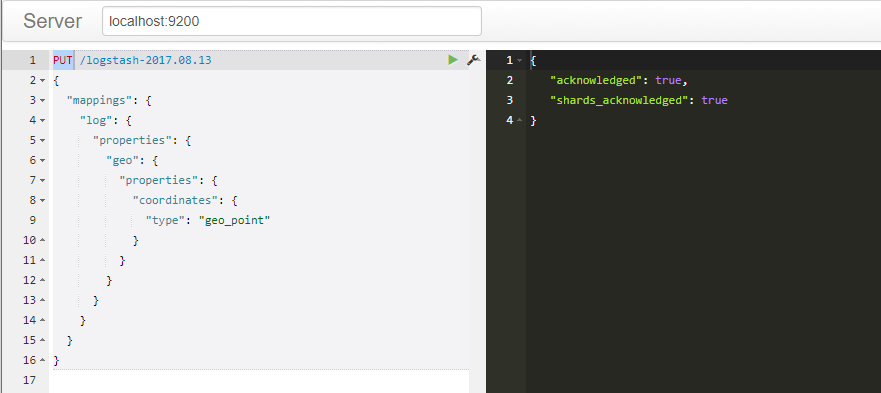
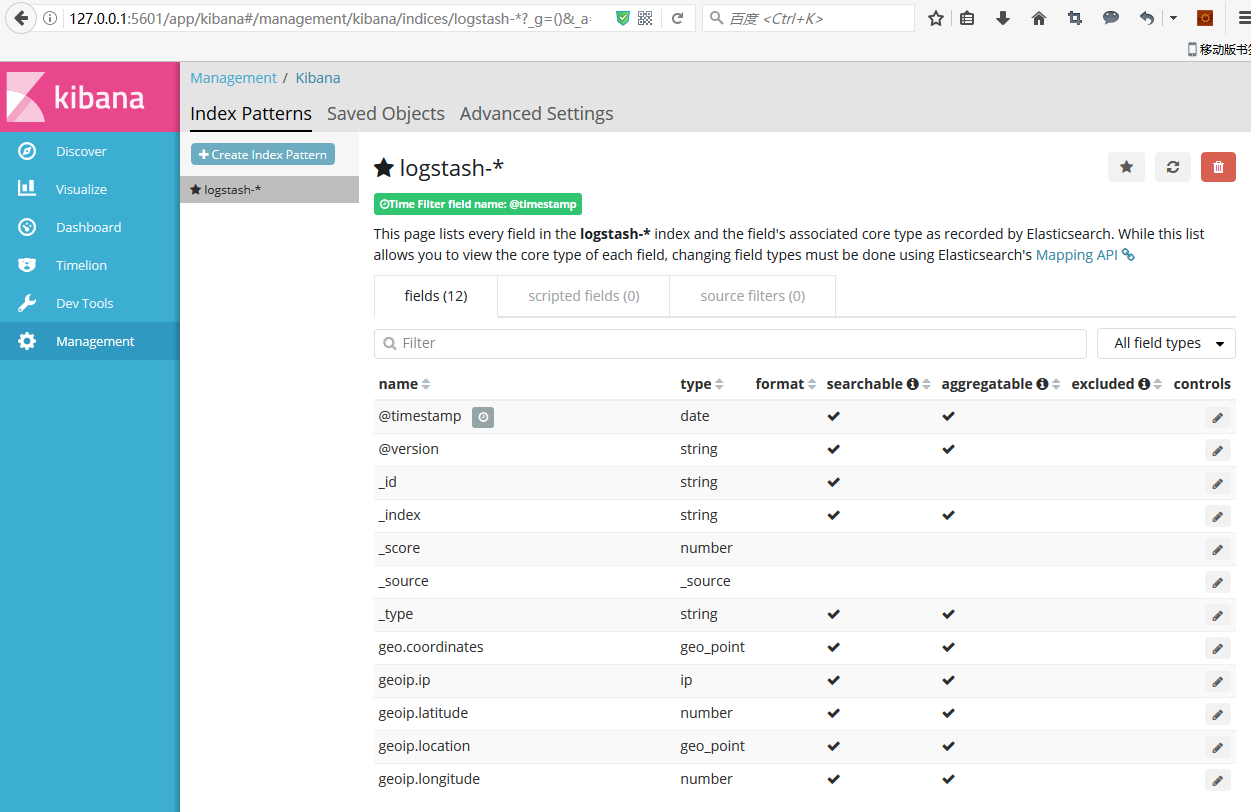
然後在返回到kibana首頁,就會發現不會出現警告了!!!
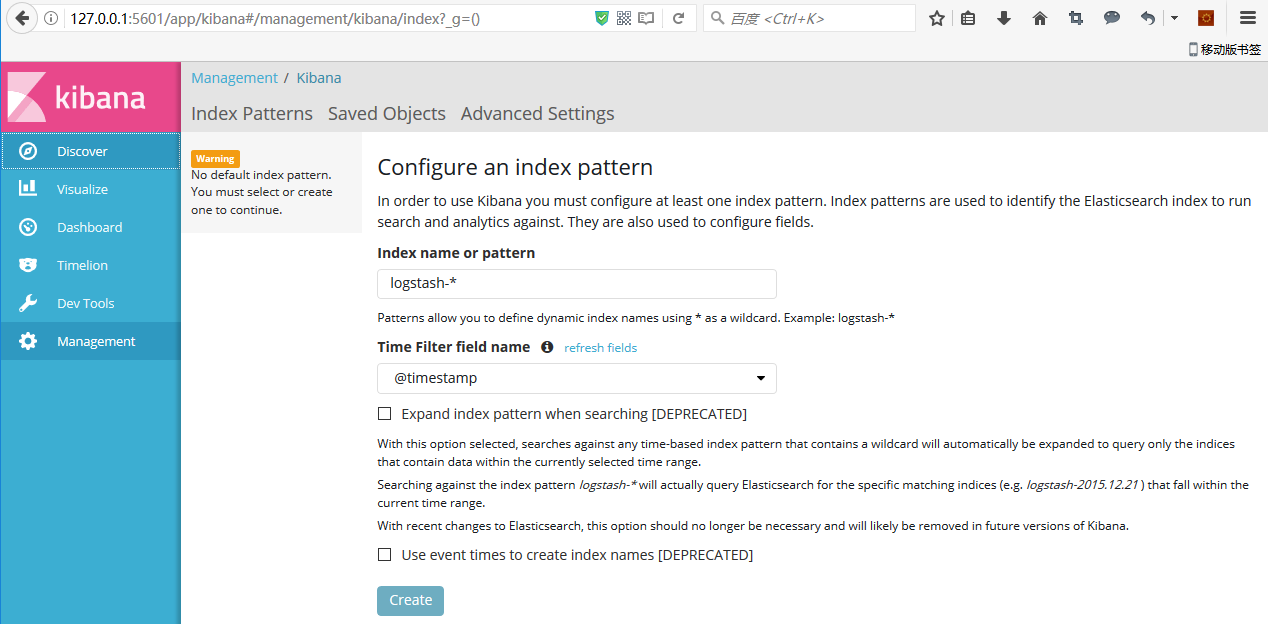
然後點選"Create"
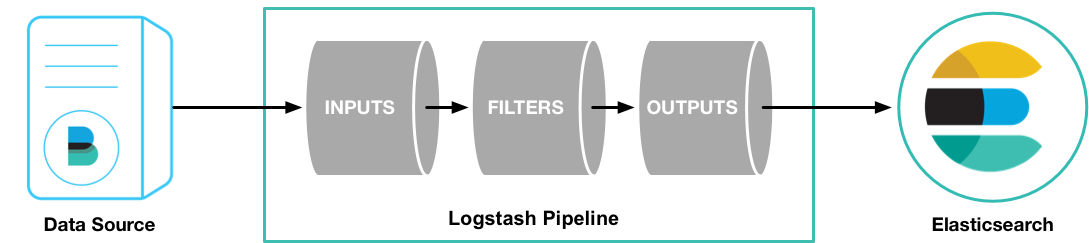
3)安裝Logstash
Logstash是一款輕量級的日誌蒐集處理框架,可以方便的把分散的、多樣化的日誌蒐集起來,並進行自定義的處理,然後傳輸到指定的位置,比如某個伺服器或者檔案。
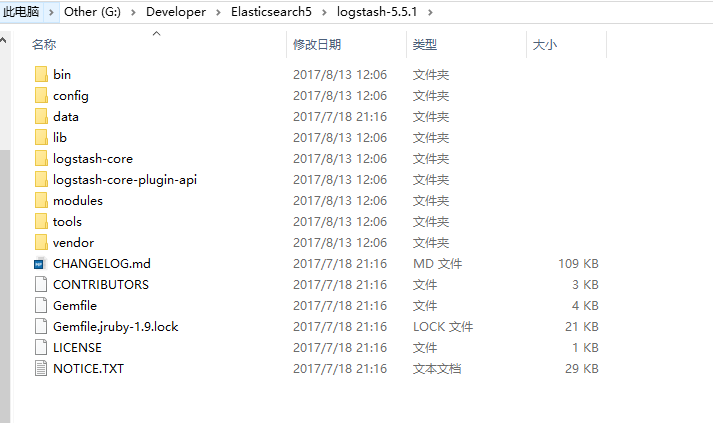
下載下來之後,解壓如下
然後新增配置檔案
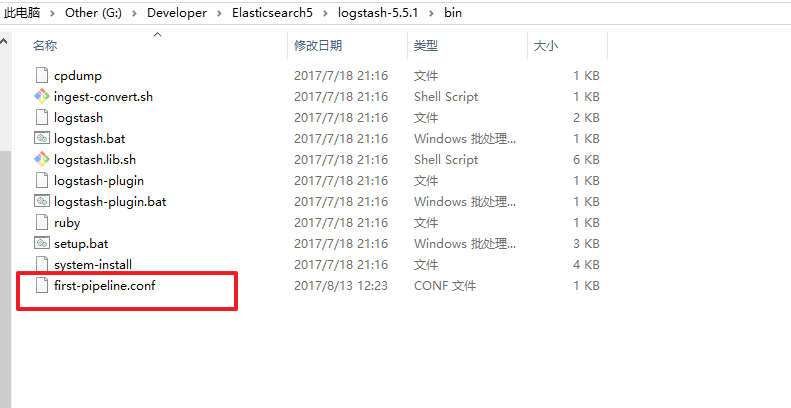
新增如下內容:
input {
  log4j {
    host => "127.0.0.1"
    port => 8801
  }
}
output {
    elasticsearch {
        hosts => [ "127.0.0.1:9200" ]
    }
}
然後啟動服務
logstash.bat -f first-pipeline.conf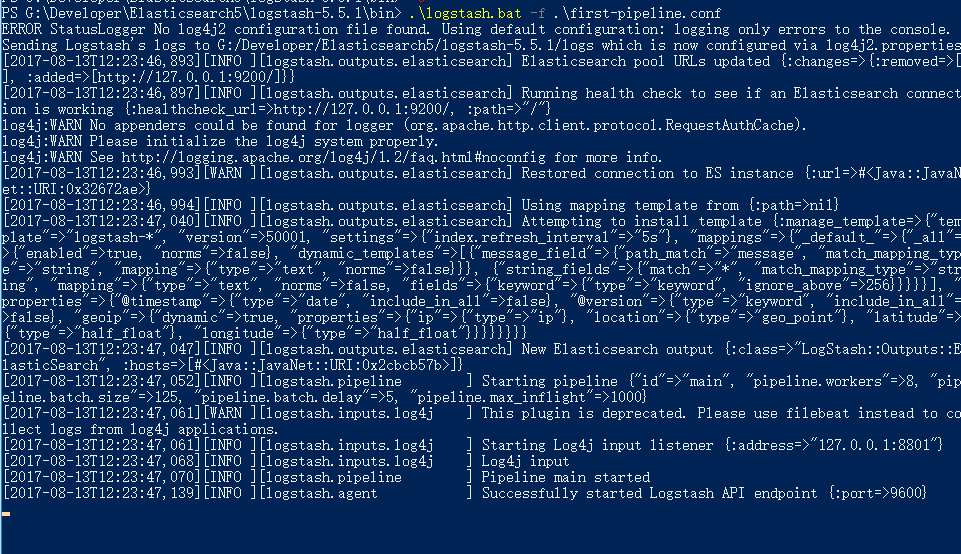
4)安裝x-pack
x-pack是elasticsearch的一個擴充套件包,將安全,警告,監視,圖形和報告功能捆綁在一個易於安裝的軟體包中,雖然x-pack被設計為一個無縫的工作,但是你可以輕鬆的啟用或者關閉一些功能,X-Pack主要是新增身份許可權的驗證,以及原先需要安裝其他各種Marvel、Head等各種功能外掛新增到Kibana上使用才能使用的功能。
安裝的兩種方式:
1.離線安裝
xxx(路徑)\bin>.\elasticsearch-plugin.bat install file:/G:\Developer\Elasticsearch5\x-pack-5.5.1.zip (Windows下file:/或者 file:///都行)
2.線上安裝
xxx(路徑)\bin>.\elasticsearch-plugin.bat install x-pack
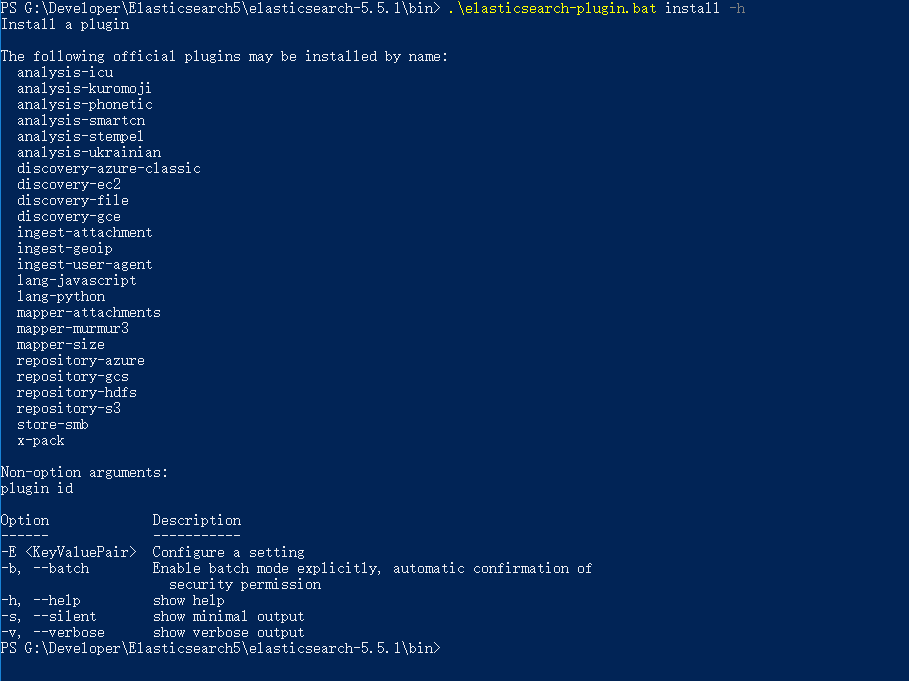
注意的是能線上安裝的外掛和早先版本有所區別,可通過cmd cd至ES 的bin目錄下elasticsearch-plugin.bat install -h 命令檢視
5.5.1版本可線上安裝的外掛列表如下:
線上安裝如下:
.\elasticsearch-plugin.bat install x-pack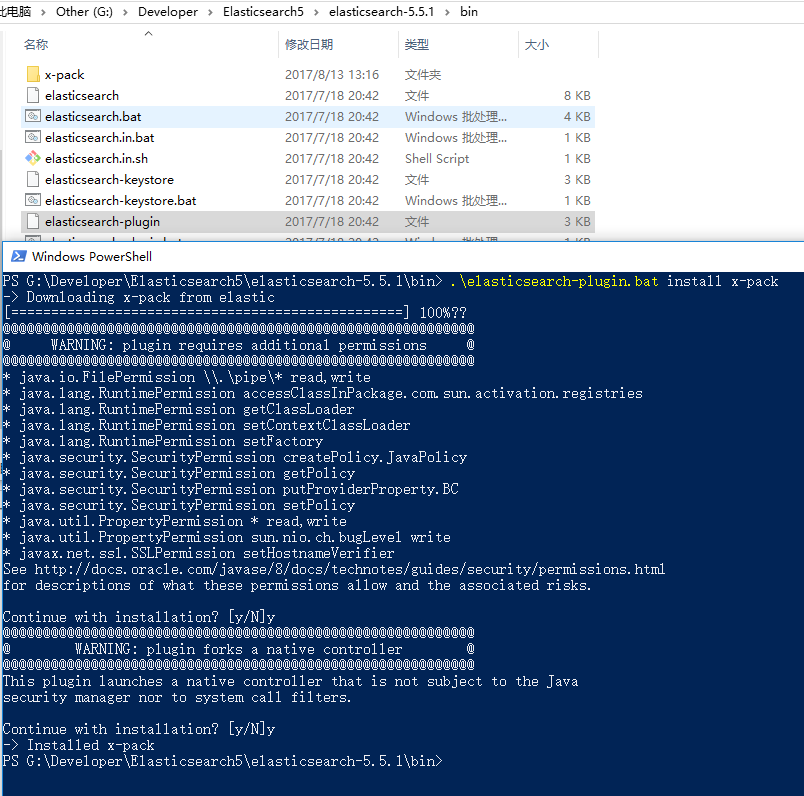
然後在Kibana中也安裝x-pack,安裝方式如下:
.\kibana-plugin.bat install x-pack
安裝好X-PACK之後,啟動Elasticsearch就提示:
[2017-08-13T23:28:10,458][DEBUG][o.e.a.ActionModule       ] Using REST wrapper from plugin org.elasticsearch.xpack.XPackPlugin
[2017-08-13T23:28:21,144][ERROR][o.e.b.Bootstrap          ] Exception
org.elasticsearch.ElasticsearchException: Failed to create native process factories for Machine Learning
	at org.elasticsearch.xpack.ml.MachineLearning.createComponents(MachineLearning.java:289) ~[?:?]
	at org.elasticsearch.xpack.XPackPlugin.createComponents(XPackPlugin.java:288) ~[?:?]
	at org.elasticsearch.node.Node.lambda$new$7(Node.java:411) ~[elasticsearch-5.5.1.jar:5.5.1]
	at java.util.stream.ReferencePipeline$7$1.accept(ReferencePipeline.java:267) ~[?:1.8.0_131]
	at java.util.ArrayList$ArrayListSpliterator.forEachRemaining(ArrayList.java:1374) ~[?:1.8.0_131]
	at java.util.stream.AbstractPipeline.copyInto(AbstractPipeline.java:481) ~[?:1.8.0_131]
	at java.util.stream.AbstractPipeline.wrapAndCopyInto(AbstractPipeline.java:471) ~[?:1.8.0_131]
	at java.util.stream.ReduceOps$ReduceOp.evaluateSequential(ReduceOps.java:708) ~[?:1.8.0_131]
	at java.util.stream.AbstractPipeline.evaluate(AbstractPipeline.java:234) ~[?:1.8.0_131]
	at java.util.stream.ReferencePipeline.collect(ReferencePipeline.java:499) ~[?:1.8.0_131]
	at org.elasticsearch.node.Node.<init>(Node.java:413) ~[elasticsearch-5.5.1.jar:5.5.1]
	at org.elasticsearch.node.Node.<init>(Node.java:244) ~[elasticsearch-5.5.1.jar:5.5.1]
	at org.elasticsearch.bootstrap.Bootstrap$5.<init>(Bootstrap.java:232) ~[elasticsearch-5.5.1.jar:5.5.1]
	at org.elasticsearch.bootstrap.Bootstrap.setup(Bootstrap.java:232) ~[elasticsearch-5.5.1.jar:5.5.1]
	at org.elasticsearch.bootstrap.Bootstrap.init(Bootstrap.java:351) [elasticsearch-5.5.1.jar:5.5.1]
	at org.elasticsearch.bootstrap.Elasticsearch.init(Elasticsearch.java:123) [elasticsearch-5.5.1.jar:5.5.1]
	at org.elasticsearch.bootstrap.Elasticsearch.execute(Elasticsearch.java:114) [elasticsearch-5.5.1.jar:5.5.1]
	at org.elasticsearch.cli.EnvironmentAwareCommand.execute(EnvironmentAwareCommand.java:67) [elasticsearch-5.5.1.jar:5.5.1]
	at org.elasticsearch.cli.Command.mainWithoutErrorHandling(Command.java:122) [elasticsearch-5.5.1.jar:5.5.1]
	at org.elasticsearch.cli.Command.main(Command.java:88) [elasticsearch-5.5.1.jar:5.5.1]
	at org.elasticsearch.bootstrap.Elasticsearch.main(Elasticsearch.java:91) [elasticsearch-5.5.1.jar:5.5.1]
	at org.elasticsearch.bootstrap.Elasticsearch.main(Elasticsearch.java:84) [elasticsearch-5.5.1.jar:5.5.1]
Caused by: java.io.FileNotFoundException: \\.\pipe\controller_log_4992 (系統找不到指定的檔案。)
	at java.io.FileInputStream.open0(Native Method) ~[?:1.8.0_131]
	at java.io.FileInputStream.open(FileInputStream.java:195) ~[?:1.8.0_131]
	at java.io.FileInputStream.<init>(FileInputStream.java:138) ~[?:1.8.0_131]
	at java.io.FileInputStream.<init>(FileInputStream.java:93) ~[?:1.8.0_131]
	at org.elasticsearch.xpack.ml.utils.NamedPipeHelper$PrivilegedInputPipeOpener.run(NamedPipeHelper.java:297) ~[?:?]
	at org.elasticsearch.xpack.ml.utils.NamedPipeHelper$PrivilegedInputPipeOpener.run(NamedPipeHelper.java:286) ~[?:?]
	at java.security.AccessController.doPrivileged(Native Method) ~[?:1.8.0_131]
	at org.elasticsearch.xpack.ml.utils.NamedPipeHelper.openNamedPipeInputStream(NamedPipeHelper.java:139) ~[?:?]
	at org.elasticsearch.xpack.ml.utils.NamedPipeHelper.openNamedPipeInputStream(NamedPipeHelper.java:106) ~[?:?]
	at org.elasticsearch.xpack.ml.job.process.ProcessPipes.connectStreams(ProcessPipes.java:140) ~[?:?]
	at org.elasticsearch.xpack.ml.job.process.NativeController.<init>(NativeController.java:67) ~[?:?]
	at org.elasticsearch.xpack.ml.job.process.NativeControllerHolder.getNativeController(NativeControllerHolder.java:50) ~[?:?]
	at org.elasticsearch.xpack.ml.MachineLearning.createComponents(MachineLearning.java:279) ~[?:?]
	... 21 more
Caused by: java.io.FileNotFoundException: \\.\pipe\controller_log_4992 (系統找不到指定的檔案。)在網上找了半天才找到解決方法:
在Elasticsearch/config/elasticsearch.yml加入以下引數:
action.auto_create_index: .security,.monitoring*,.watches,.triggered_watches,.watcher-history*
xpack.security.enabled: false
xpack.monitoring.enabled: true
xpack.graph.enabled: false
xpack.watcher.enabled: false
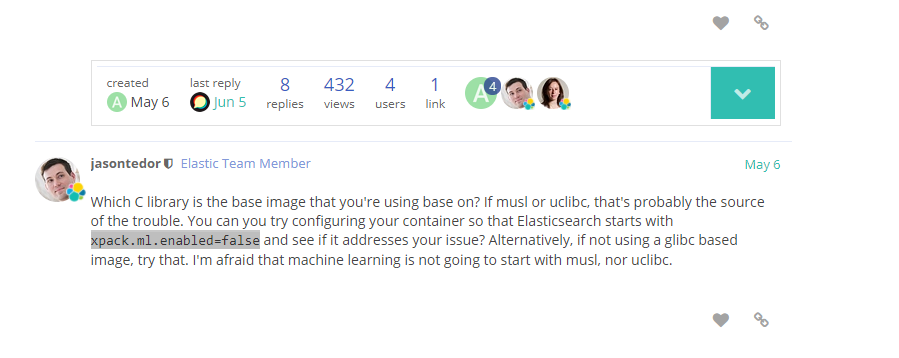
xpack.ml.enabled: false再次啟動
成功執行
.\elasticsearch-plugin.bat install https://github.com/medcl/elas
ticsearch-analysis-ik/releases/download/v5.5.1/elasticsearch-analysis-ik-5.5.1.zip
安裝拼音分詞器pinyin
pinyin分詞器可以讓使用者輸入拼音,就能查詢到相關的關鍵詞。比如在某個商城搜尋中,輸入shuihu,就能匹配到水壺。這樣的體驗還是非常好的。
執行以下命令:
.\elasticsearch-plugin.bat install https://github.com/medcl/elas
ticsearch-analysis-pinyin/releases/download/v5.5.1/elasticsearch-analysis-pinyin-5.5.1.zip
6)Elasticsearch SQL查詢外掛
Elasticsearch-sql 是給予es的提供sql查詢服務。你可以很方便的用sql的方式查詢es的資料。不必困擾於ES變態的查詢表示式,同時提供了超越sql的功能。Github地址: https://github.com/NLPchina/elasticsearch-sql/
5.5.1外掛的安裝方式如下
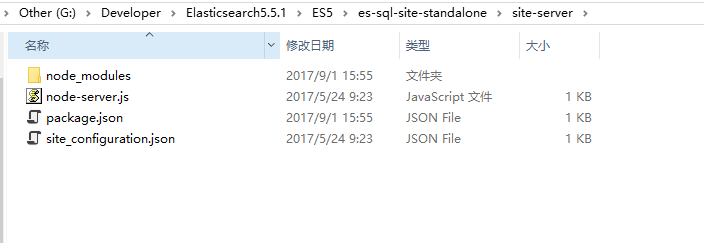
./bin/elasticsearch-plugin install https://github.com/NLPchina/elasticsearch-sql/releases/download/5.5.1.0/elasticsearch-sql-5.5.1.0.zip解壓,進入site-server目錄
執行以下命令
npm install express --save
node node-server.js 進行安裝與啟動,然後訪問:http://localhost:8080/index.html
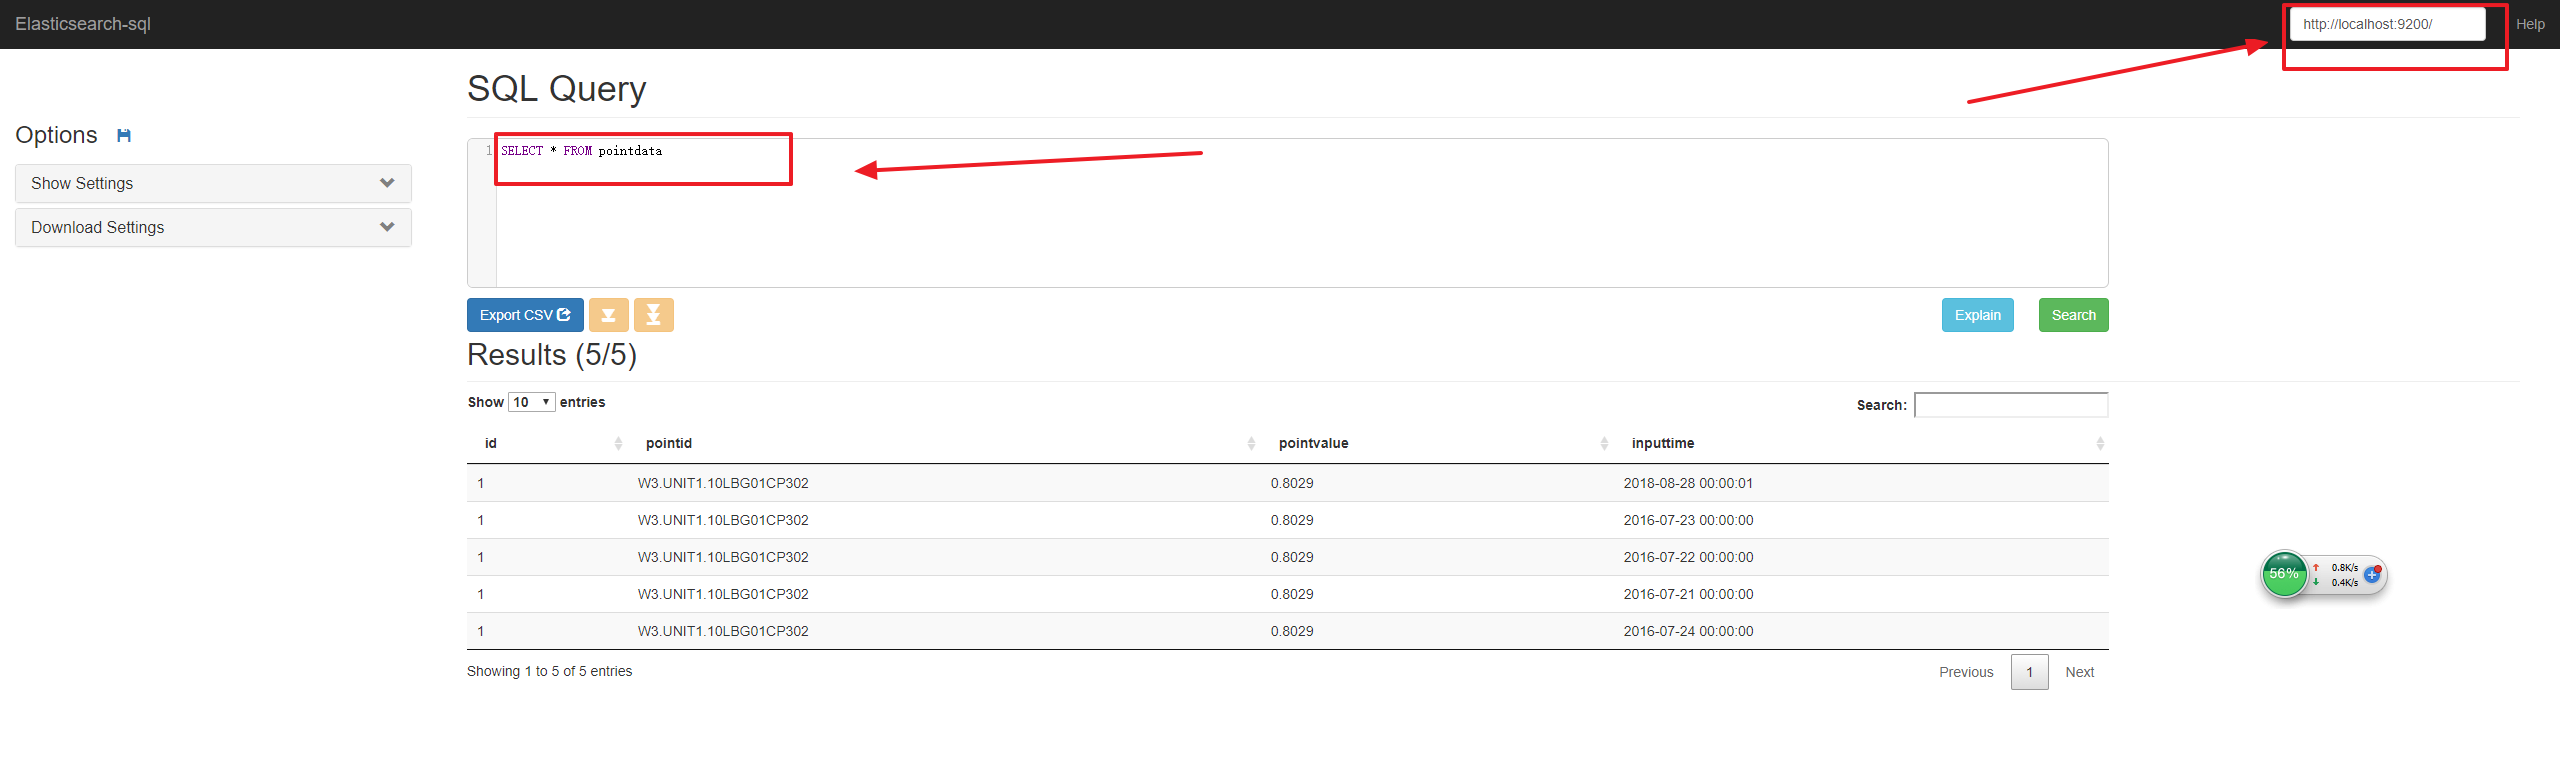
輸入一個存在的索引,然後點選Search進行查詢。
注意:
右上腳的連線地址,要改成你要連線的那個ES地址。