mac下iterm配色、半透明與樣式設定
主要為了實現命令列顏色高亮與整個命令視窗半透明效果。
1、配色主題包下載
1、http://iterm2colorschemes.com/
下載後解壓,到iterm2中,左上角iTerm2->preferences->Profiles,右側面板找到Colors選項,右下角展開Color Presets…,拉到最下面,選擇import,把下載解壓好的配色主題包下的schemes下的所有.itermcolors檔案匯入,匯入完成後再展開Colors下拉列表,即可選擇不同的配色模板。2、只下載solarized配色模板
item2裡好像自帶這個配色模板,匯入後叫Solarized Dark和Solarized Light。
http://ethanschoonover.com/solarized
找到download,下載後解壓,按上面同樣方式匯入iterm2-colors-solarized資料夾下的.itermcolors檔案。
一般用Solarized Dark即可。
2、修改配置檔案
sudo vim /etc/profile這時候如果有許可權問題,sudo chmod 644 /etc/profile
在檔案中追加:
find_git_branch () {
local dir=. head
until [ "$dir" -ef / ]; do
if [ -f "$dir/.git/HEAD" 配置立刻生效:
source /etc/profile這時候顏色應該已經顯示了。
3、透明度
透明度,iterm2中,左上角iTerm2->preferences->Profiles,右側找到window選項卡,拖動Transparency調整.
4、安裝oh-my-zsh
- 安裝oh-my-zsh
sh -c "$(curl -fsSL https://raw.githubusercontent.com/robbyrussell/oh-my-zsh/master/tools/install.sh)"修改zsh配置檔案
vi ~/.zshrcZSH_THEME=”robbyrussell”修改為ZSH_THEME=”agnoster”
重啟items
- 安裝字型
# clone 先克隆
git clone https://github.com/powerline/fonts.git
# install 後安裝
cd fonts
./install.sh
iterm2中,左上角iTerm2->preferences->Profiles,右側text選項卡Font和Non-ASCII Font都設定為
Meslo LG S DZ Regular for Powerline字型。
重啟items
5、語法高亮外掛
$ cd到.zshrc所在目錄
$ git clone git://github.com/zsh-users/zsh-syntax-highlighting.git
$ 開啟 ~/.zshrc
# 新增下面的語句到.zshrc檔案末尾
  source XXX/zsh-syntax-highlighting/zsh-syntax-highlighting.zsh
# 注意:xxx代表zsh-syntax-highlighting所在目錄
# 再次開啟.zshrc檔案,在最後面新增下面內容
  plugins=(zsh-syntax-highlighting)
# 啟用命令糾錯功能
  ENABLE_CORRECTION="true"
6、其他設定
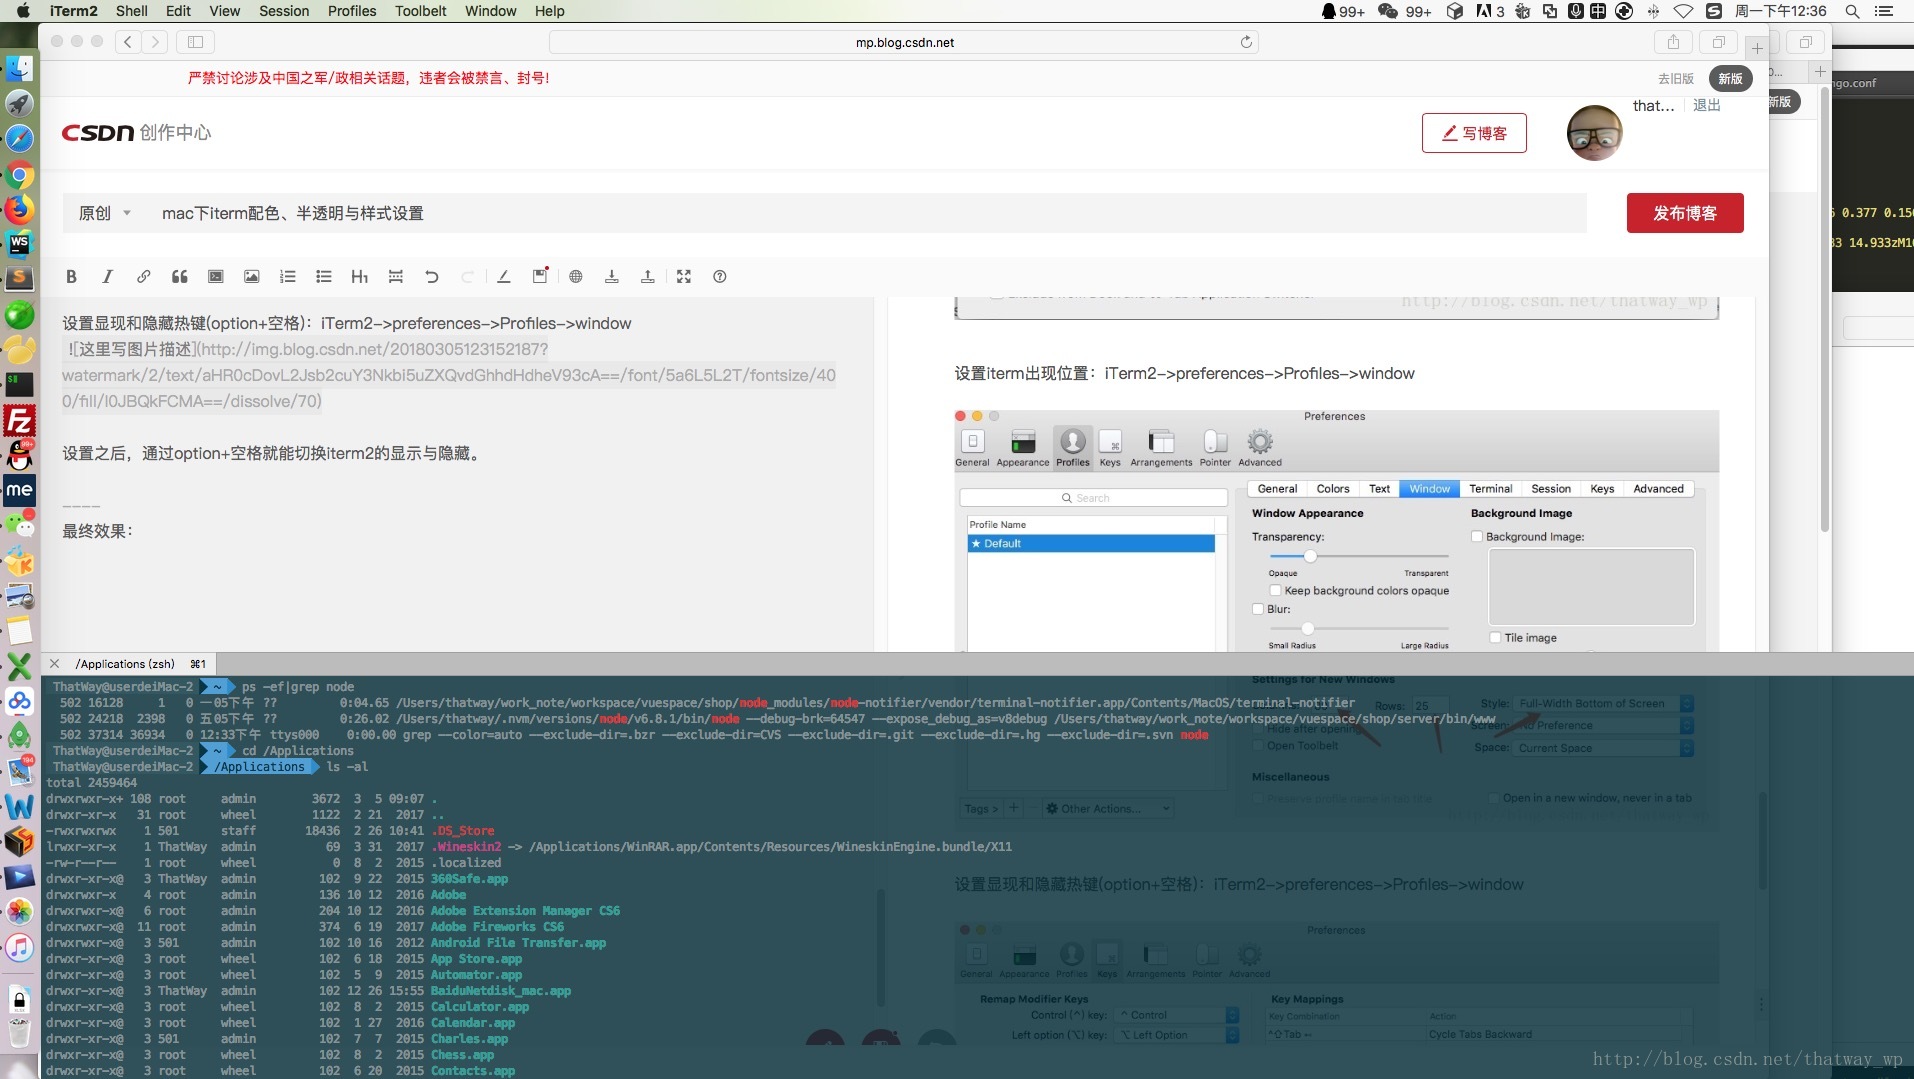
設定選單欄出現位置與主題:iTerm2->preferences->Profiles->Appearance
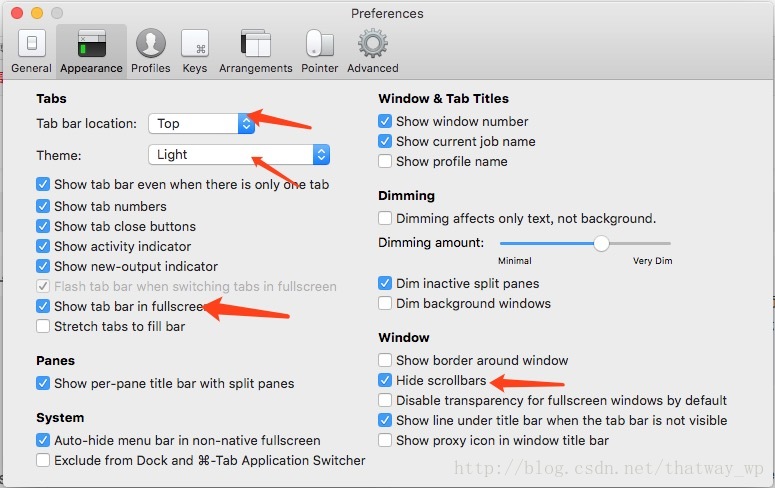
設定iterm出現位置:iTerm2->preferences->Profiles->window
設定顯現和隱藏熱鍵(option+空格):iTerm2->preferences->Profiles->window
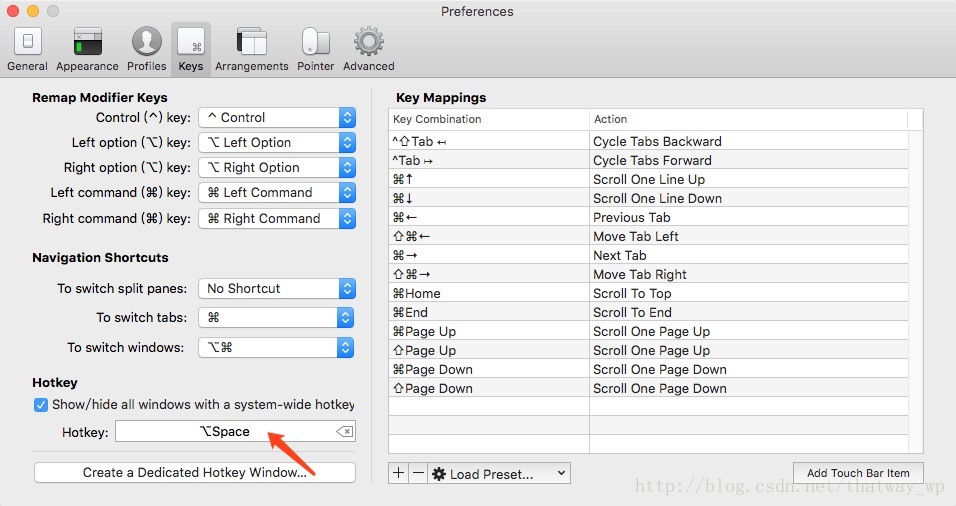
設定之後,通過option+空格就能切換iterm2的顯示與隱藏。
最終效果: