普通Apache的安裝與解除安裝
Apache安裝與解除安裝
ctrl+F快捷查詢
1、下載apache
64位解壓 官網:http://httpd.apache.org/
檔案使用記事本或者sublime
2、修改
開啟apache目錄下的conf檔案,找到httpd.conf檔案(這裡將使用editplus開啟)
Apache中httpd.conf配置問題
找到ServerRoot
修改為目錄與你的apache安裝目錄相同。本例中apache安裝在D:/apache/apache24。
3、修改埠
找到listen 80將其改為listen 8080。
4、下面這兩行改成自己工作空間目錄
#DocumentRoot "${SRVROOT}/htdocs"
#<Directory "${SRVROOT}/htdocs">
例如:
DocumentRoot "D:\安裝盤\HBuilder\lilin"
<Directory "D:\安裝盤\HBuilder\lilin">
5、另外把下列註釋掉
#LoadModule ssl_module modules/mod_ssl.so
6、一定要記住以管理員的身份開啟
cd D:\安裝盤\HBuilder\Apache24\bin
啟動服務
httpd.exe -k install -n apache
7、成功了
出現這個:
Installing the 'apache' service
The 'apache' service is successfully installed.
Testing httpd.conf....
Errors reported here must be corrected before the service can be started
8.停止Apache
執行命令:
net stop Apache2.4
9、解除安裝服務
sc delete apache2.4
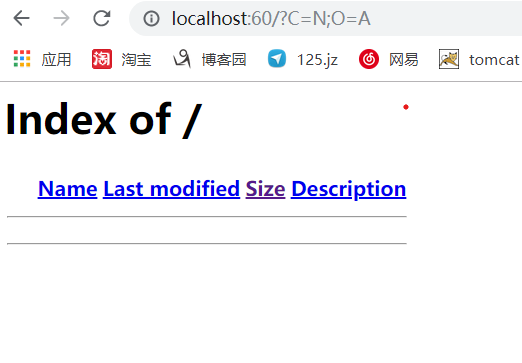
最終訪問本伺服器
localhost://60

&n
