Docker深入淺出系列 | 5分鐘搭建你的私有映象倉庫
阿新 • • 發佈:2020-03-18
> Docker已經上市很多年,不是什麼新鮮事物了,很多企業或者開發同學以前也不多不少有所接觸,但是有實操經驗的人不多,本系列教程主要偏重實戰,儘量講乾貨,會根據本人理解去做闡述,具體官方概念可以查閱官方教程,因為本系列教程對前一章節有一定依賴,建議先學習前面章節內容。
本系列教程導航:
[Docker深入淺出系列 | 容器初體驗](https://www.cnblogs.com/evan-liang/p/12237400.html)
[Docker深入淺出系列 | Image實戰演練](https://www.cnblogs.com/evan-liang/p/12244304.html)
[Docker深入淺出系列 | 單節點多容器網路通訊](https://www.cnblogs.com/evan-liang/p/12271468.html)
[Docker深入淺出系列 | 容器資料持久化](https://www.cnblogs.com/evan-liang/p/12372371.html)
[Docker深入淺出系列 | 單機Nginx+Springboot實戰](https:////www.cnblogs.com/evan-liang/p/12390315.html)
[Docker深入淺出系列 | Docker Compose多容器實戰](https:////www.cnblogs.com/evan-liang/p/12390315.html)
教程目的:
- 瞭解harbor是什麼&為什麼要用
- 瞭解harbor的搭建流程
- 瞭解harbor的基本操作
***
# Harbor基本概念

## Harbor是什麼
**官方概念:** Harbor是一個開放原始碼容器映像映象表,可通過基於角色的訪問控制來保護映象,掃描映象中的漏洞並將映象簽名為受信任。 作為CNCF孵化專案,Harbor提供合規性,效能和互操作性,以幫助您跨Kubernetes和Docker等雲原生計算平臺持續,安全地管理映象。
簡單來說,Harbor就是一個開源的映象管理倉庫,類似Github一樣,可以讓我們存放一些映象檔案
更多詳細內容,可以檢視[Harbor 官方文件](https://goharbor.io/docs/1.10/working-with-projects/working-with-images/pulling-pushing-images/)
## 為什麼要用
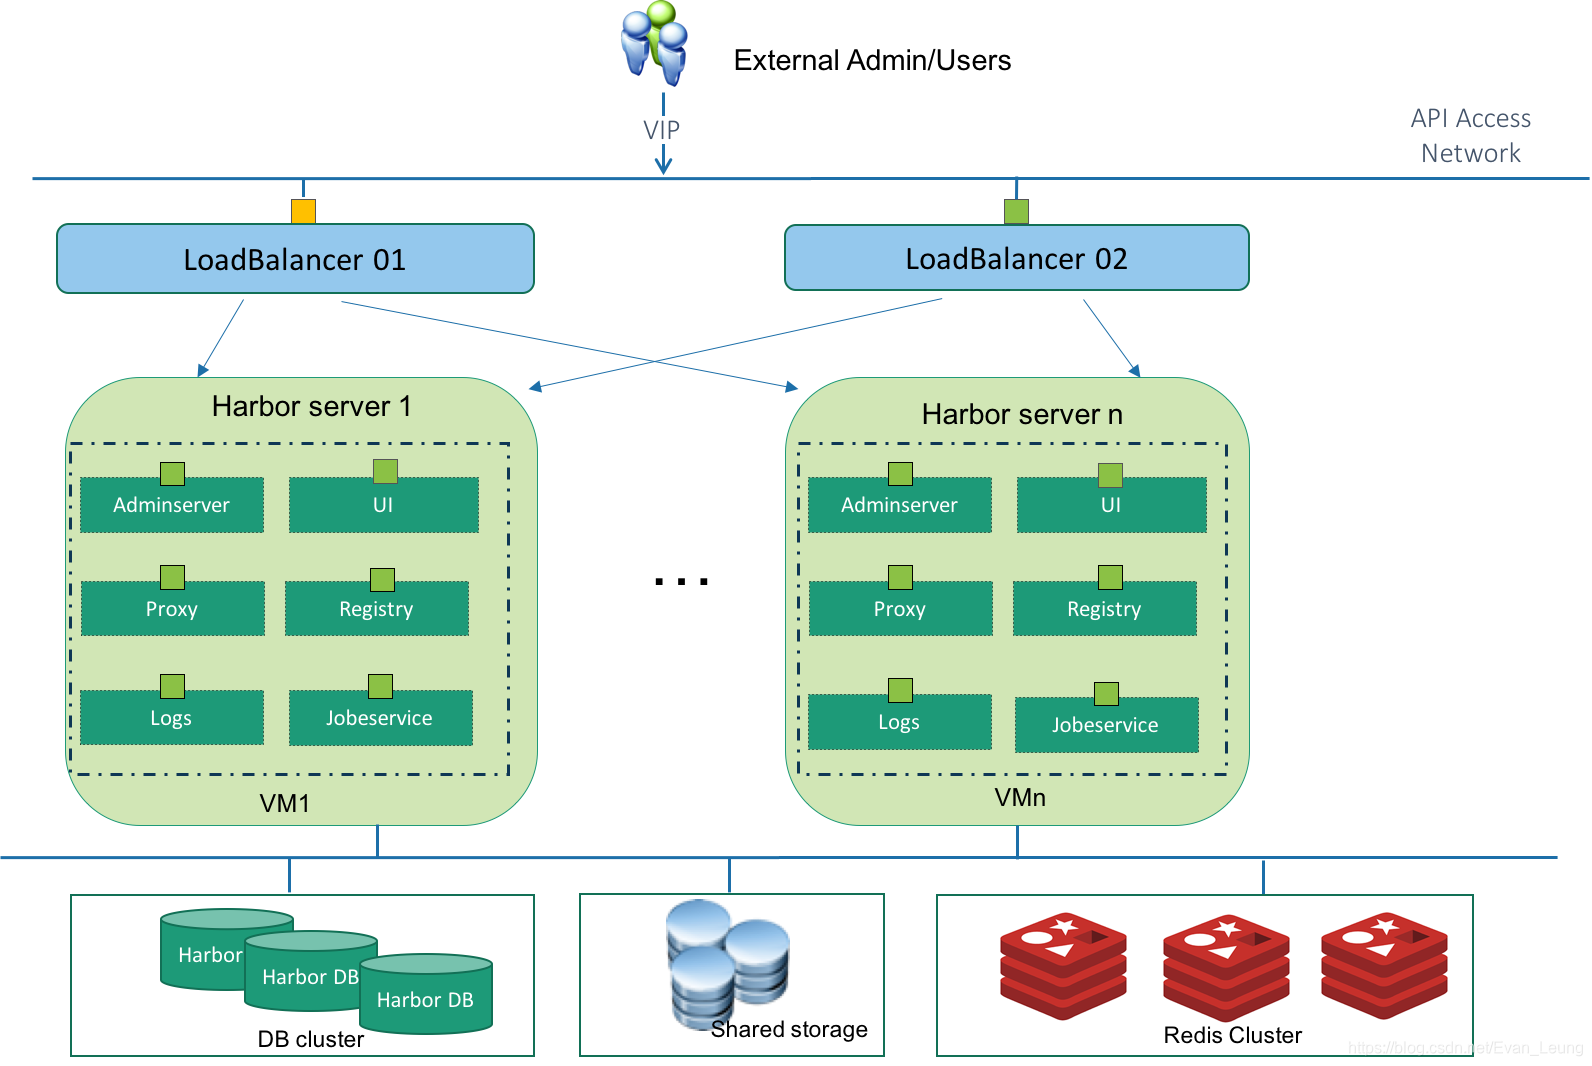
有動手跟著我前面教程練習的同學應該都有感受,之前的Springboot專案每次都需要在伺服器建立映象,當我有多臺伺服器需要用到這個映象,我還得重複在每臺伺服器上建立一次,那有沒有一箇中間儲存服務幫我們管理這些映象,讓所有的伺服器可以共享這個映象檔案呢?Harbor的作用就是幫我們管理映象,採用分散式架構,讓我們可以在任意伺服器拉去我們構建好的映象檔案。然後又會有人問我們不是已經有```docker hub```或者 ```docker hub```這些遠端倉庫了嗎?確實,但是當我們需要搭建一些私有映象倉庫,不想把公司專案對外公開的時候,Harbor就很有用了,就像很多公司也會在自己公司搭建私有的nexus伺服器來管理公司內部的應用package。

***
# 搭建Harbor映象倉庫
## 下載
到github選擇一個```harbor```release版本下載
```https://github.com/goharbor/harbor/releases```
## 上傳到伺服器
上傳到你的linux伺服器,我這裡沿用上一章建立的manager節點
```bash
[root@manager-node harbor]# ls
common.sh harbor.yml LICENSE
harbor.v1.10.1.tar.gz install.sh prepare
```
上面是harbor應用解壓後的檔案
## 修改harbor配置
修改harbor配置檔案
harbor.yml
```yml
#設定域名
hostname: 192.168.101.11
#設定http引數
# http related config
http:
# port for http, default is 80. If https enabled, this port will redirect to https port
port: 8090
#設定管理員密碼
harbor_admin_password: evan123
#遮蔽https
#https:
# https port for harbor, default is 443
# port: 443
```
上面修改了hostname為我虛擬機器的ip,埠把預設```80```埠替換成```8090```,並且修改了管理員密碼為```evan123```。需要注意,我這裡遮蔽了```https```,如果大家需要開啟```https```,需要配置證書和key到指定位置
## 開啟Docker Http訪問許可權
Docker預設是不支援http訪問登錄檔,否則後面使用docker去訪問harbor服務,會報如下錯誤:
```bash
http: server gave HTTP response to HTTPS client
```
這裡需要先修改下```/etc/docker/daemon.json```配置,加入以下配置
```bash
{
"insecure-registries" : ["192.168.101.11:8090"]
}
```
重啟docker服務
```bash
systemctl restart docker
```
## 啟動Harbor應用
假如沒有```Docker```環境,```harbor```會啟動報錯
```bash
[root@manager-node harbor]# sh install.sh
[Step 0]: checking if docker is installed ...
Note: docker version: 19.03.7
[Step 1]: checking docker-compose is installed ...
Note: docker-compose version: 1.25.0
[Step 2]: loading Harbor images ...
Cannot connect to the Docker daemon at unix:///var/run/docker.sock. Is the docker daemon running?
```
需要先安裝```Docker```和```docker-compose```元件,這裡就不多說了,大家可以參考前面章節的安裝教程
當啟動Docker後,執行```install.sh```會自動完成安裝
```bash
[root@manager-node harbor]# sh install.sh
...
Creating network "harbor_harbor" with the default driver
Creating harbor-log ... done
Creating harbor-portal ... done
Creating registry ... done
Creating redis ... done
Creating harbor-db ... done
Creating registryctl ... done
Creating harbor-core ... done
Creating nginx ... done
Creating harbor-jobservice ... done
✔ ----Harbor has been installed and started successfully.----
```
上面顯示已經安裝成功了
## 訪問Harbor應用
在瀏覽器輸入上面我們配置的ip和埠```192.168.101.11:8090```,就會看到```harbor```登陸頁面

## 登陸Harbor
這裡使用我們上面的定義的密碼登陸
- 賬號 - ```admin```
- 密碼 - ```evan123```

***
# 建立你第一個Harbor專案
## 建立專案
點選```New```會進入專案建立對話方塊,這裡填入專案名稱即可,這裡的訪問級別我選擇```public```

## 在使用Docker登陸Harbor
在使用Harbor之前,要在docker環境登陸Harbor服務
```bash
[root@manager-node harbor]# docker login 192.168.101.11:8090
Username: admin
Password:
WARNING! Your password will be stored unencrypted in /root/.docker/config.json.
Configure a credential helper to remove this warning. See
https://docs.docker.com/engine/reference/commandline/login/#credentials-store
Login Succeeded
```
## 對現有的Image打Tag
1. 檢視現有的Image,這裡我在前面教程已經建立了一些image
```bash
[root@manager-node credit-facility]# docker images
REPOSITORY TAG IMAGE ID CREATED SIZE
credit-facility-image latest 28948b936fac 2 days ago 130MB
```
2. 這裡我選擇```credit-facility-image```打個標籤,新標籤為```credit-facility:1.0```
```bash
docker tag credit-facility-image:latest credit-facility:1.0
```
## 釋出Image到Harbor
1. 使用Harbor的ip地址和前面建立好的專案名稱```credit-facility```進行釋出
```bash
[root@manager-node harbor]# docker push 192.168.101.11:8090/credit-facility/credit-facility-image
The push refers to repository [192.168.101.11:8090/credit-facility/credit-facility-image]
21f243c9904f: Pushed
edd61588d126: Pushed
9b9b7f3d56a0: Pushed
f1b5933fe4b5: Pushed
latest: digest: sha256:86a6289143d0a8a4cc94880b79af36416d07688585f8bb1b09fd4d50cd166f46 size: 1159
```
從上面顯示結果可以看到,我們已經成功上傳映象到Harbor倉庫了

## 拉取Image到伺服器
1. 我們先把之前在本地建立的映象刪除,以免後面操作產生混淆
```bash
[root@manager-node harbor]# docker image rm 192.168.101.11:8090/credit-facility/credit-facility-image:latest
Untagged: 192.168.101.11:8090/credit-facility/credit-facility-image:latest
Untagged: 192.168.101.11:8090/credit-facility/credit-facility-image@sha256:86a6289143d0a8a4cc94880b79af36416d07688585f8bb1b09fd4d50cd166f46
```
2. 檢視本地映象列表
```bash
[root@manager-node harbor]# docker images
REPOSITORY TAG IMAGE ID CREATED SIZE
```
現在本地已經沒有任何映象
3.從Harbor倉庫拉去映象
```bash
[root@manager-node harbor]# docker pull 192.168.101.11:8090/credit-facility/credit-facility-image:latest
latest: Pulling from credit-facility/credit-facility-image
Digest: sha256:86a6289143d0a8a4cc94880b79af36416d07688585f8bb1b09fd4d50cd166f46
Status: Downloaded newer image for 192.168.101.11:8090/credit-facility/credit-facility-image:latest
192.168.101.11:8090/credit-facility/credit-facility-image:latest
```
映象已經拉取成功
4.在檢視本地映象列表驗證下
```bash
[root@manager-node harbor]# docker images
REPOSITORY TAG IMAGE ID CREATED SIZE
192.168.101.11:8090/credit-facility/credit-facility-image latest 28948b936fac 2 days ag
```
我們的映象已經成功安裝到本地了,這樣即便我們以後換了一臺伺服器,也可以隨時從Harbor倉庫拉取映象,不需要依賴本地
